Capra
Homeware Lab • 2019 - 2022
A camera and projector that brings together the capture, storage, and exploration of personal hiking data with an emphasis on longer-term occasional, yet indefinite use.
My Roles
Team
• William Odom | supervisor• Jordan White | team lead: design + engineering
• Henry Lin | hardware engineering / fabrication
• Nico Brand | UI design
• MinYoung Yoo | software engineering
• Samuel Barnett | filmmaking
• Tal Amram | industrial design
Team Lead
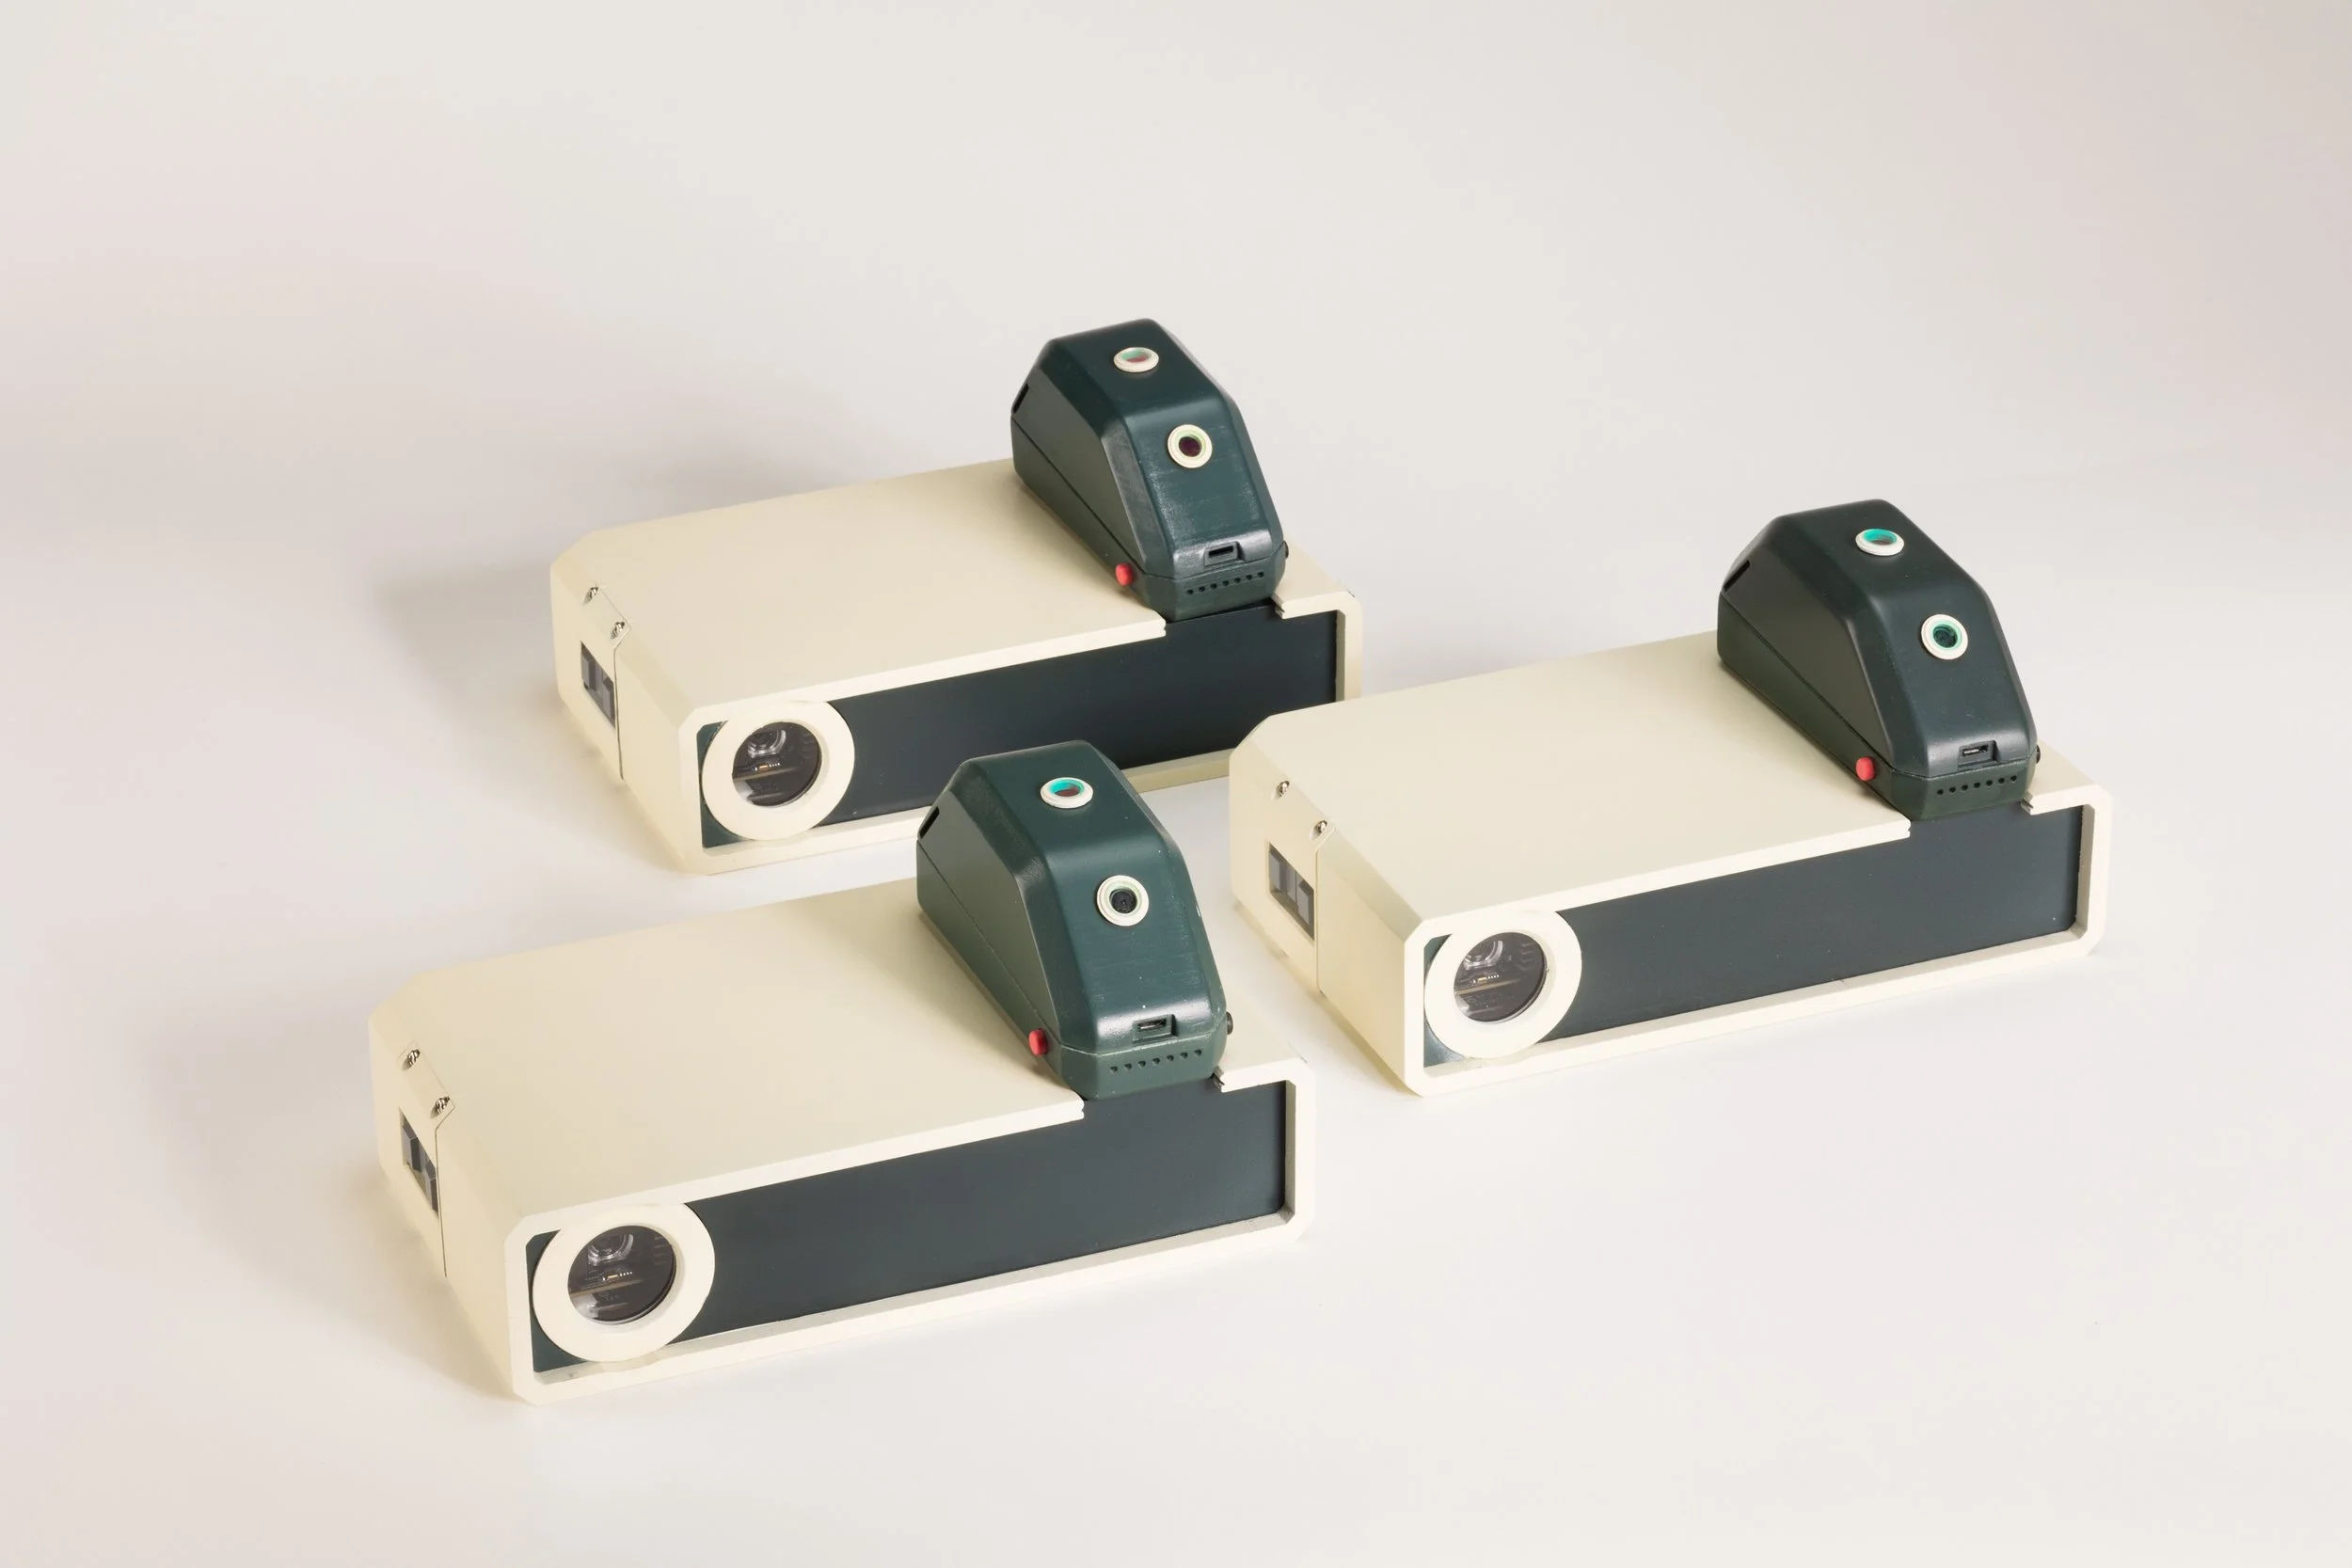
Over a 2 year period, I led the team to design, engineer, and fabricate a batch of 3 cameras and 3 projectors.
→ I collaborated closely on each aspect of the design and engineering whether it be IxD, UI, or PCBs.
→ Individually, I prototyped various interactions, wrote a majority of the software, and did the hardware software integration, making sure our ideas came to life. I also built plugins and scripts to support team member's work.
Problem / Research Framing
Digital photos often remain unseen and/or disconnected, especially as our digital records expand.
To address this challenge, we decided to design a longterm system for a specific activity, that could show serendipitous connections between memories.
As avid hikers, we imagined a product dedicated to hiking that could show interconnections between our hikes and allow us to move around the entire archive based on time, color, and altitude.

To explore this problem, we designed Capra.
Capra consists of 2 artifacts: the Collector and the Explorer
The Collector is a wearable camera that captures time lapse photos from 3 different angles and encodes them with: time, dominant color, and altitude data.
The Explorer is a projector and tangible archive of all hikes captured with the Collector. It enables re-visiting time lapses of your hikes through 3 filters: time, color, and altitude.
To Transfer a hike, the Collector is inserted into the Explorer. During this, the Explorer projects a slowly changing sequence of photos from the hike, showing how they fit within the existing archive.
Design Process Overview
Our multi-disciplinary design team adopted a designer-researcher approach where we progressively designed, built, refined, and critically reflected on Capra.
An abstracted and abbreviated visual representation of the parallel and intertwined development of the Collector (camera), Explorer (projector + archive), and Transfer Animation.
Below I outline the design and engineering of both the camera and projector, focusing on some of my key contributions, challenges, and learnings.
Capra Collector
Design Goals
Create an artifact that might contrast mainstream wearable action cameras through offering different ways of reviewing one’s hike, yet which had a resolved and somewhat familiar look, feel, and aesthetic when worn on the body.
Why Time, Color, and Altitude
A variety of sensors and metadata options were explored. Ultimately time, color, and altitude were determined as 3 that could reliably be captured and appeared to have potential for supporting alternative perspectives on hikes.
We found these three forms of metadata could lead to a range of potential experiences. For example, exploring where in nature one has dwelled during different periods of the day (or night), changes in the environment across altitudinal contours, or shifts in color across locations, seasons, or perhaps even garments worn by hiking companions.


Why 3 Camera Perspectives
Making the camera with 3 lenses / perspectives was decided due to the way it subverted and expanded the typical view you see while recording a hike.
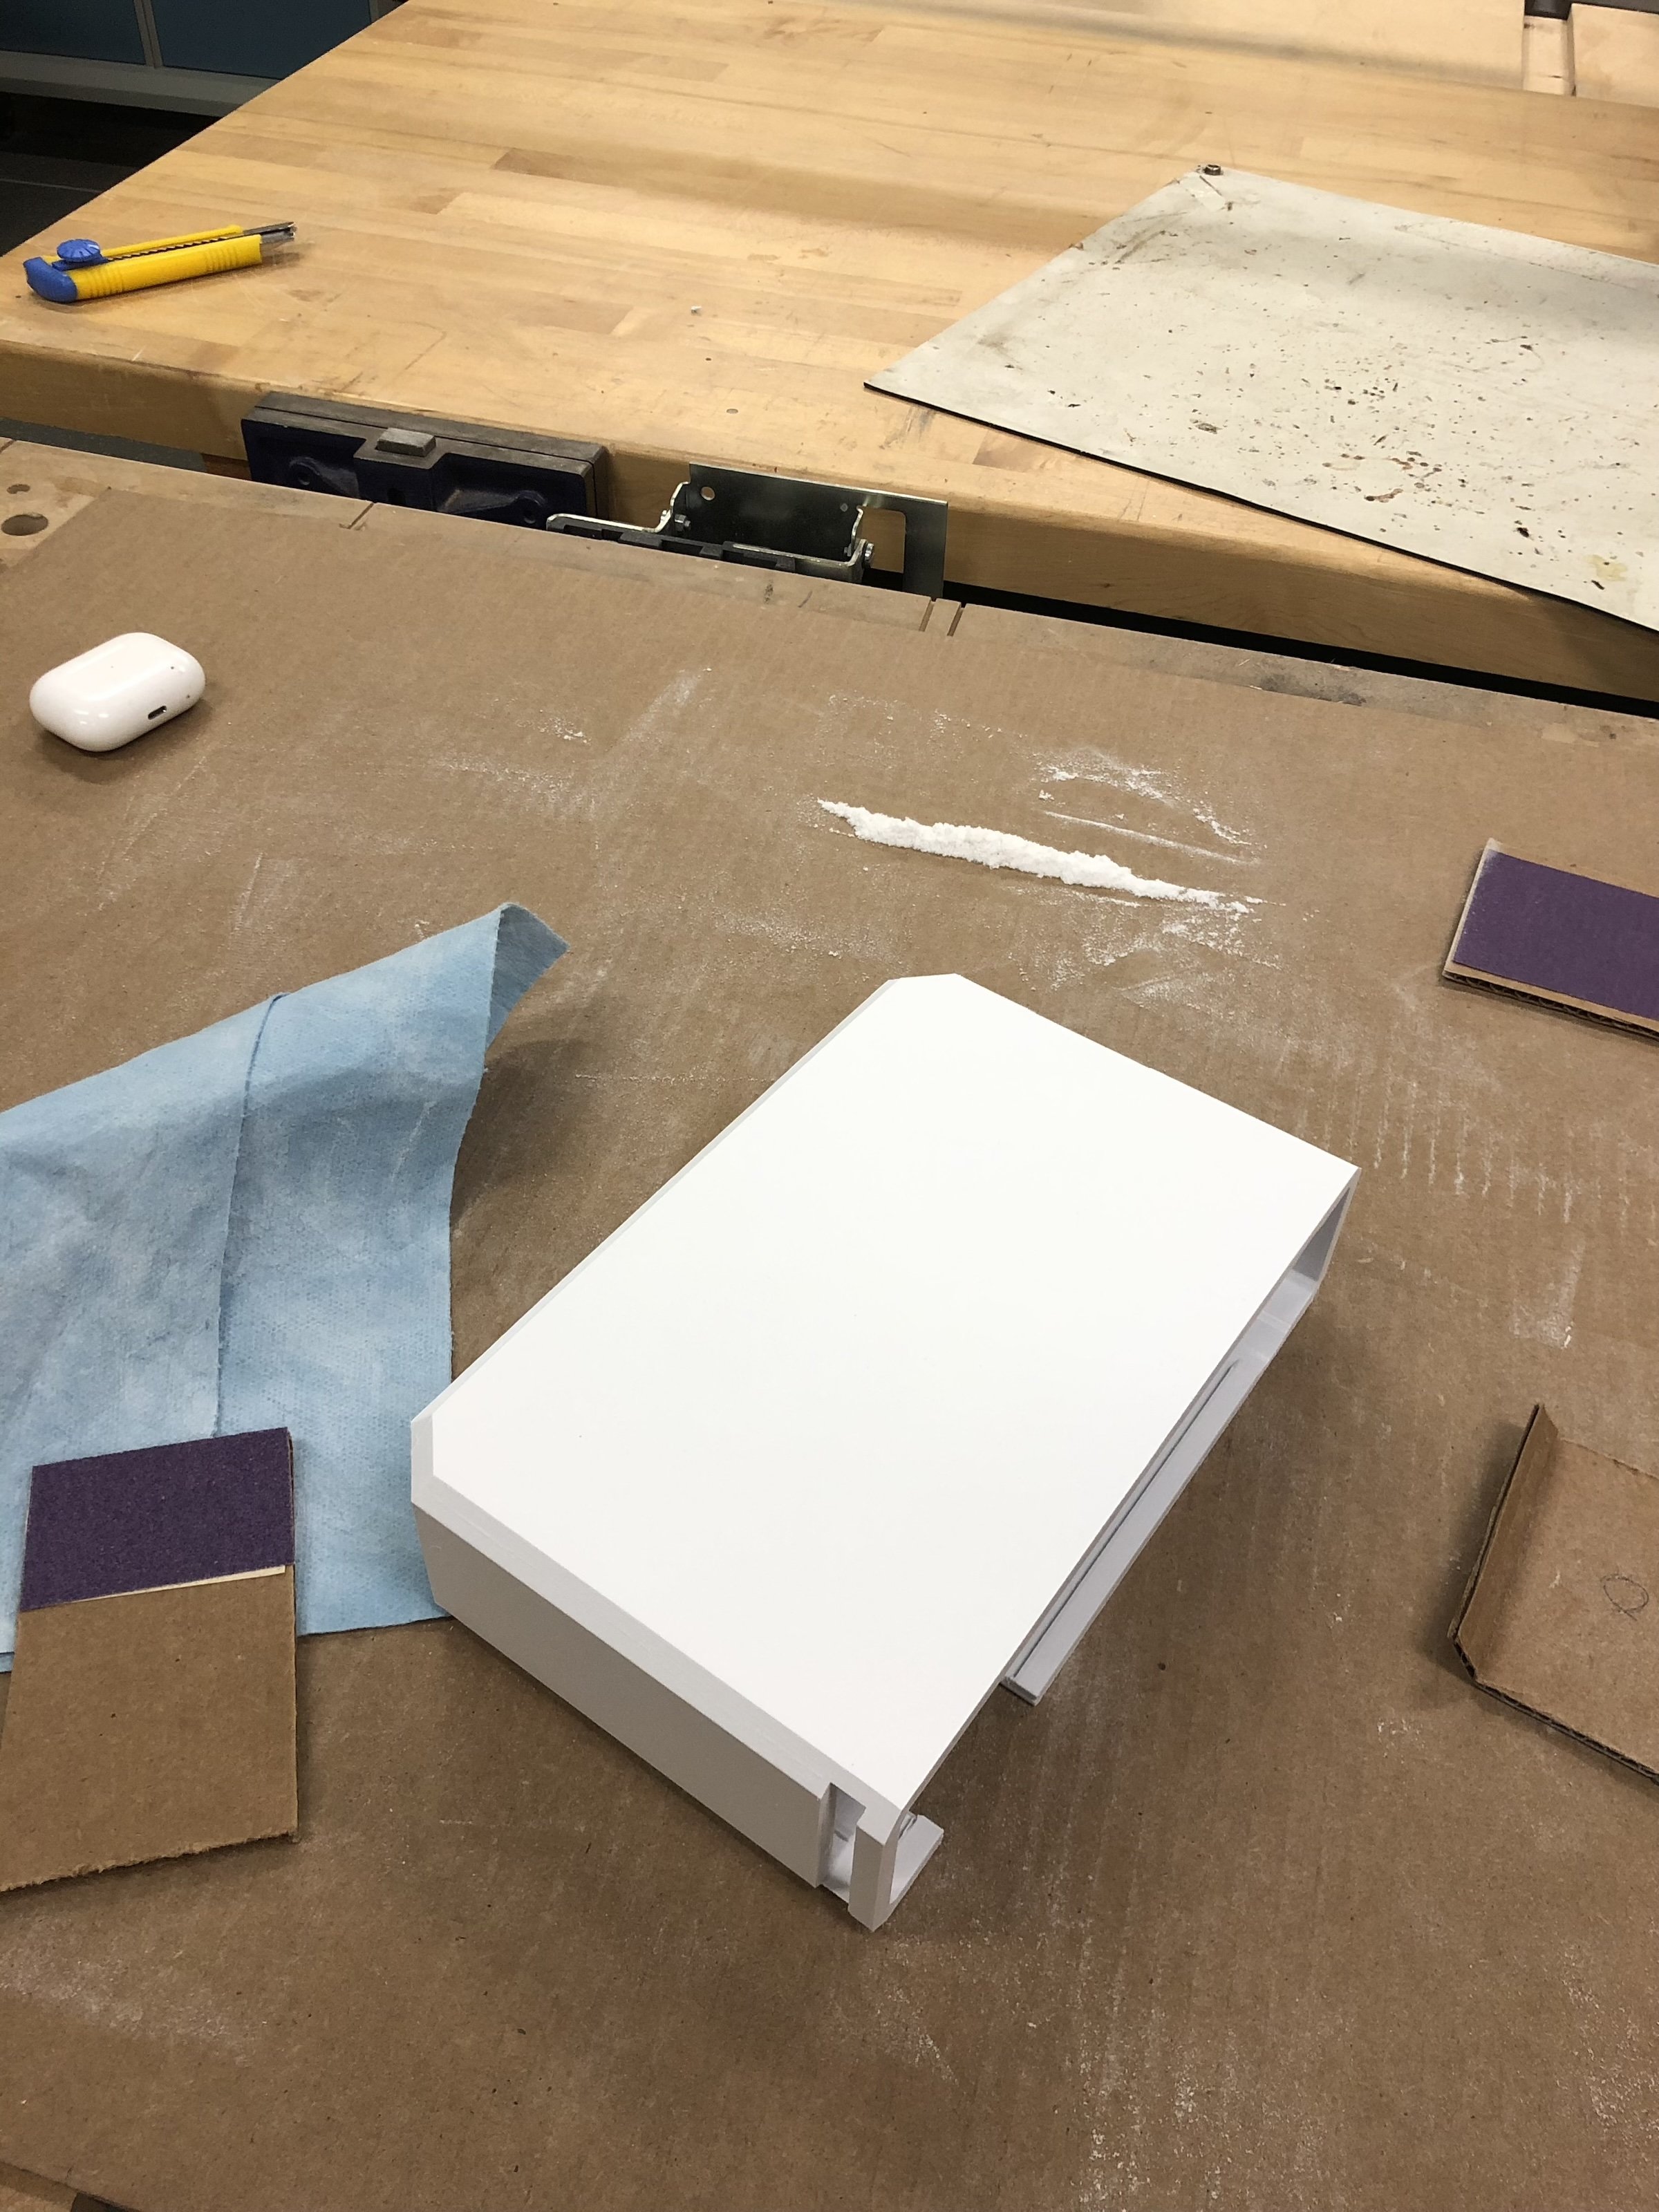
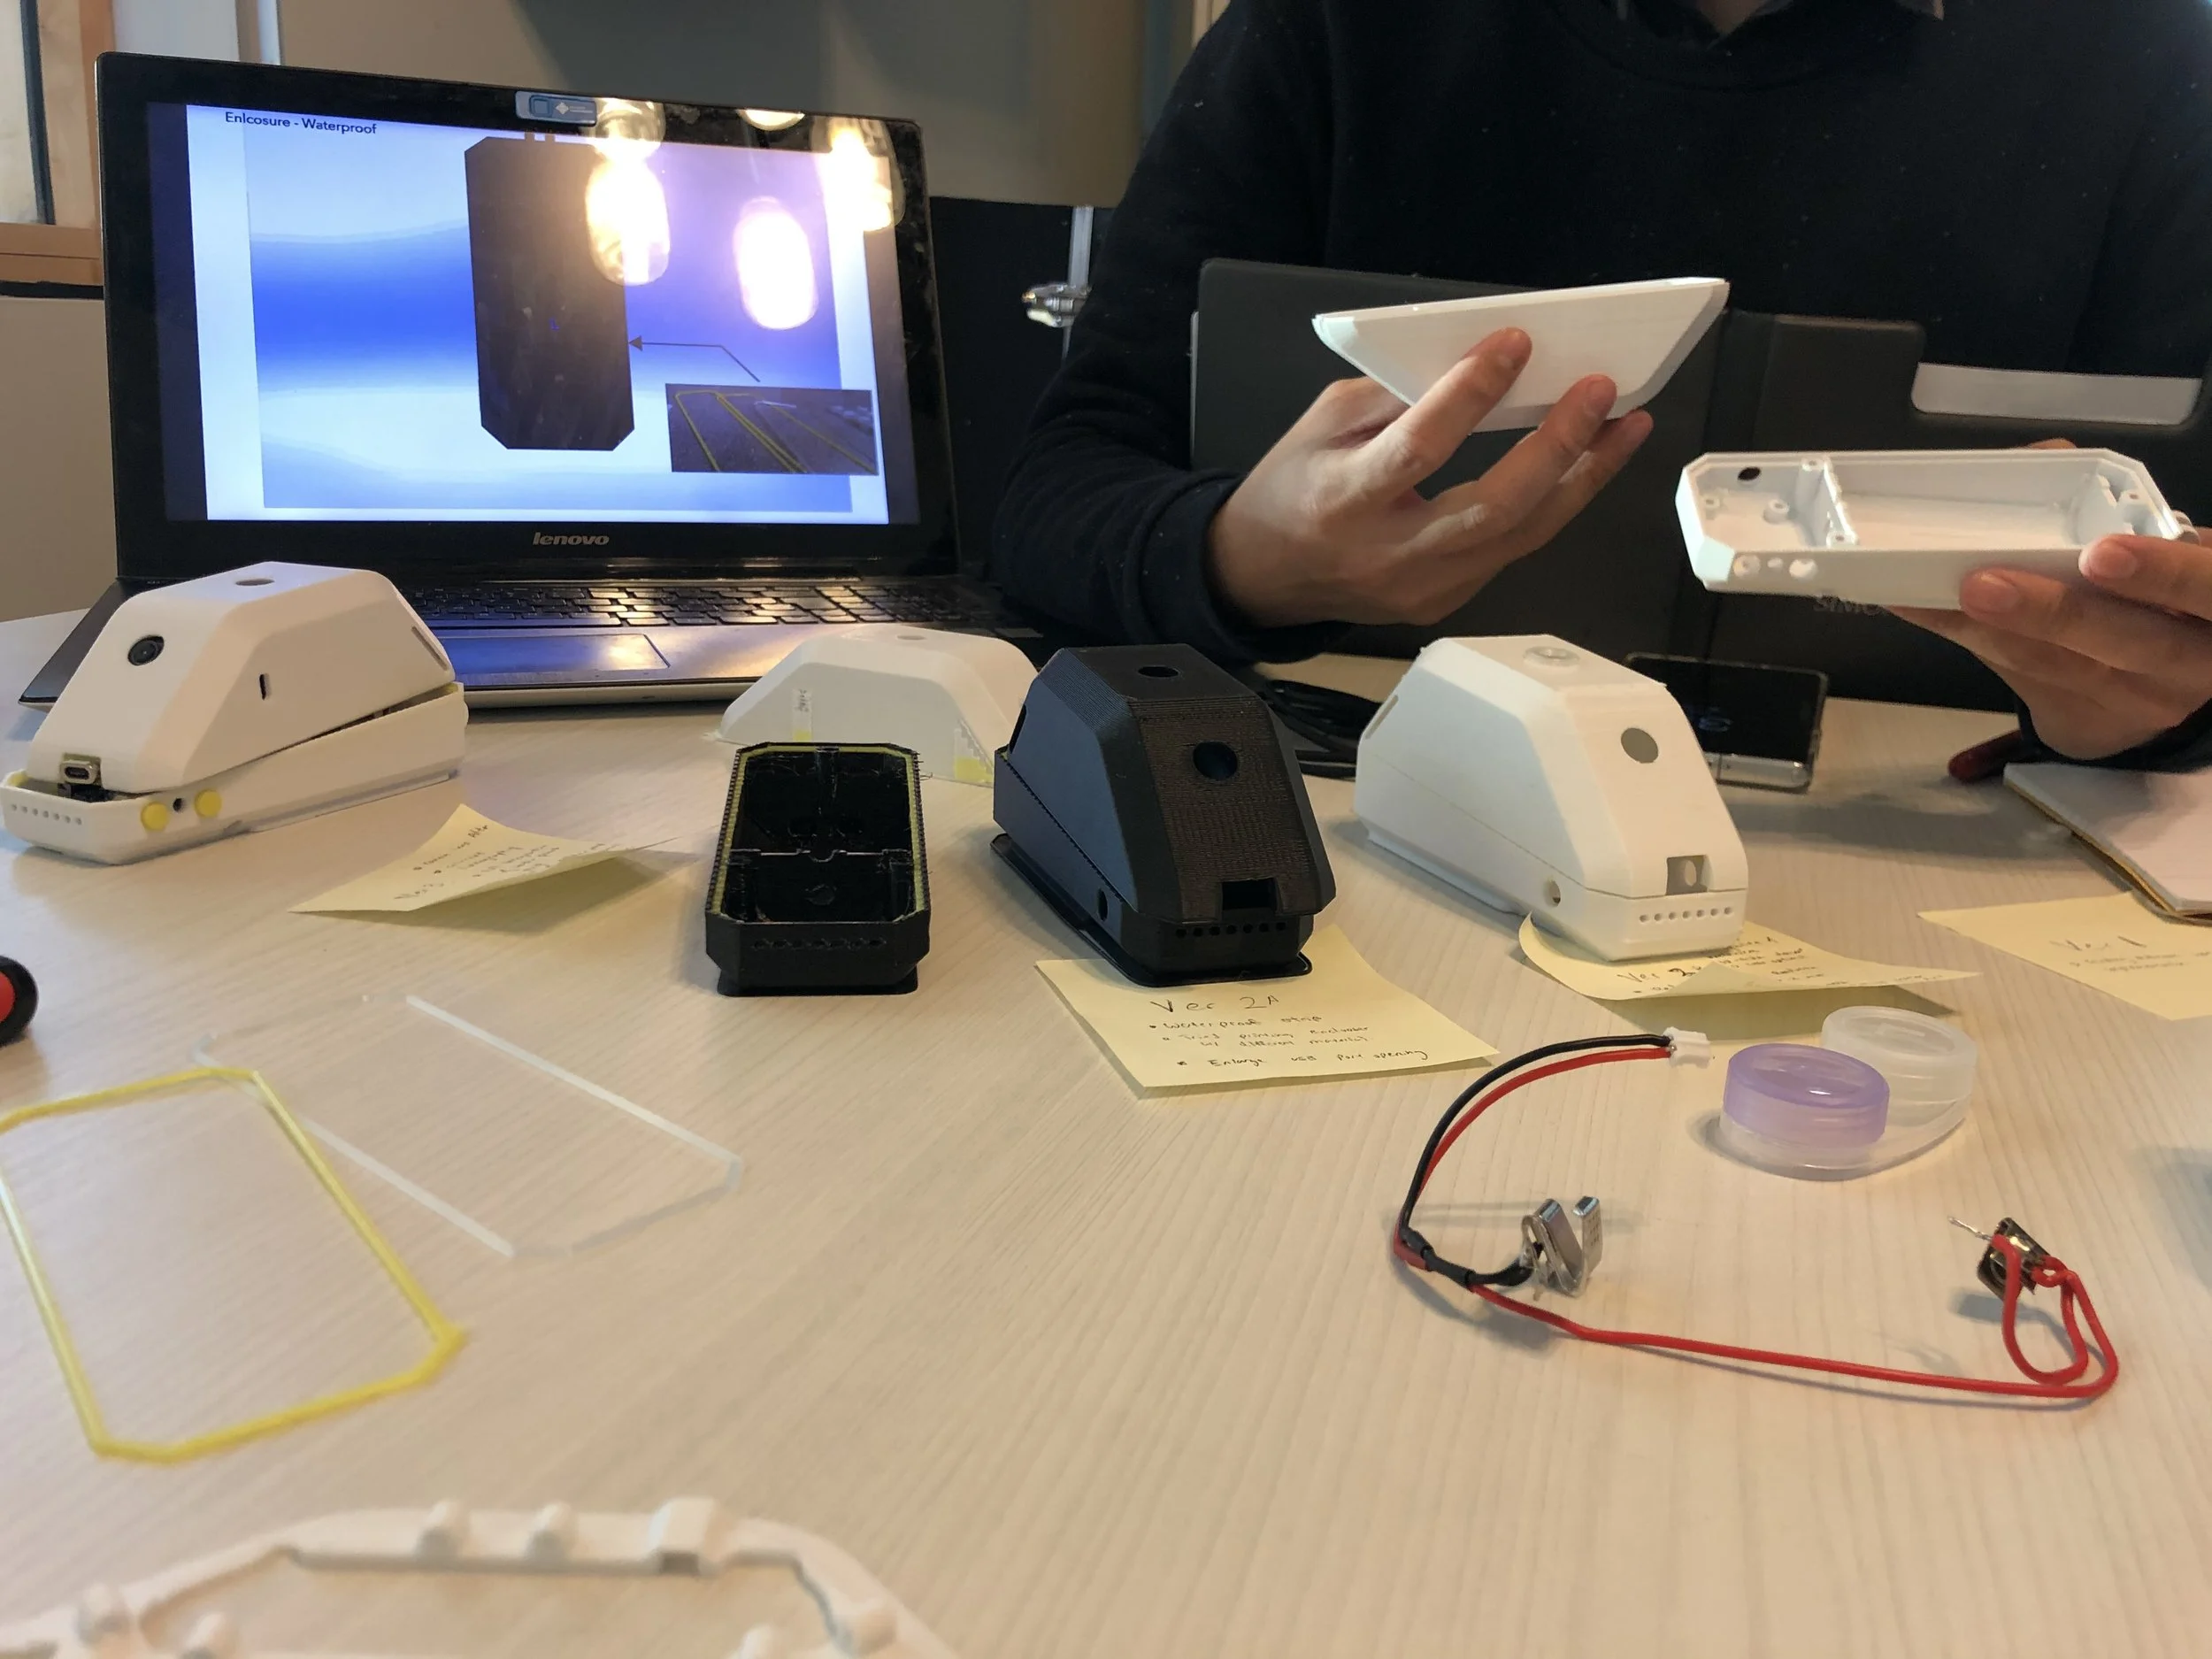
Form Iterations
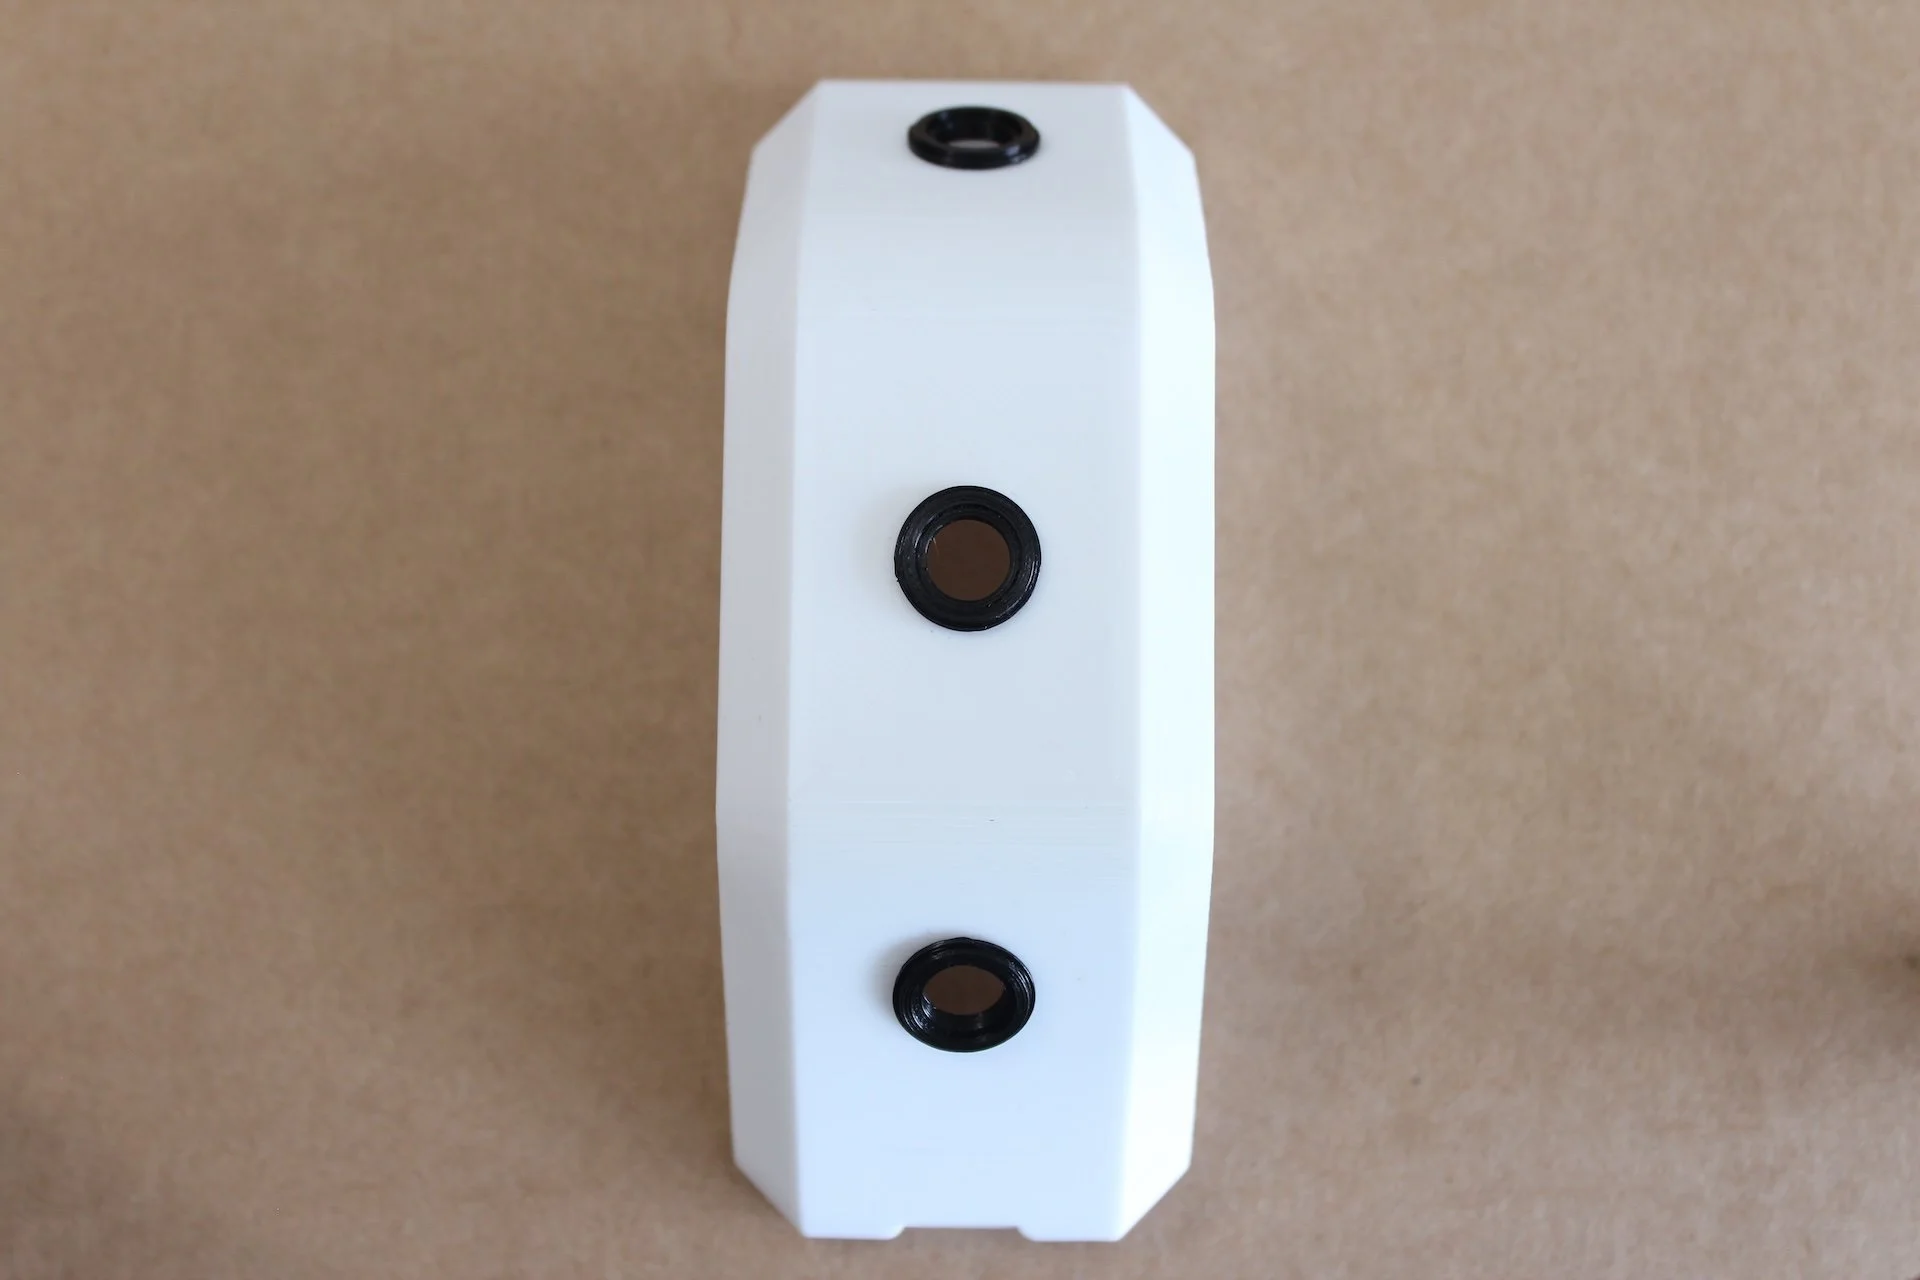
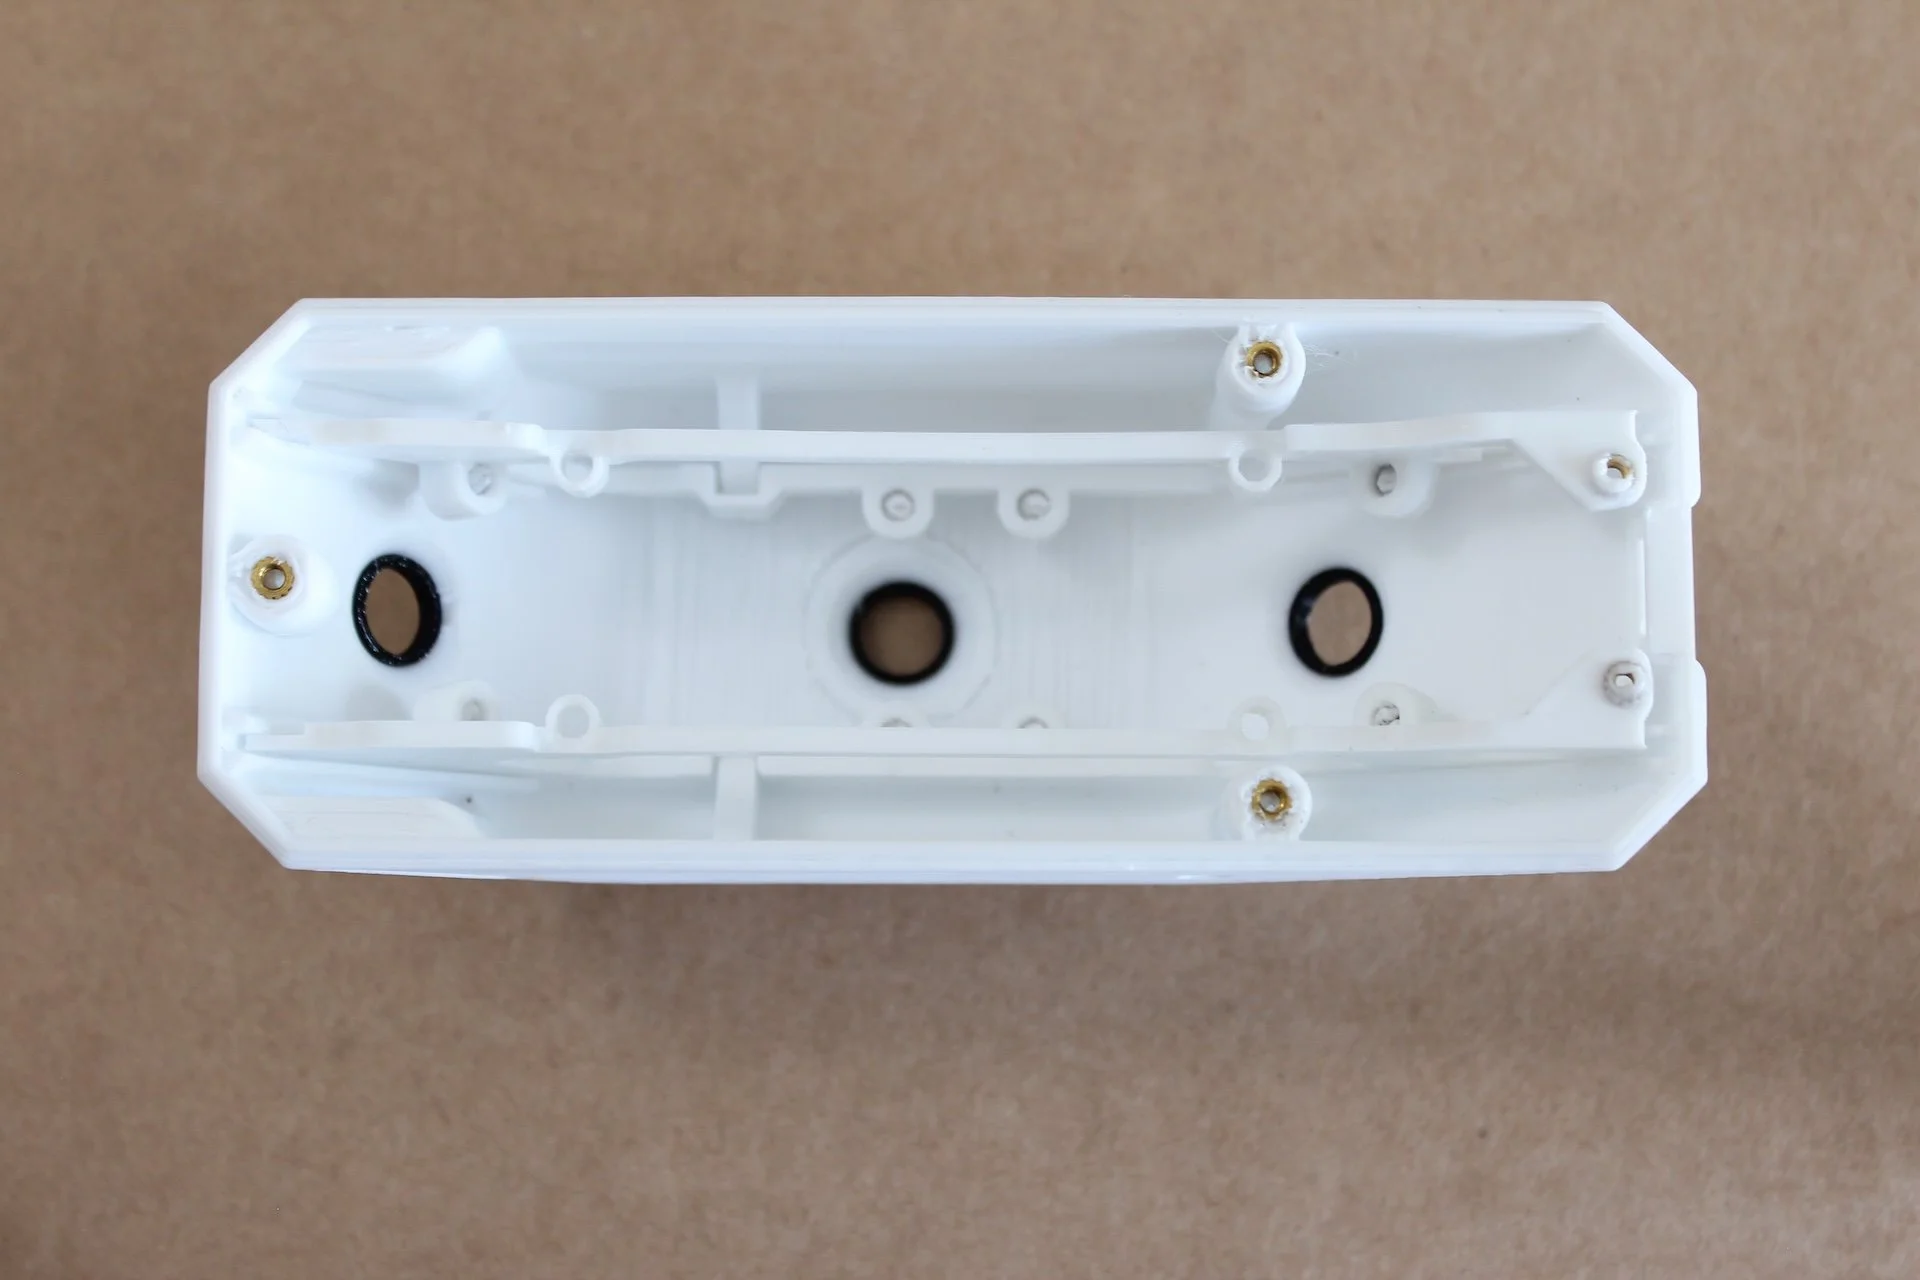
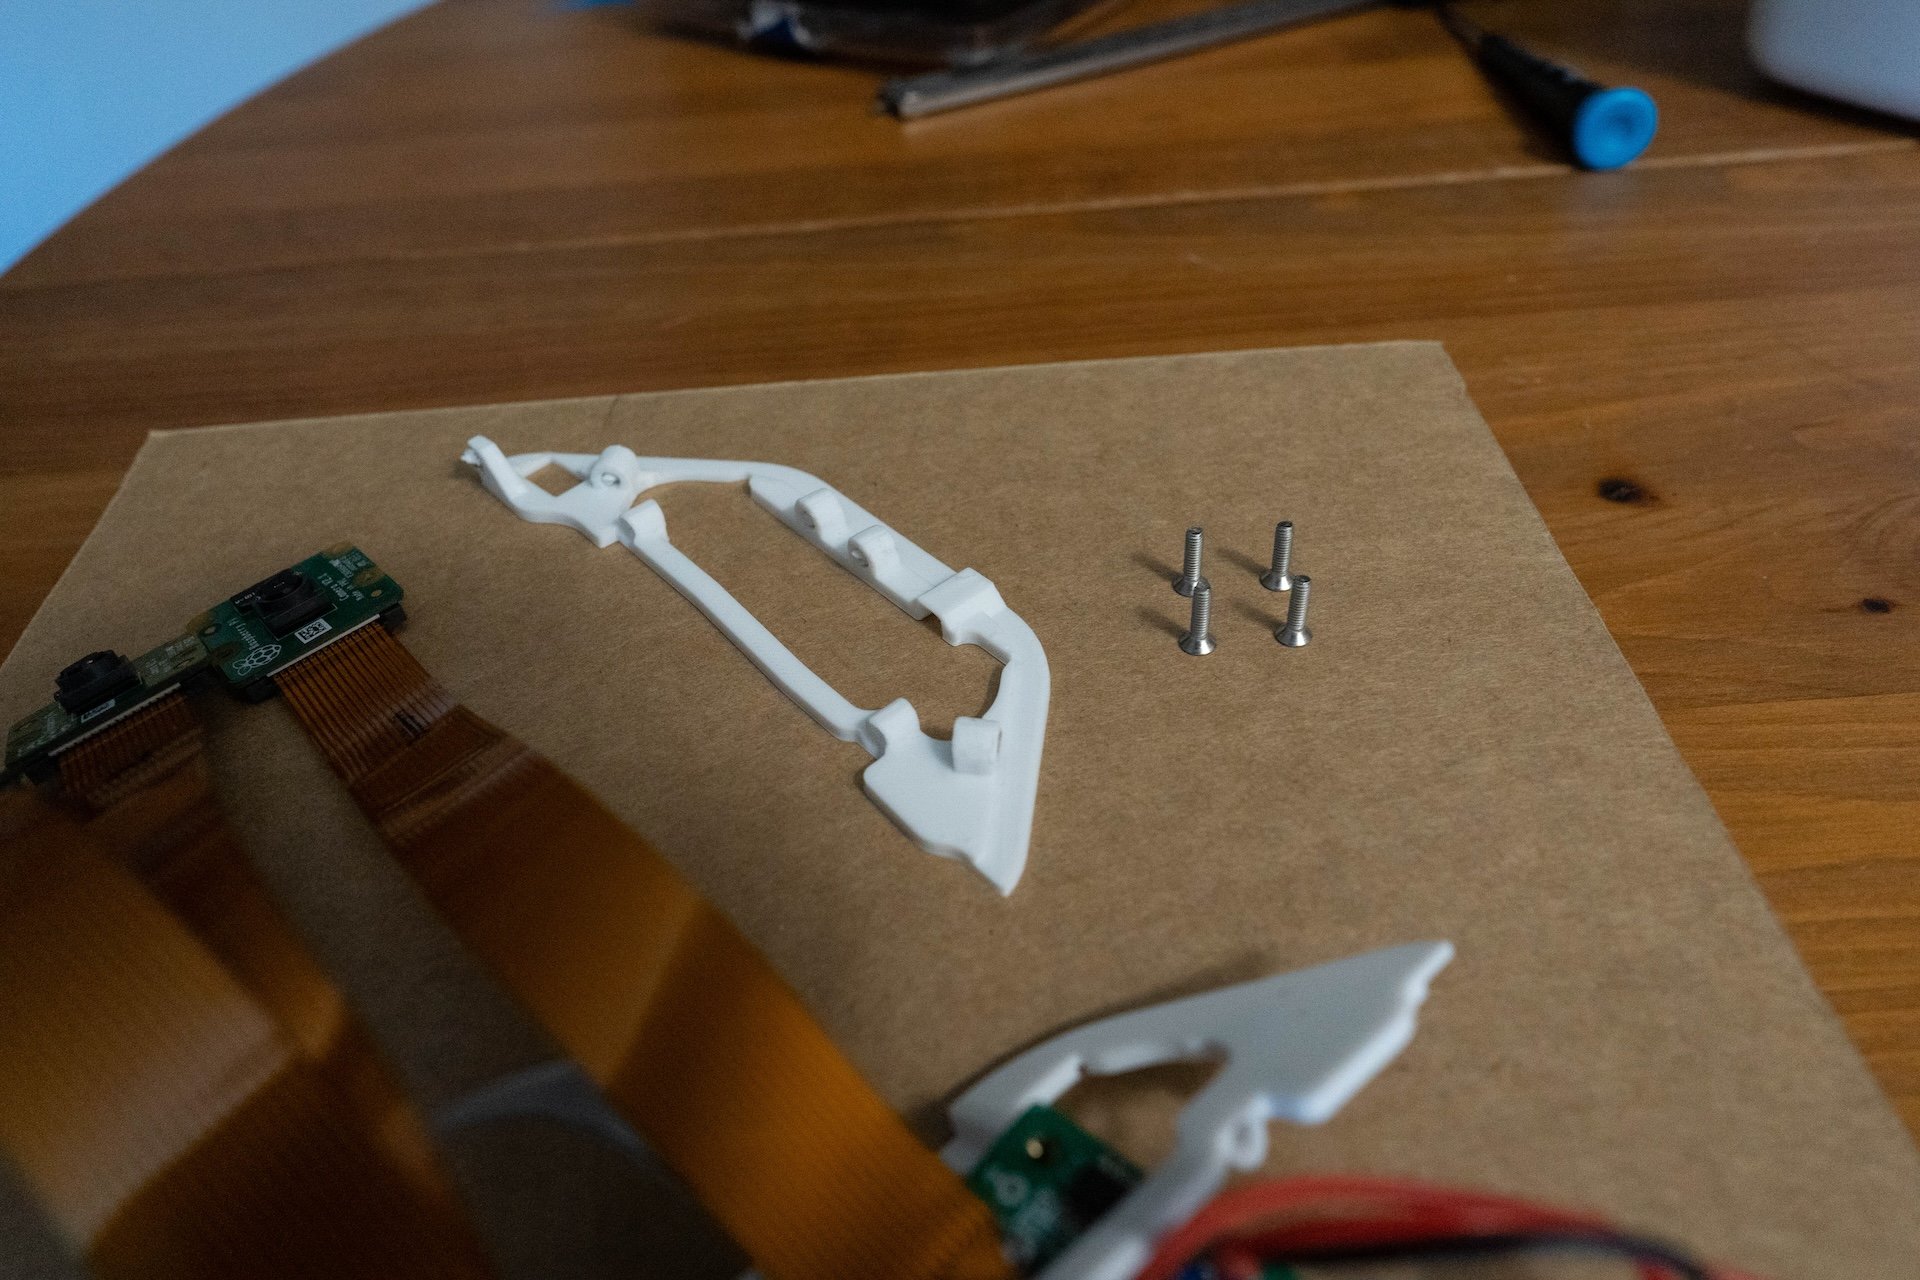
Numerous iterations of the 3D printed Collector enclosure were required to integrate three cameras and associated hardware into a resolved form that was both small and light enough to wear comfortably on a backpack strap, and robust enough to survive hiking in the wild.
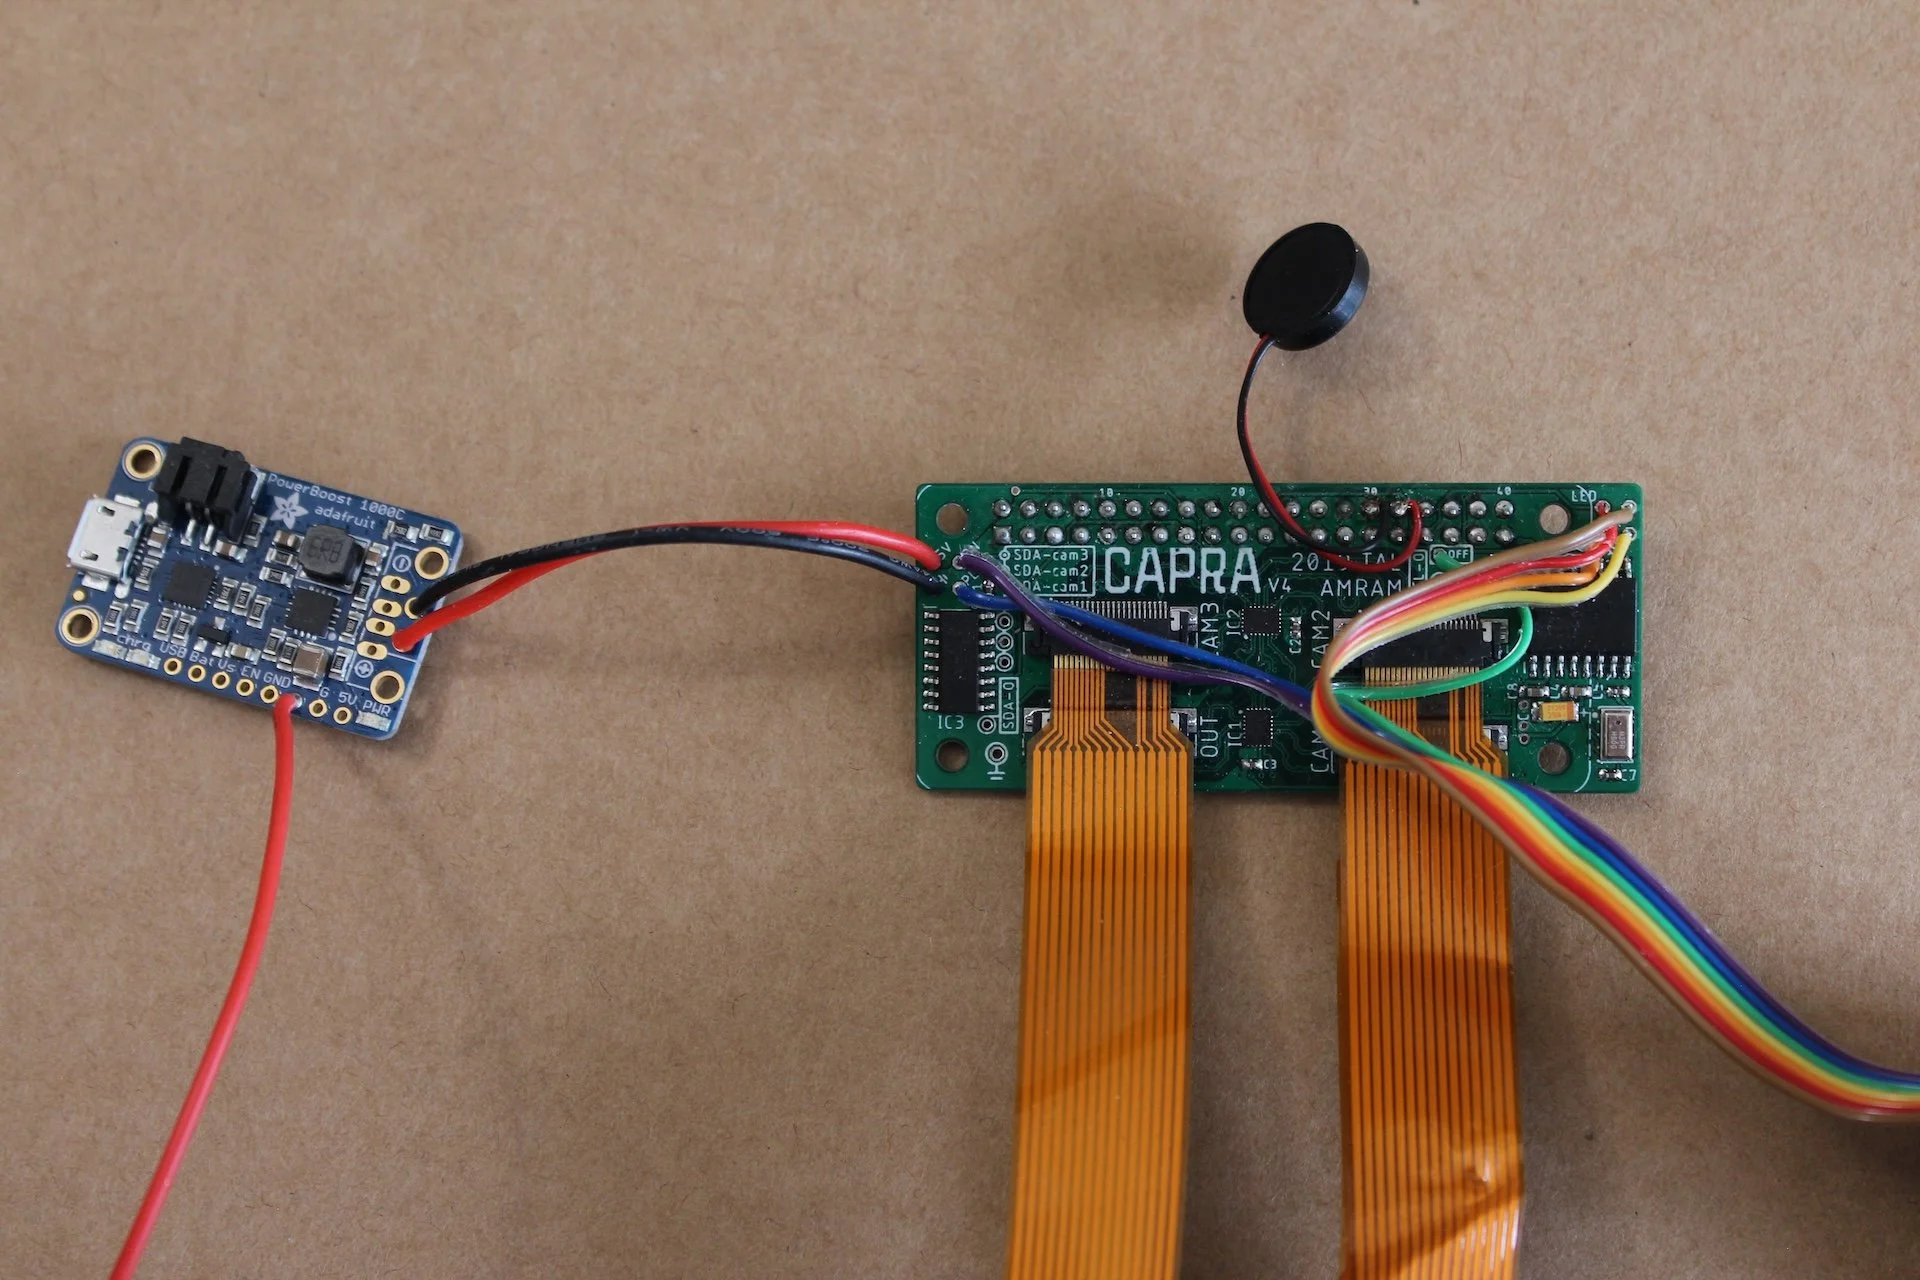
Custom Camera Multiplexer
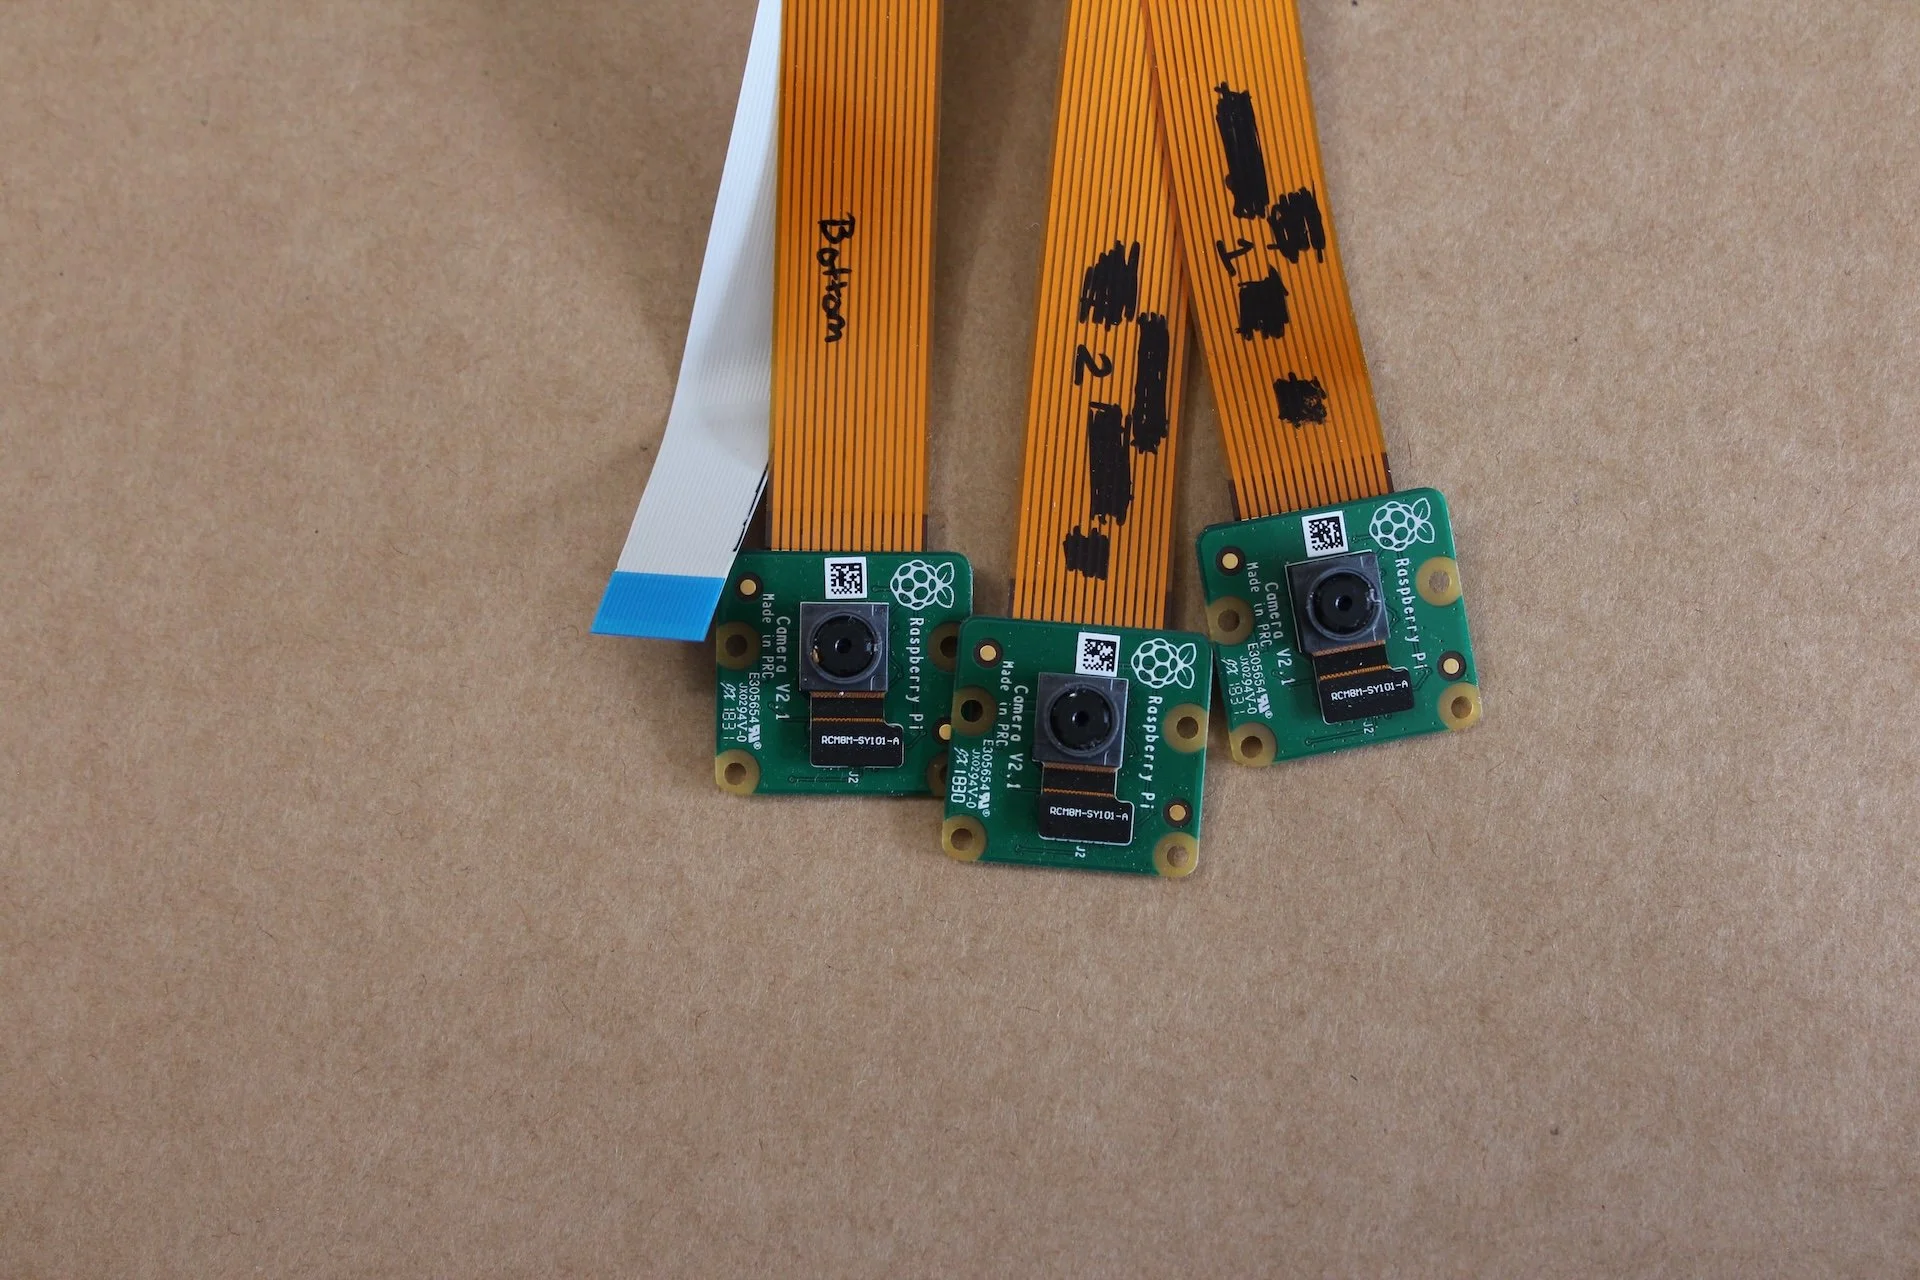
There was no commercially available board that could integrate multiple cameras to a Raspberry Pi Zero (particularly at a small form factor). In order to capture from 3 perspectives at once, my collaborator Tal designed a custom multiplexer.
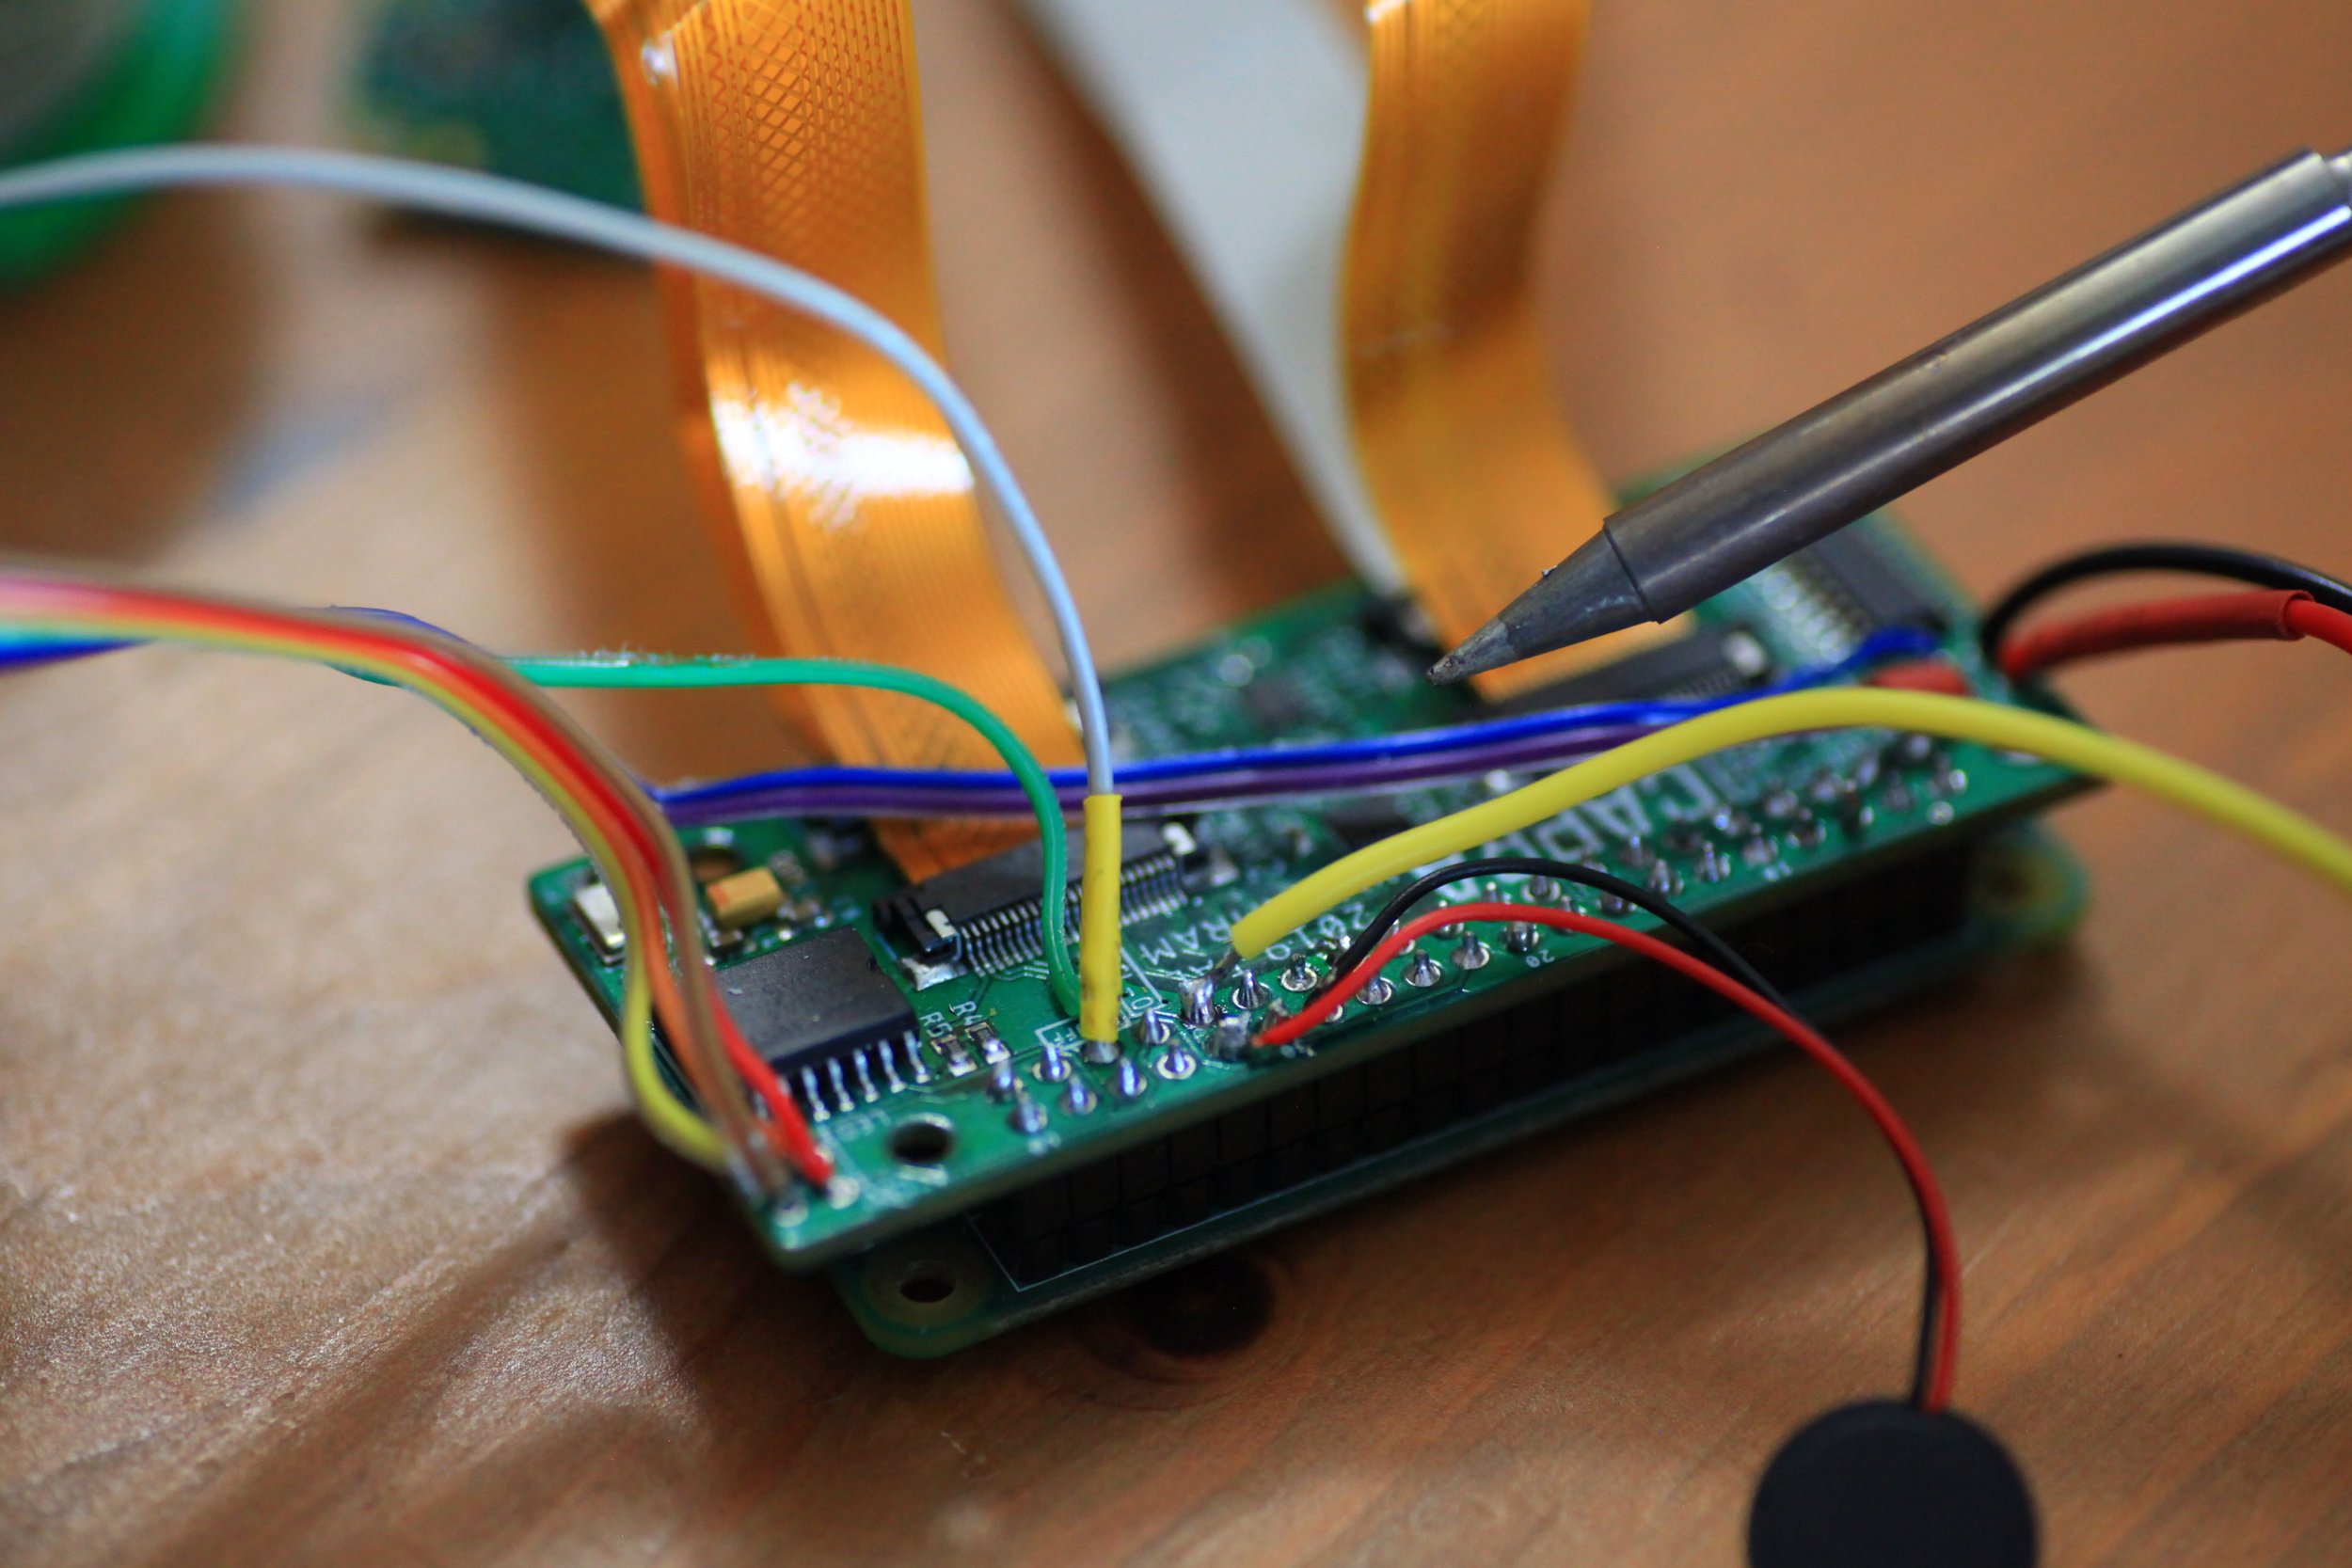
We had a lot of issues getting the multiplexer board to consistently read from every camera.
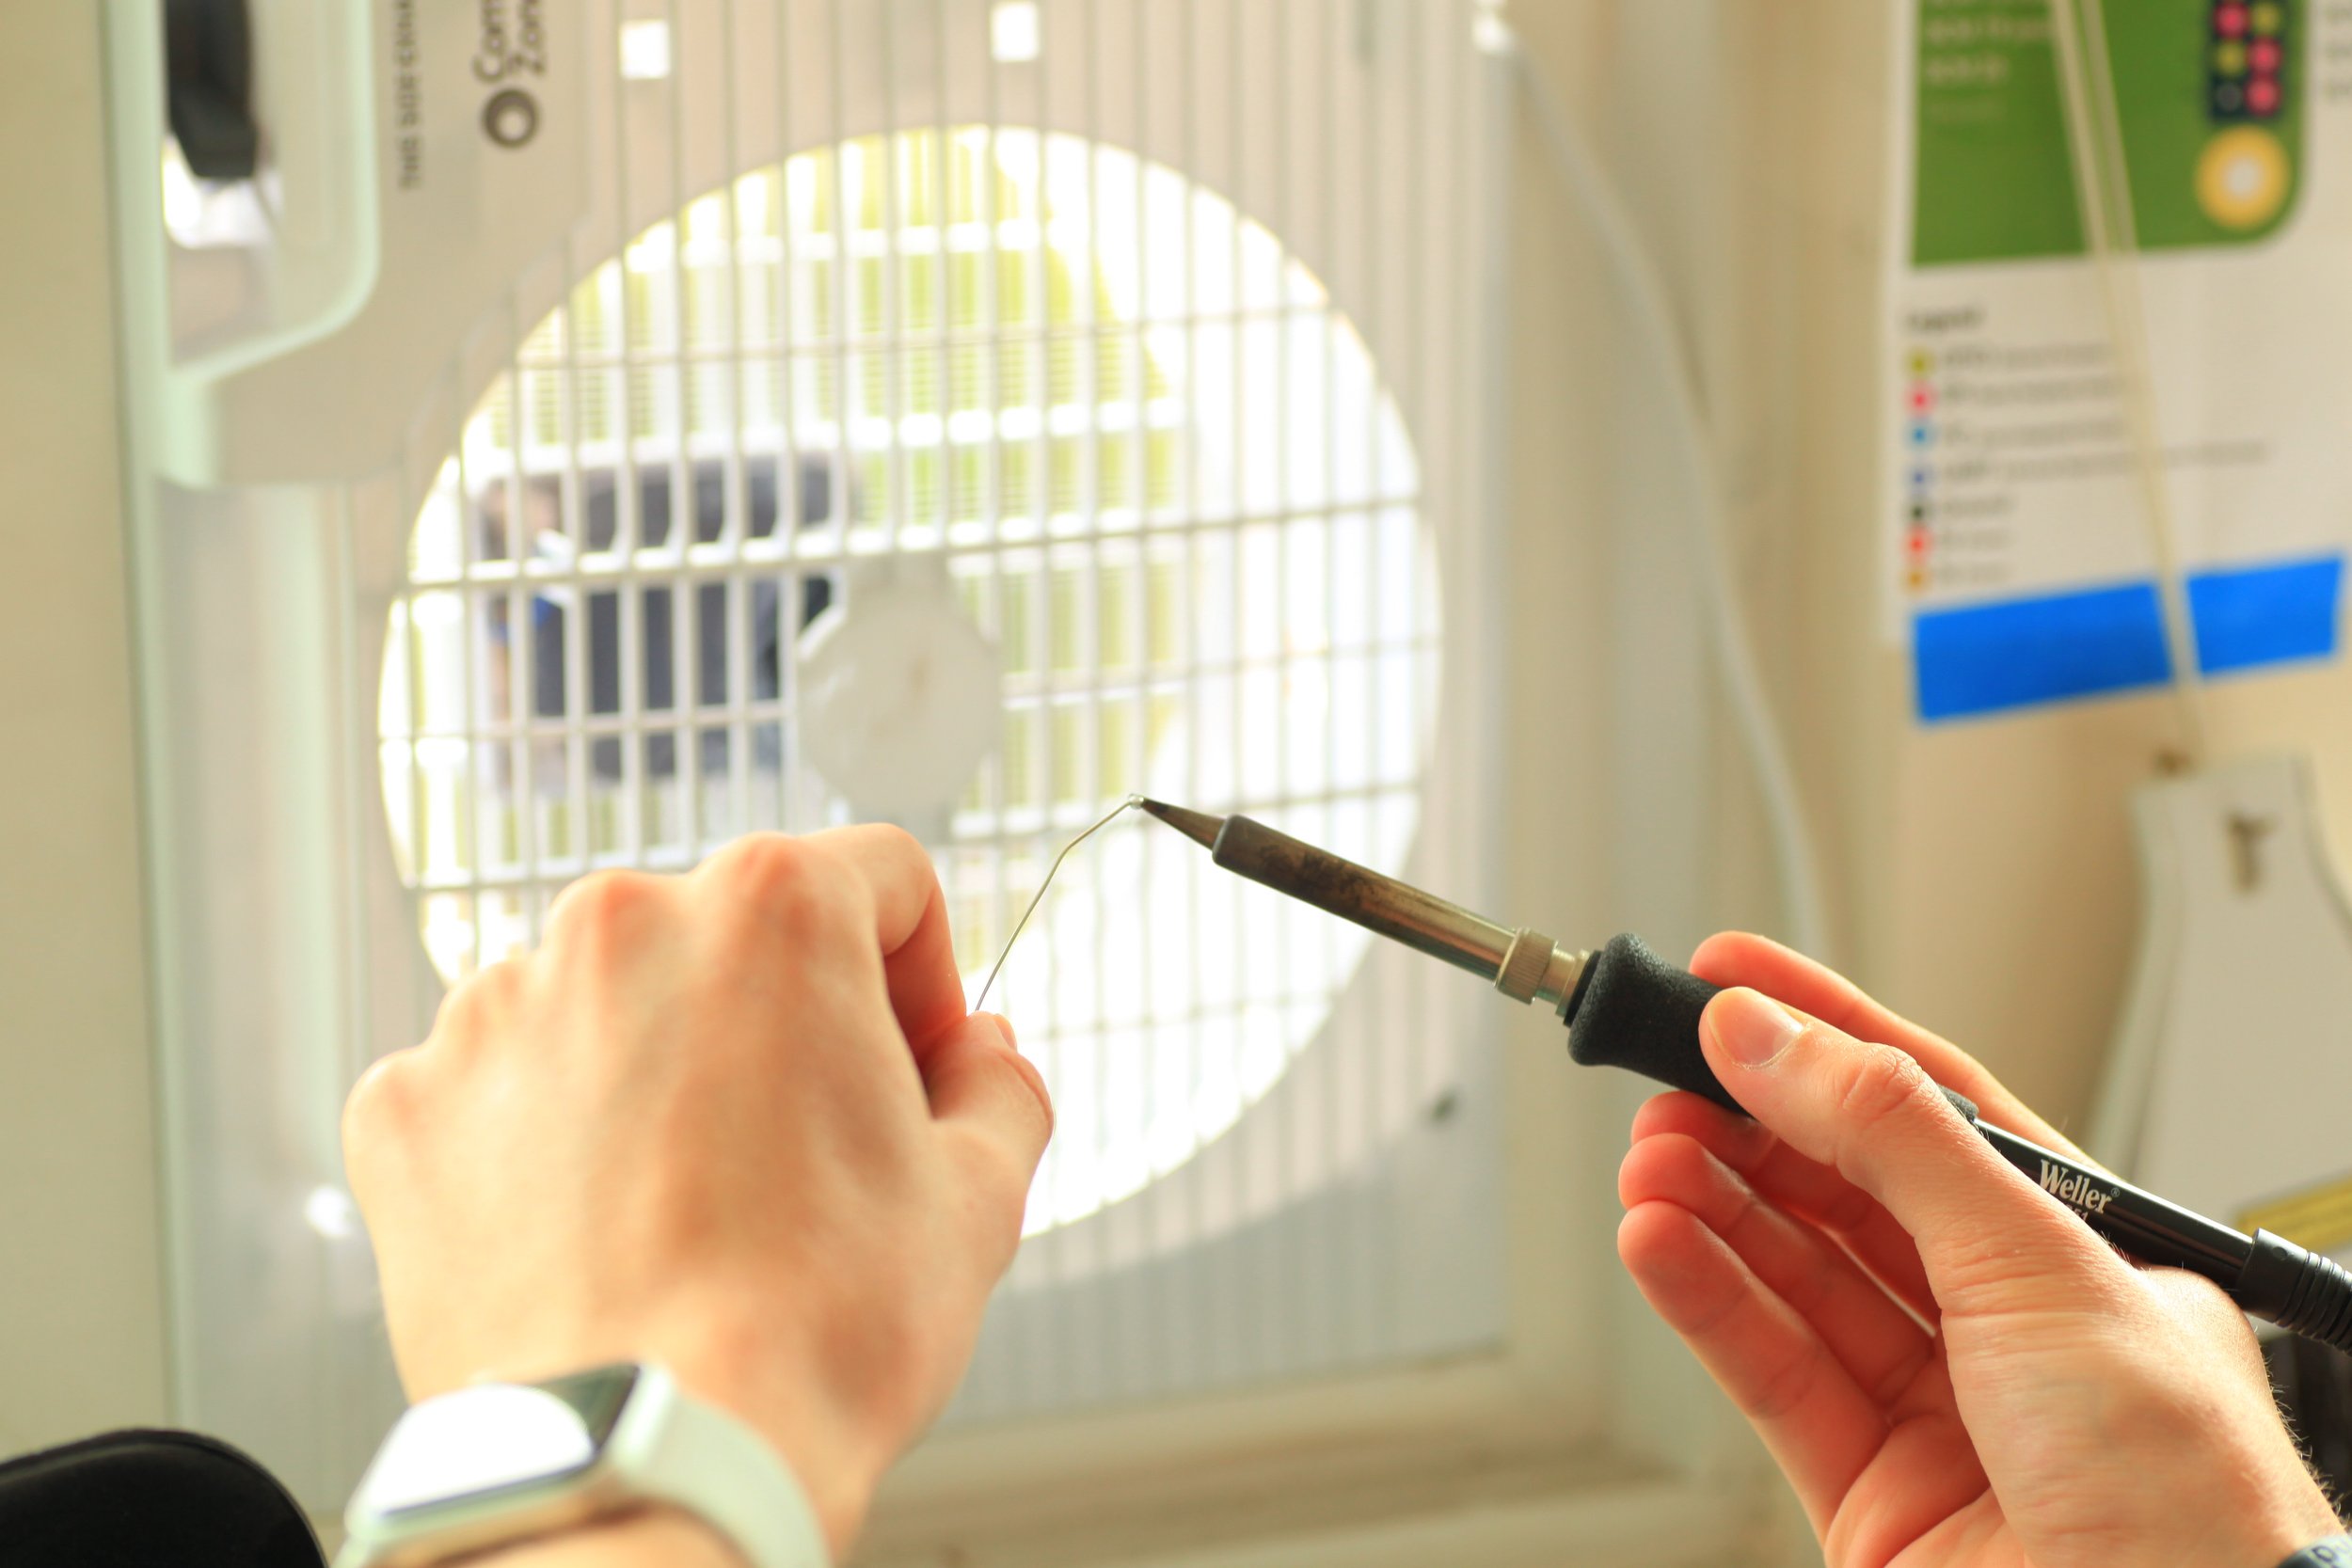
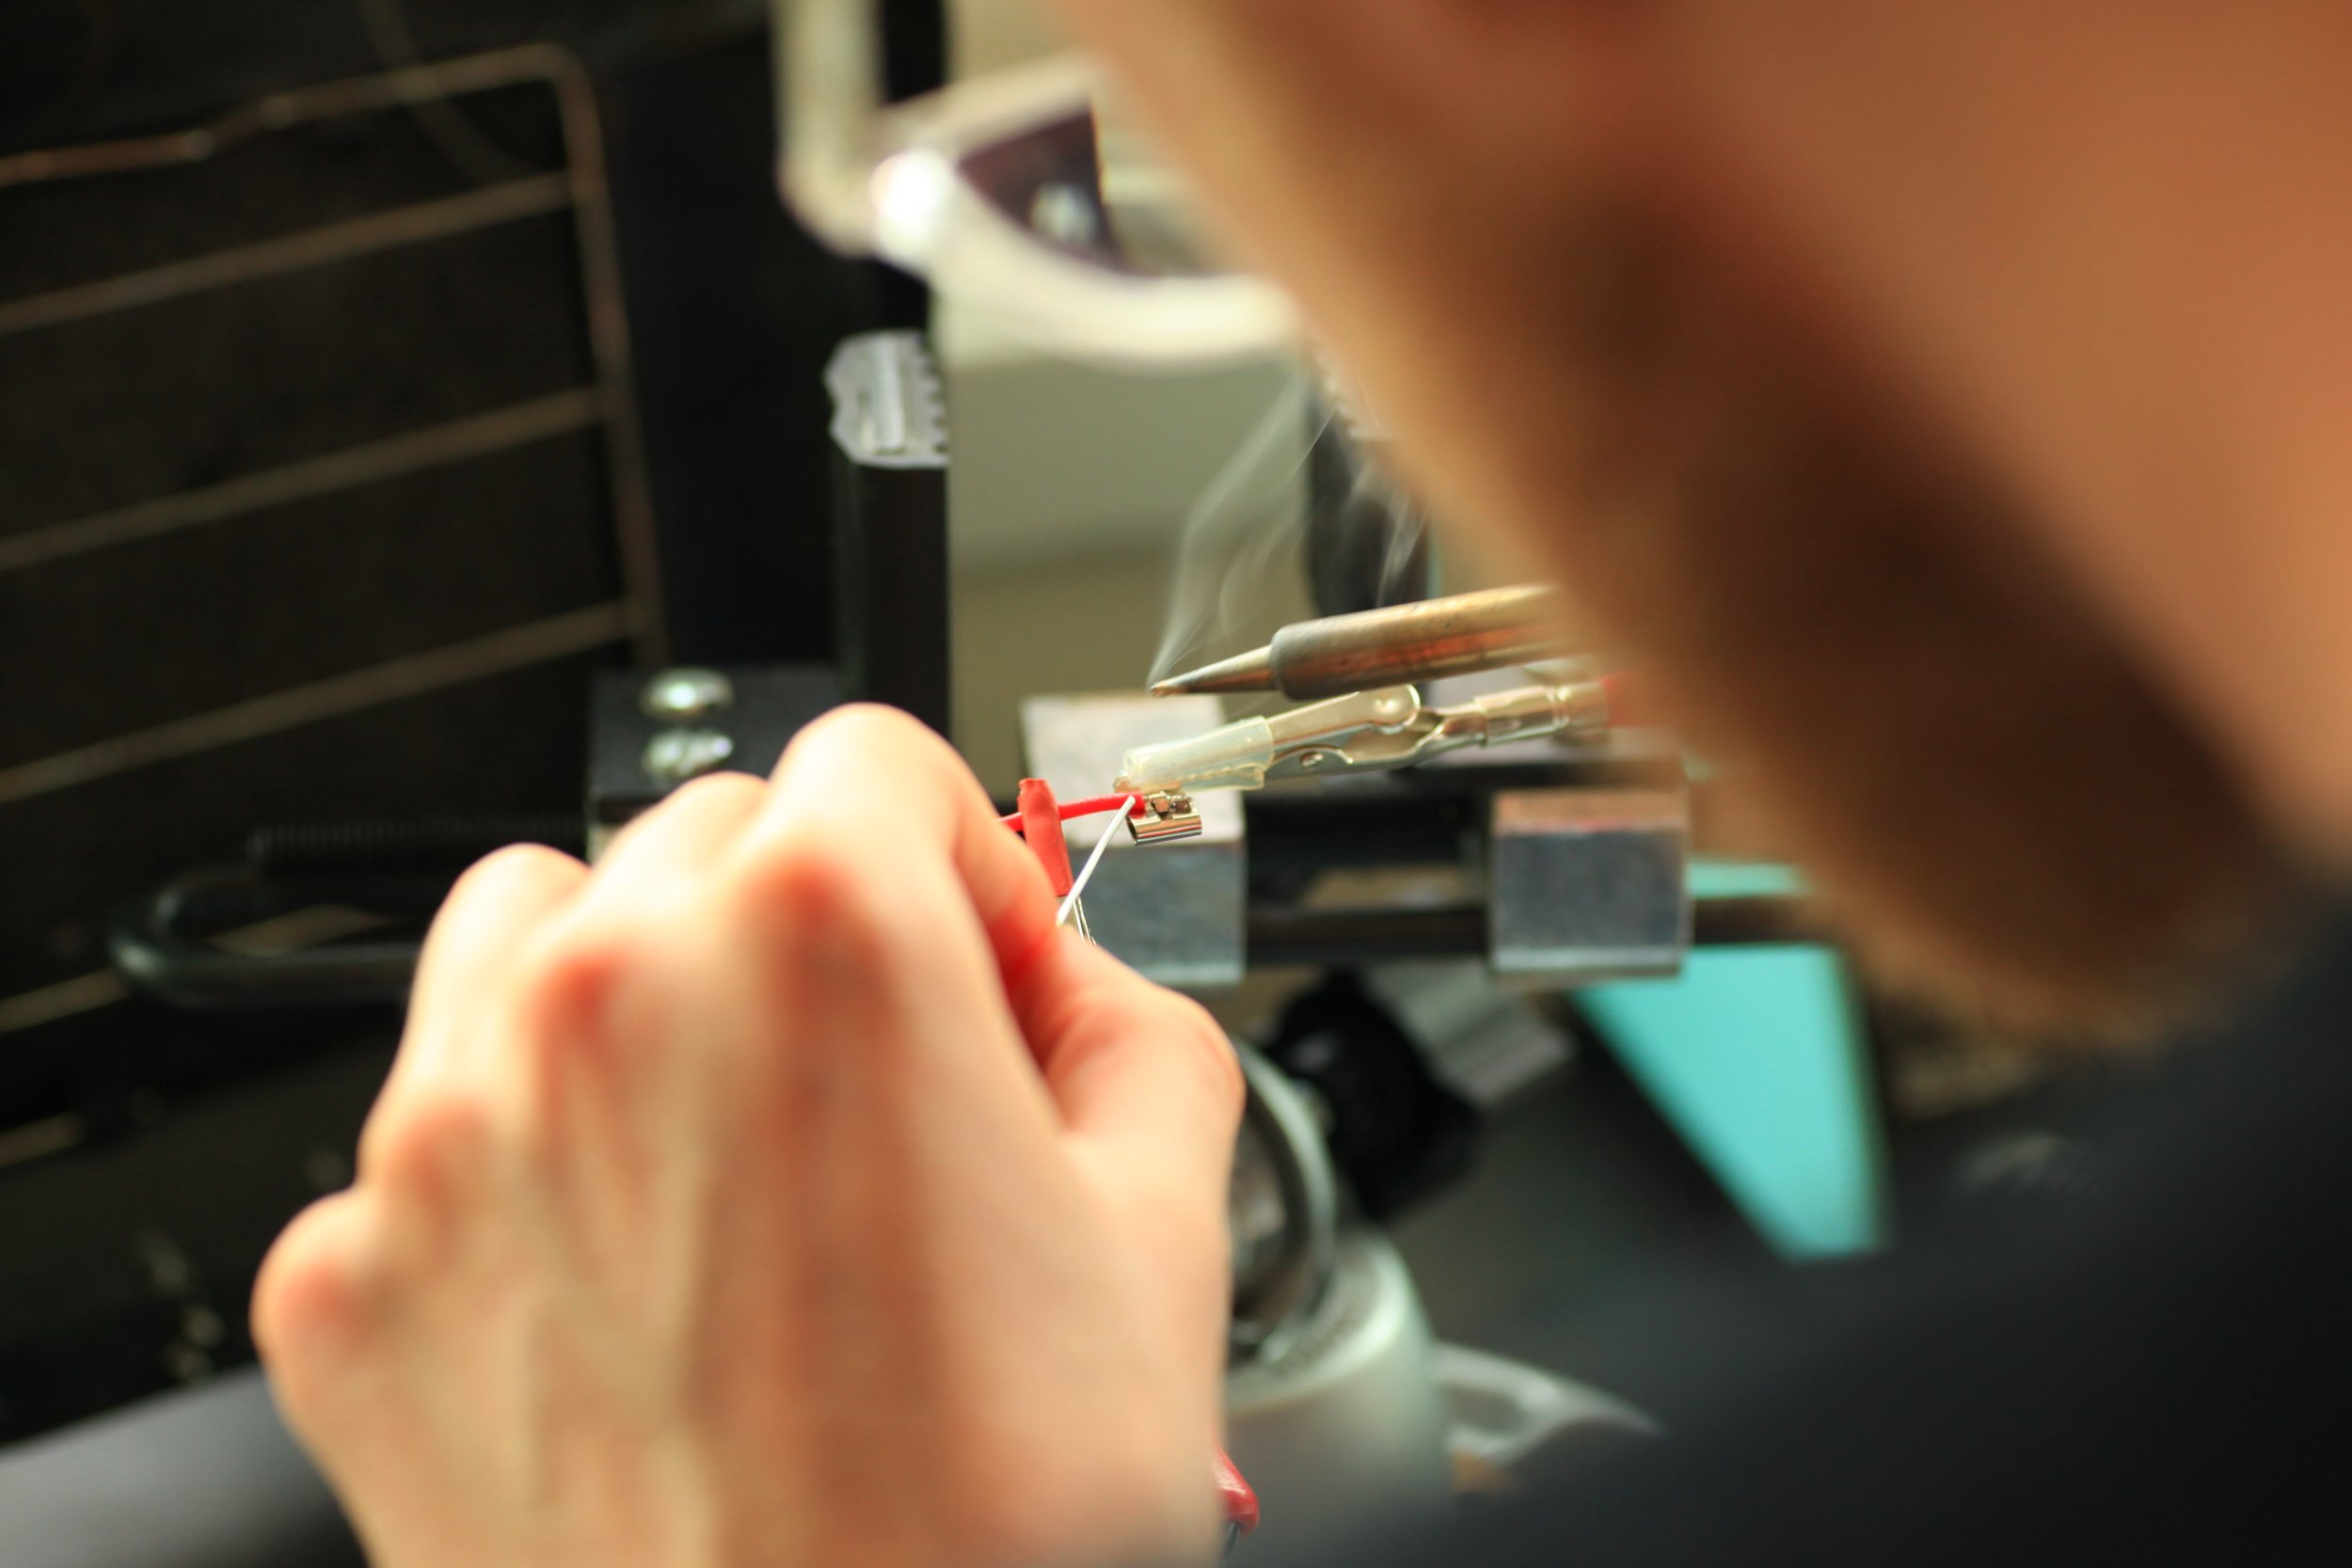
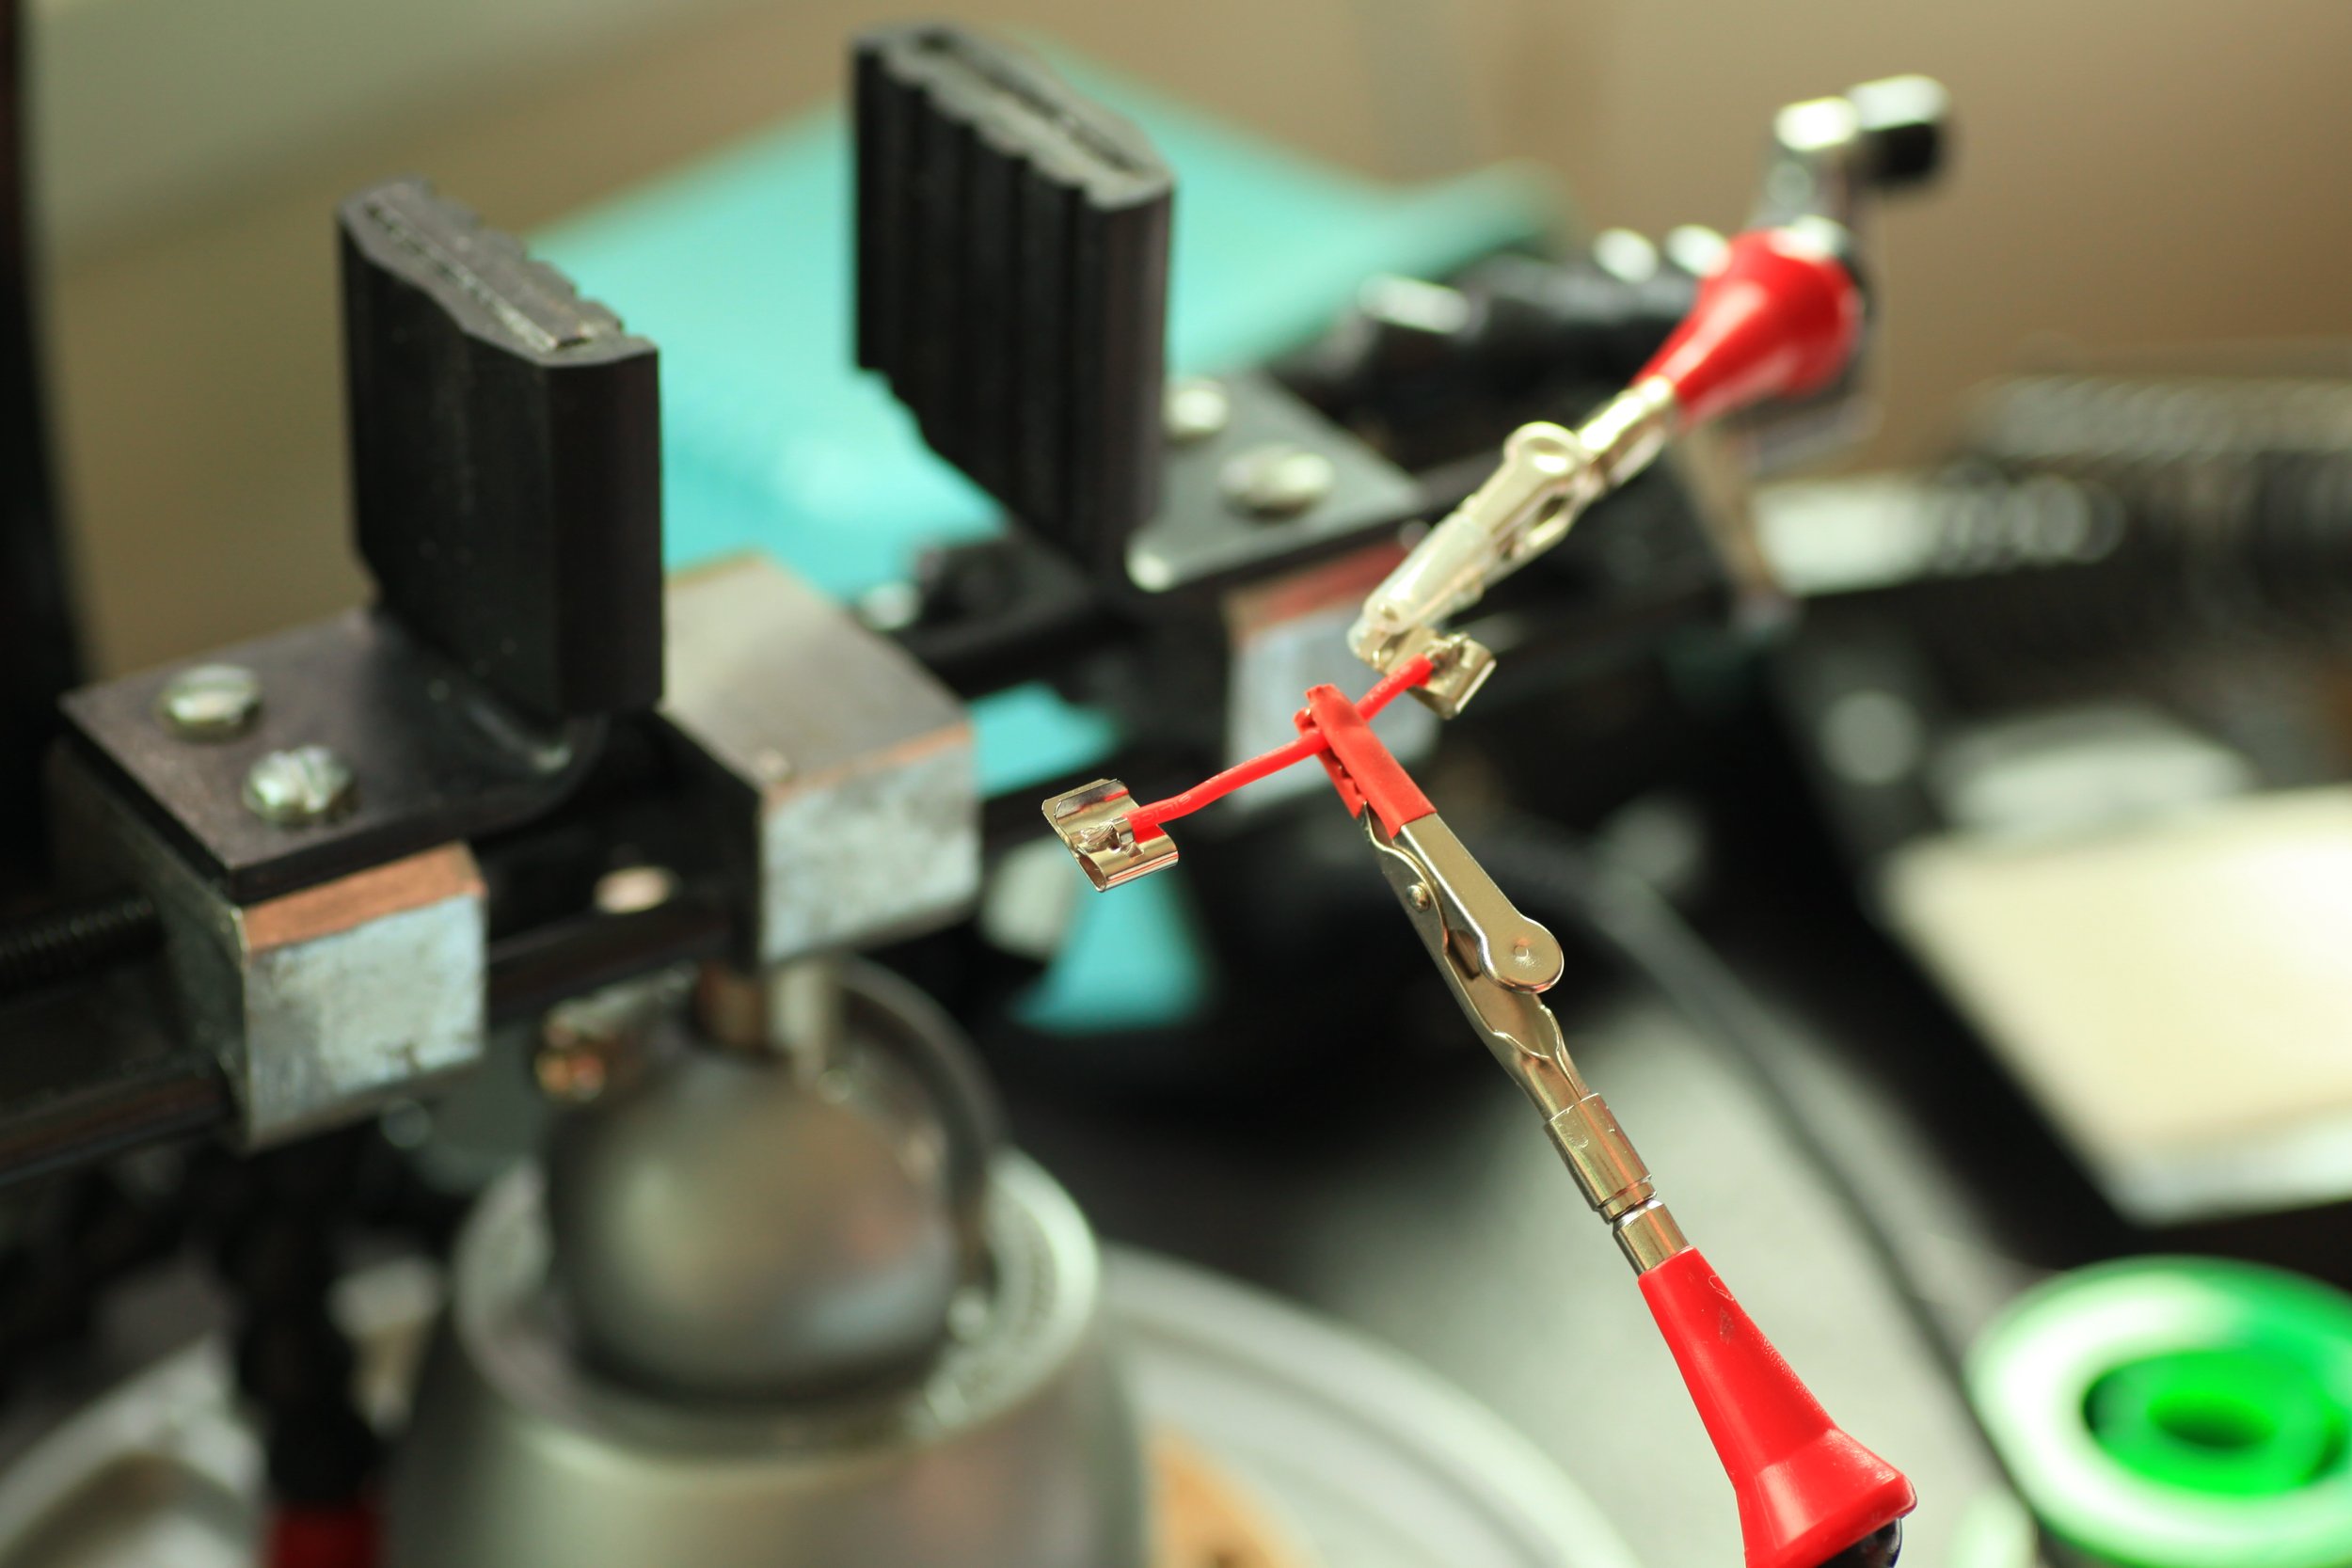
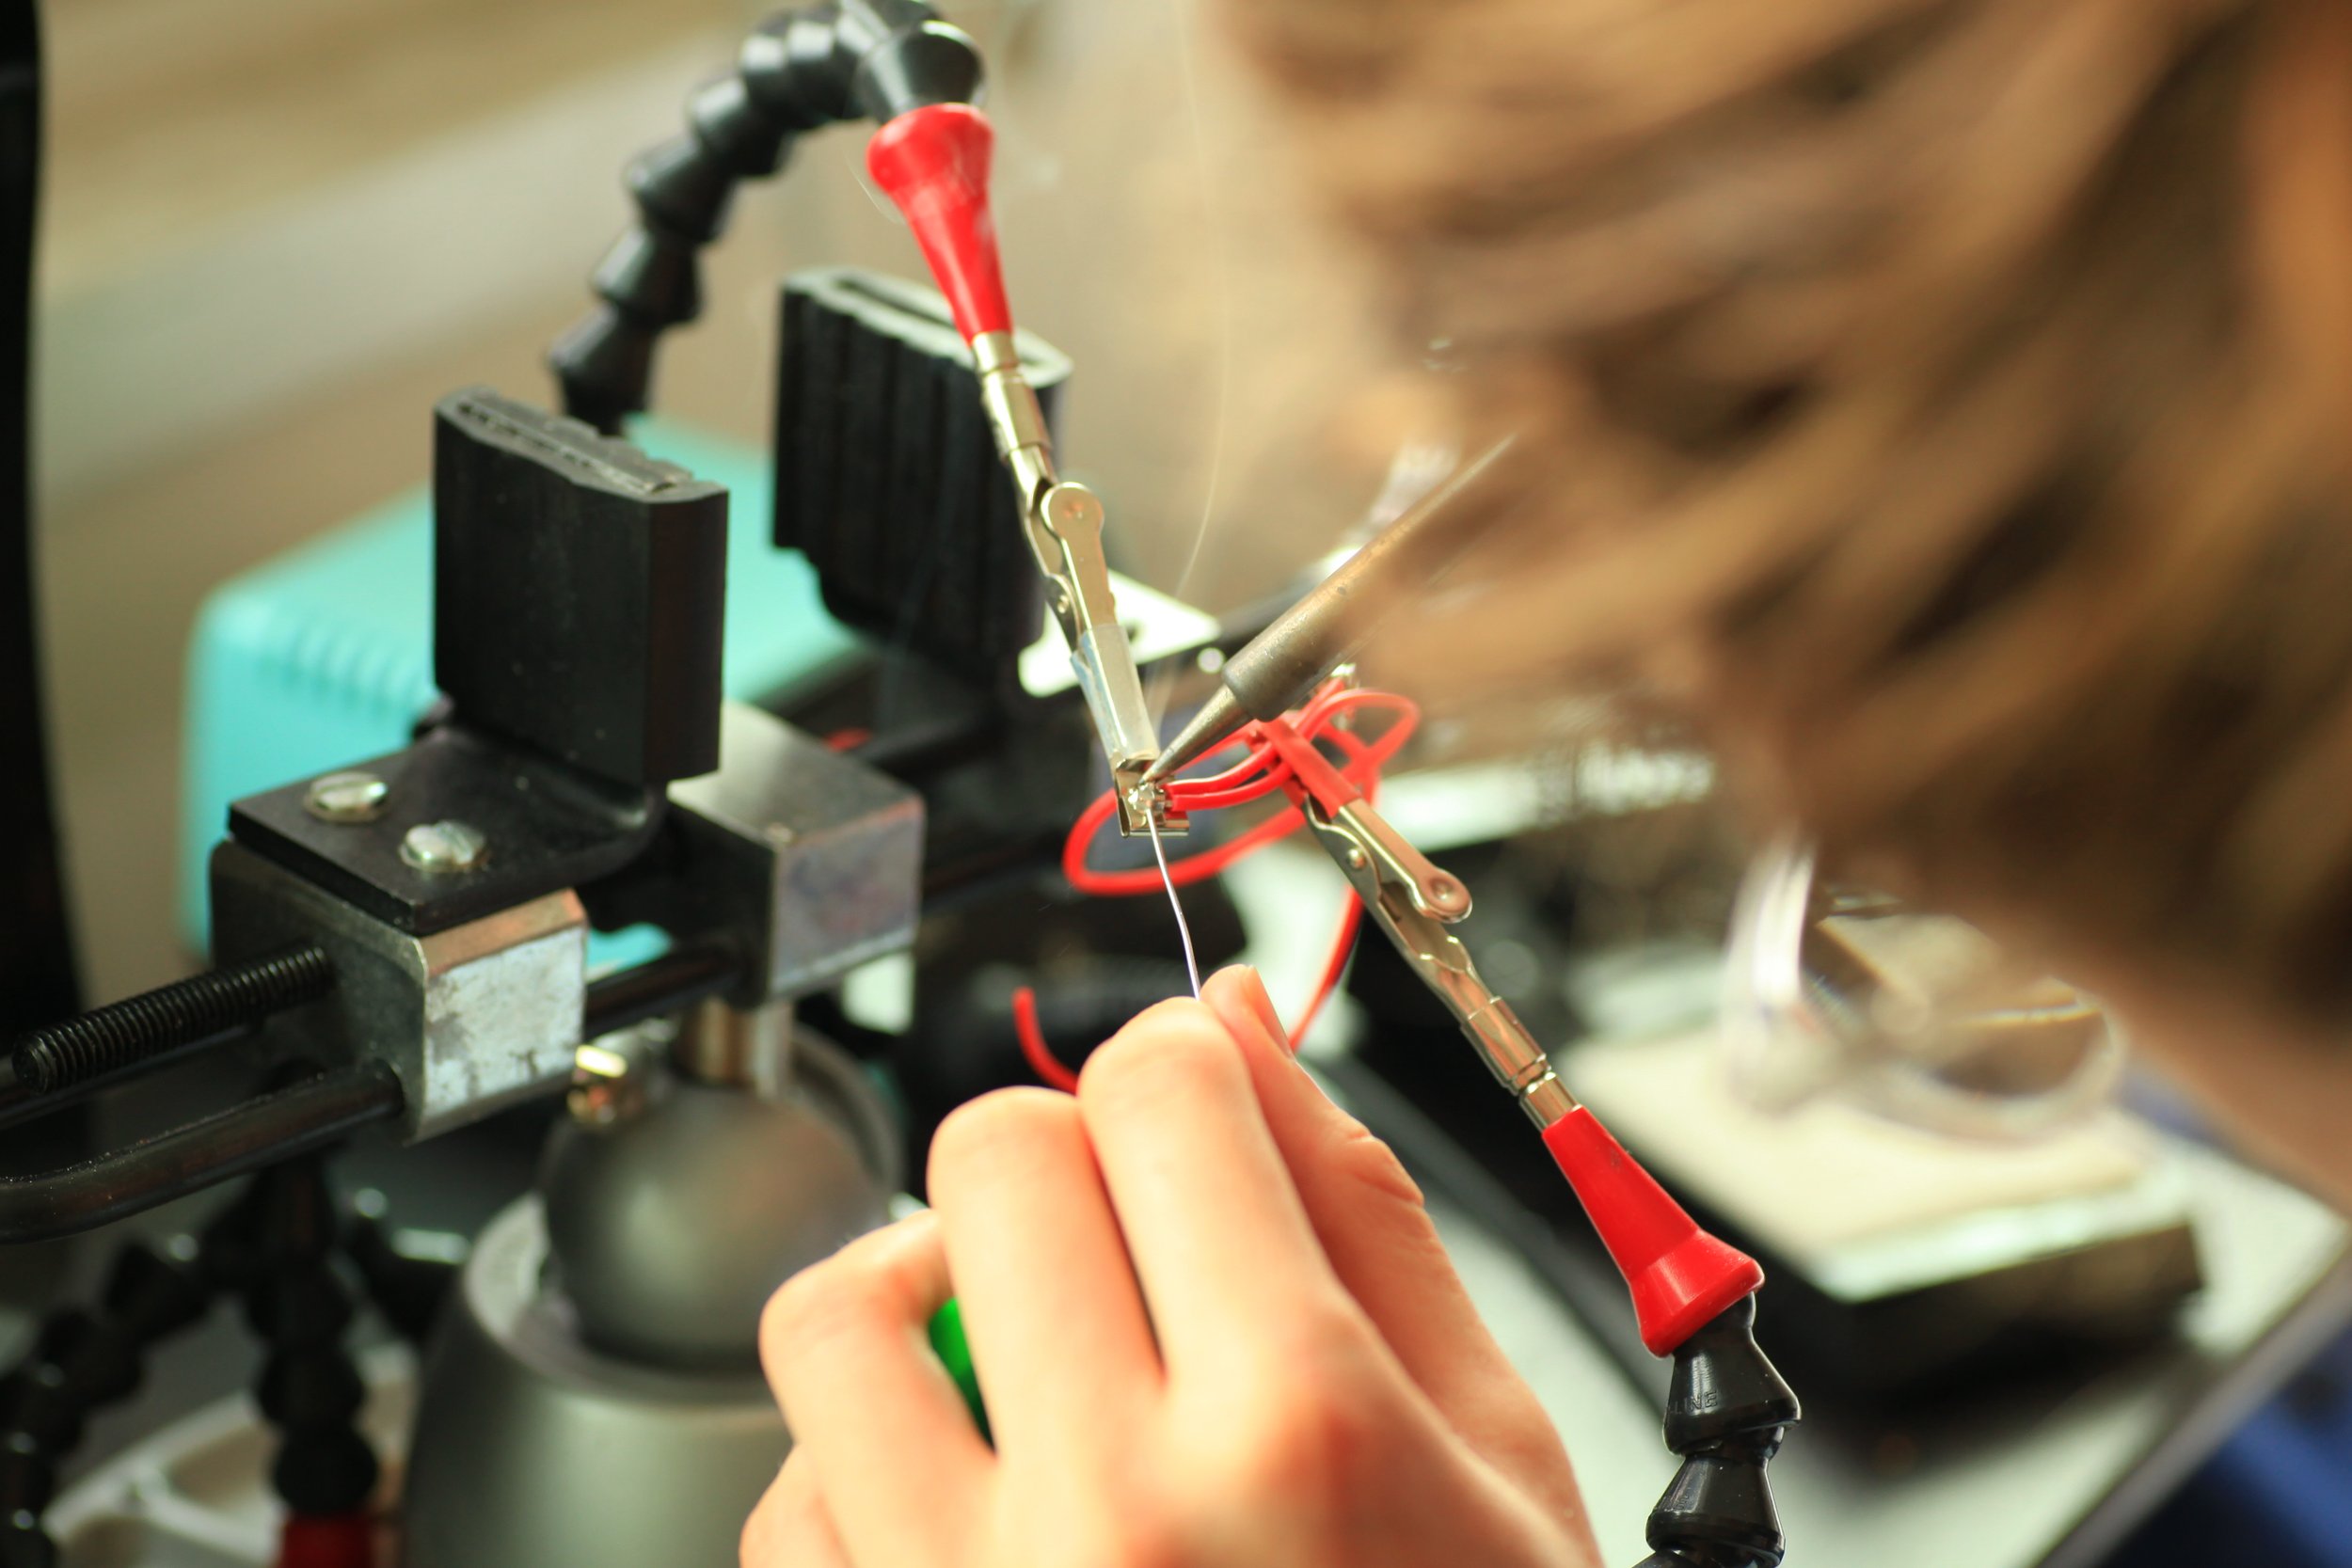
After lots of sessions at the oscilloscope, we ultimately realized that soldering the components in-house was not viable with our solder mask and solder oven, given the size of the components.
Once we opted for fully assembled boards from PCBWay the multiplexer worked great.
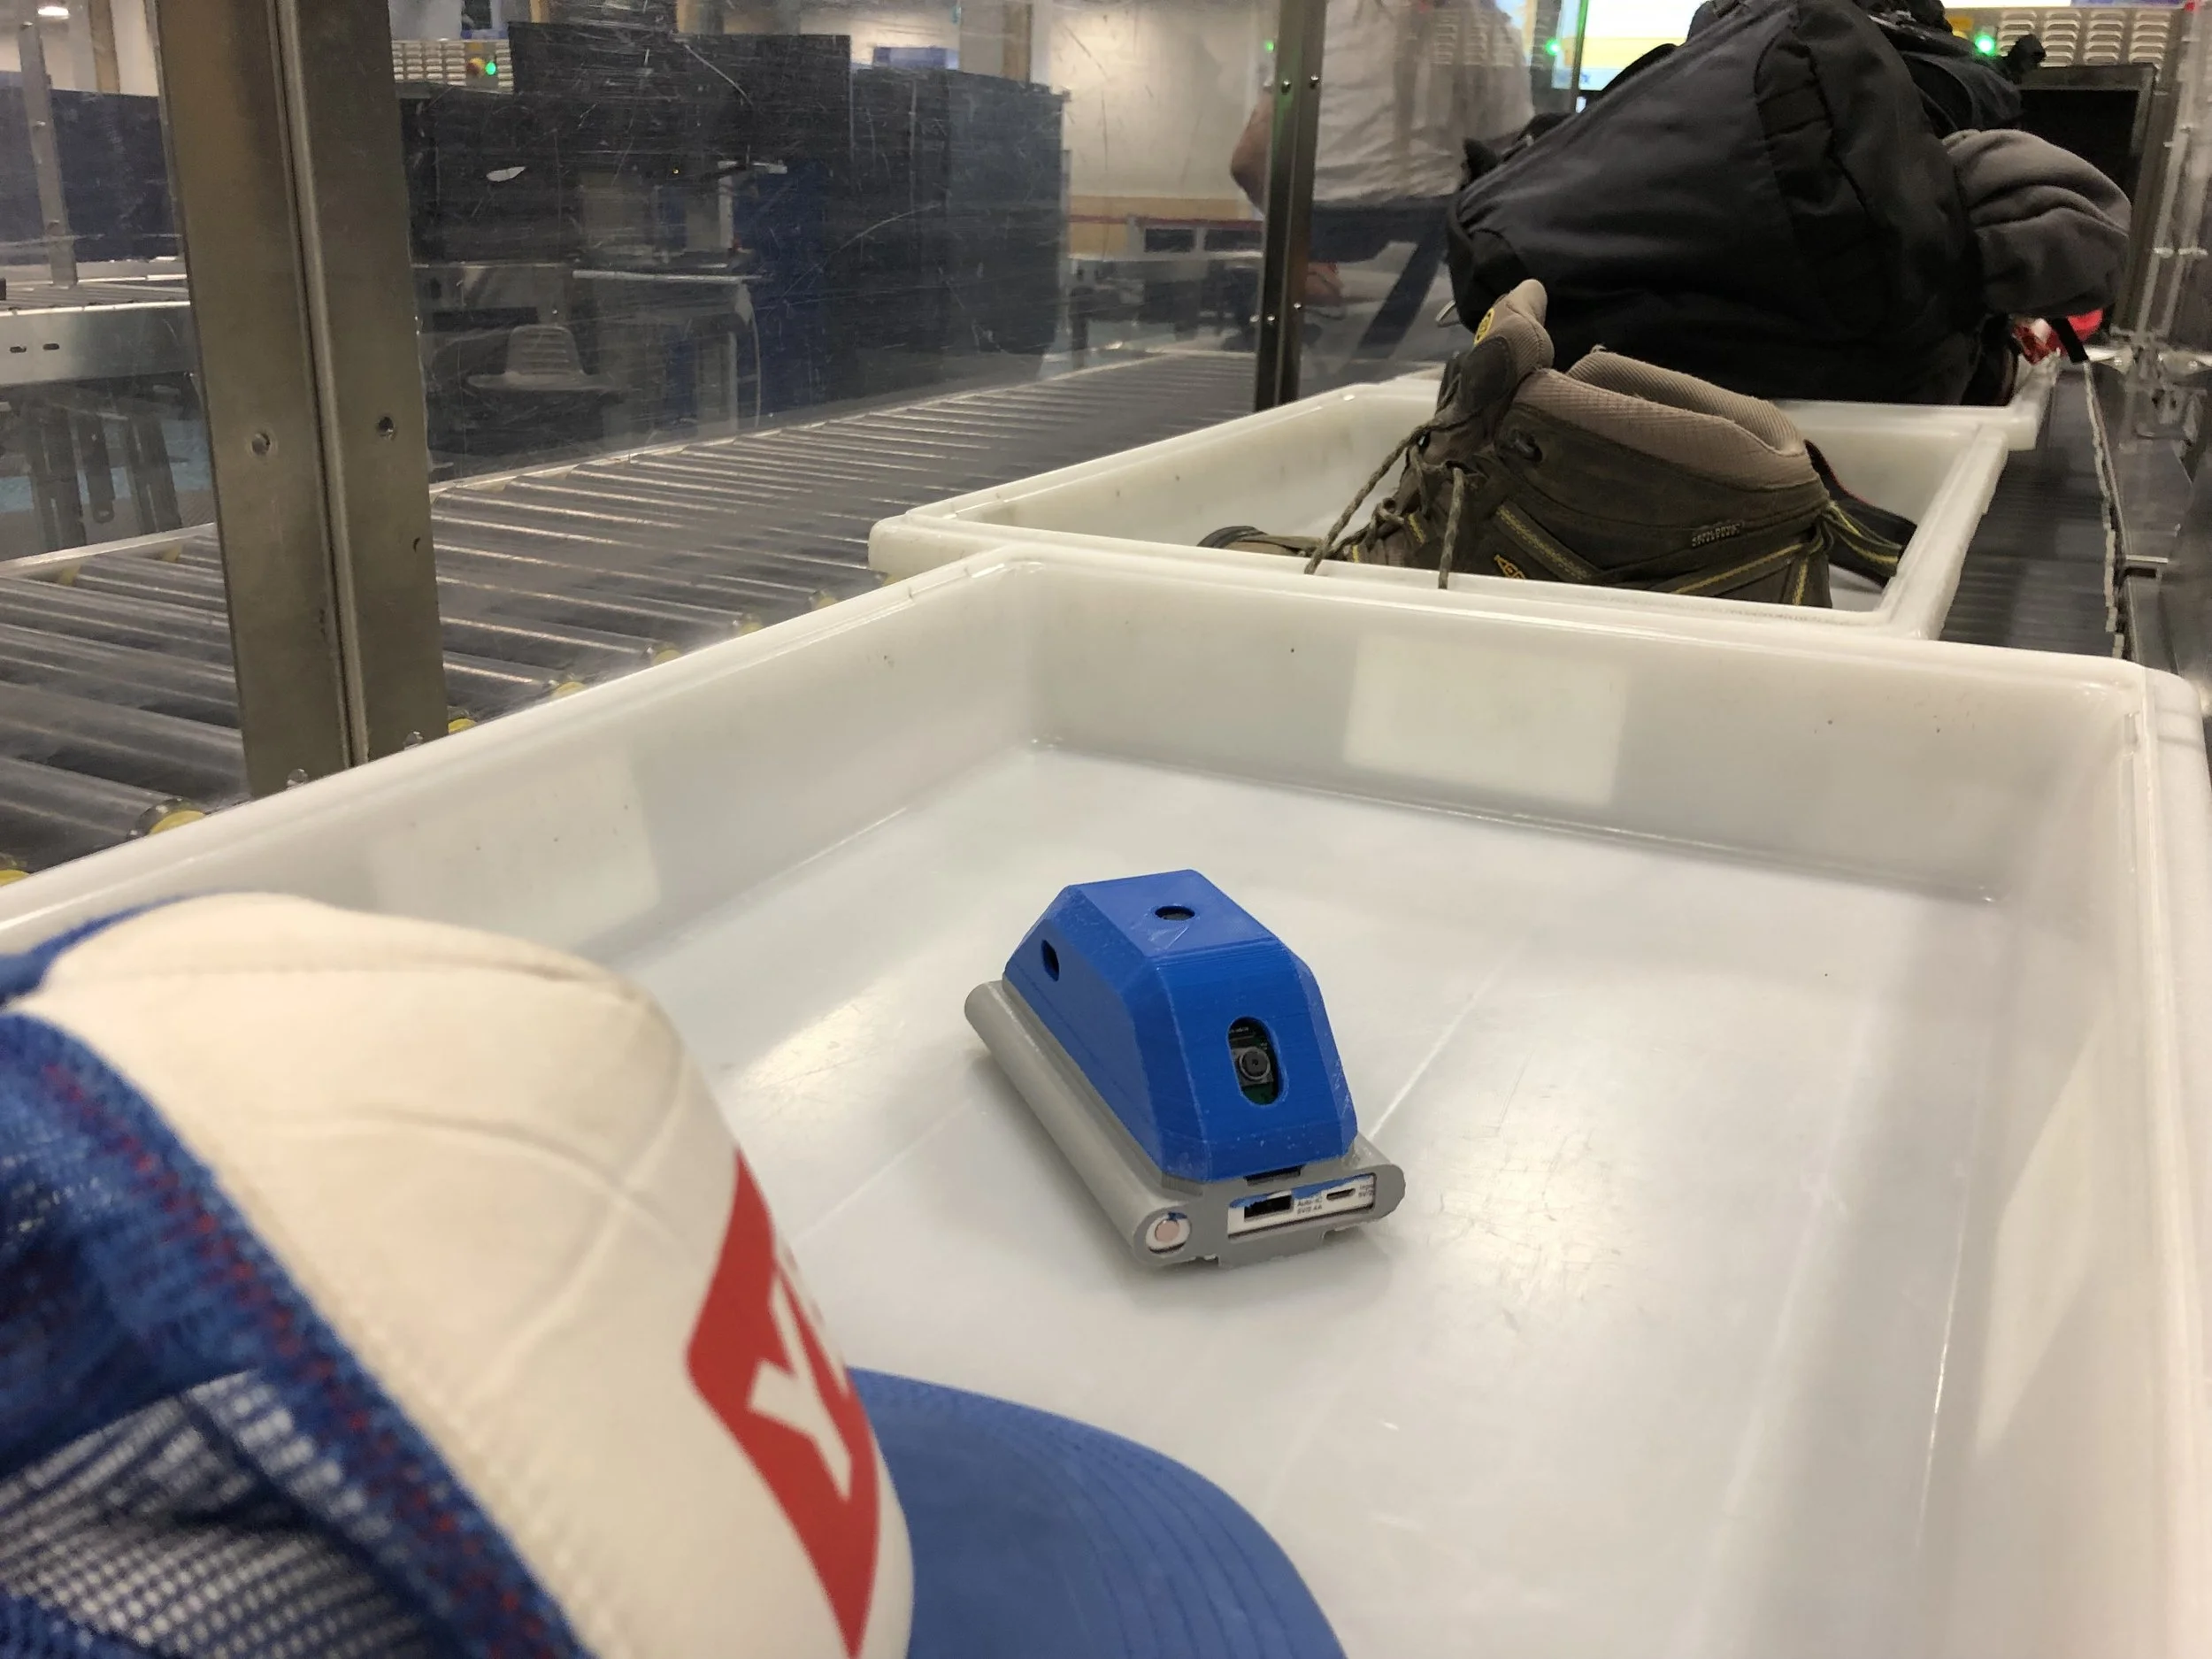
Testing in the Wild
Only by actually testing the camera in the real world (away from our constant WiFi connection in the studio) did we realize an oversight with the clock and added a RTC module to the final multiplexer board.
After a weekend hiking in Mt. Rainier National Park, testing an intermediate prototype I was looking back through the camera data. I realized that the camera was not keeping track of time and would pick up time where the last hike stopped. I realized the problem was the Raspberry Pi quickly lost track of time if it didn’t have internet on boot to sync its clock.
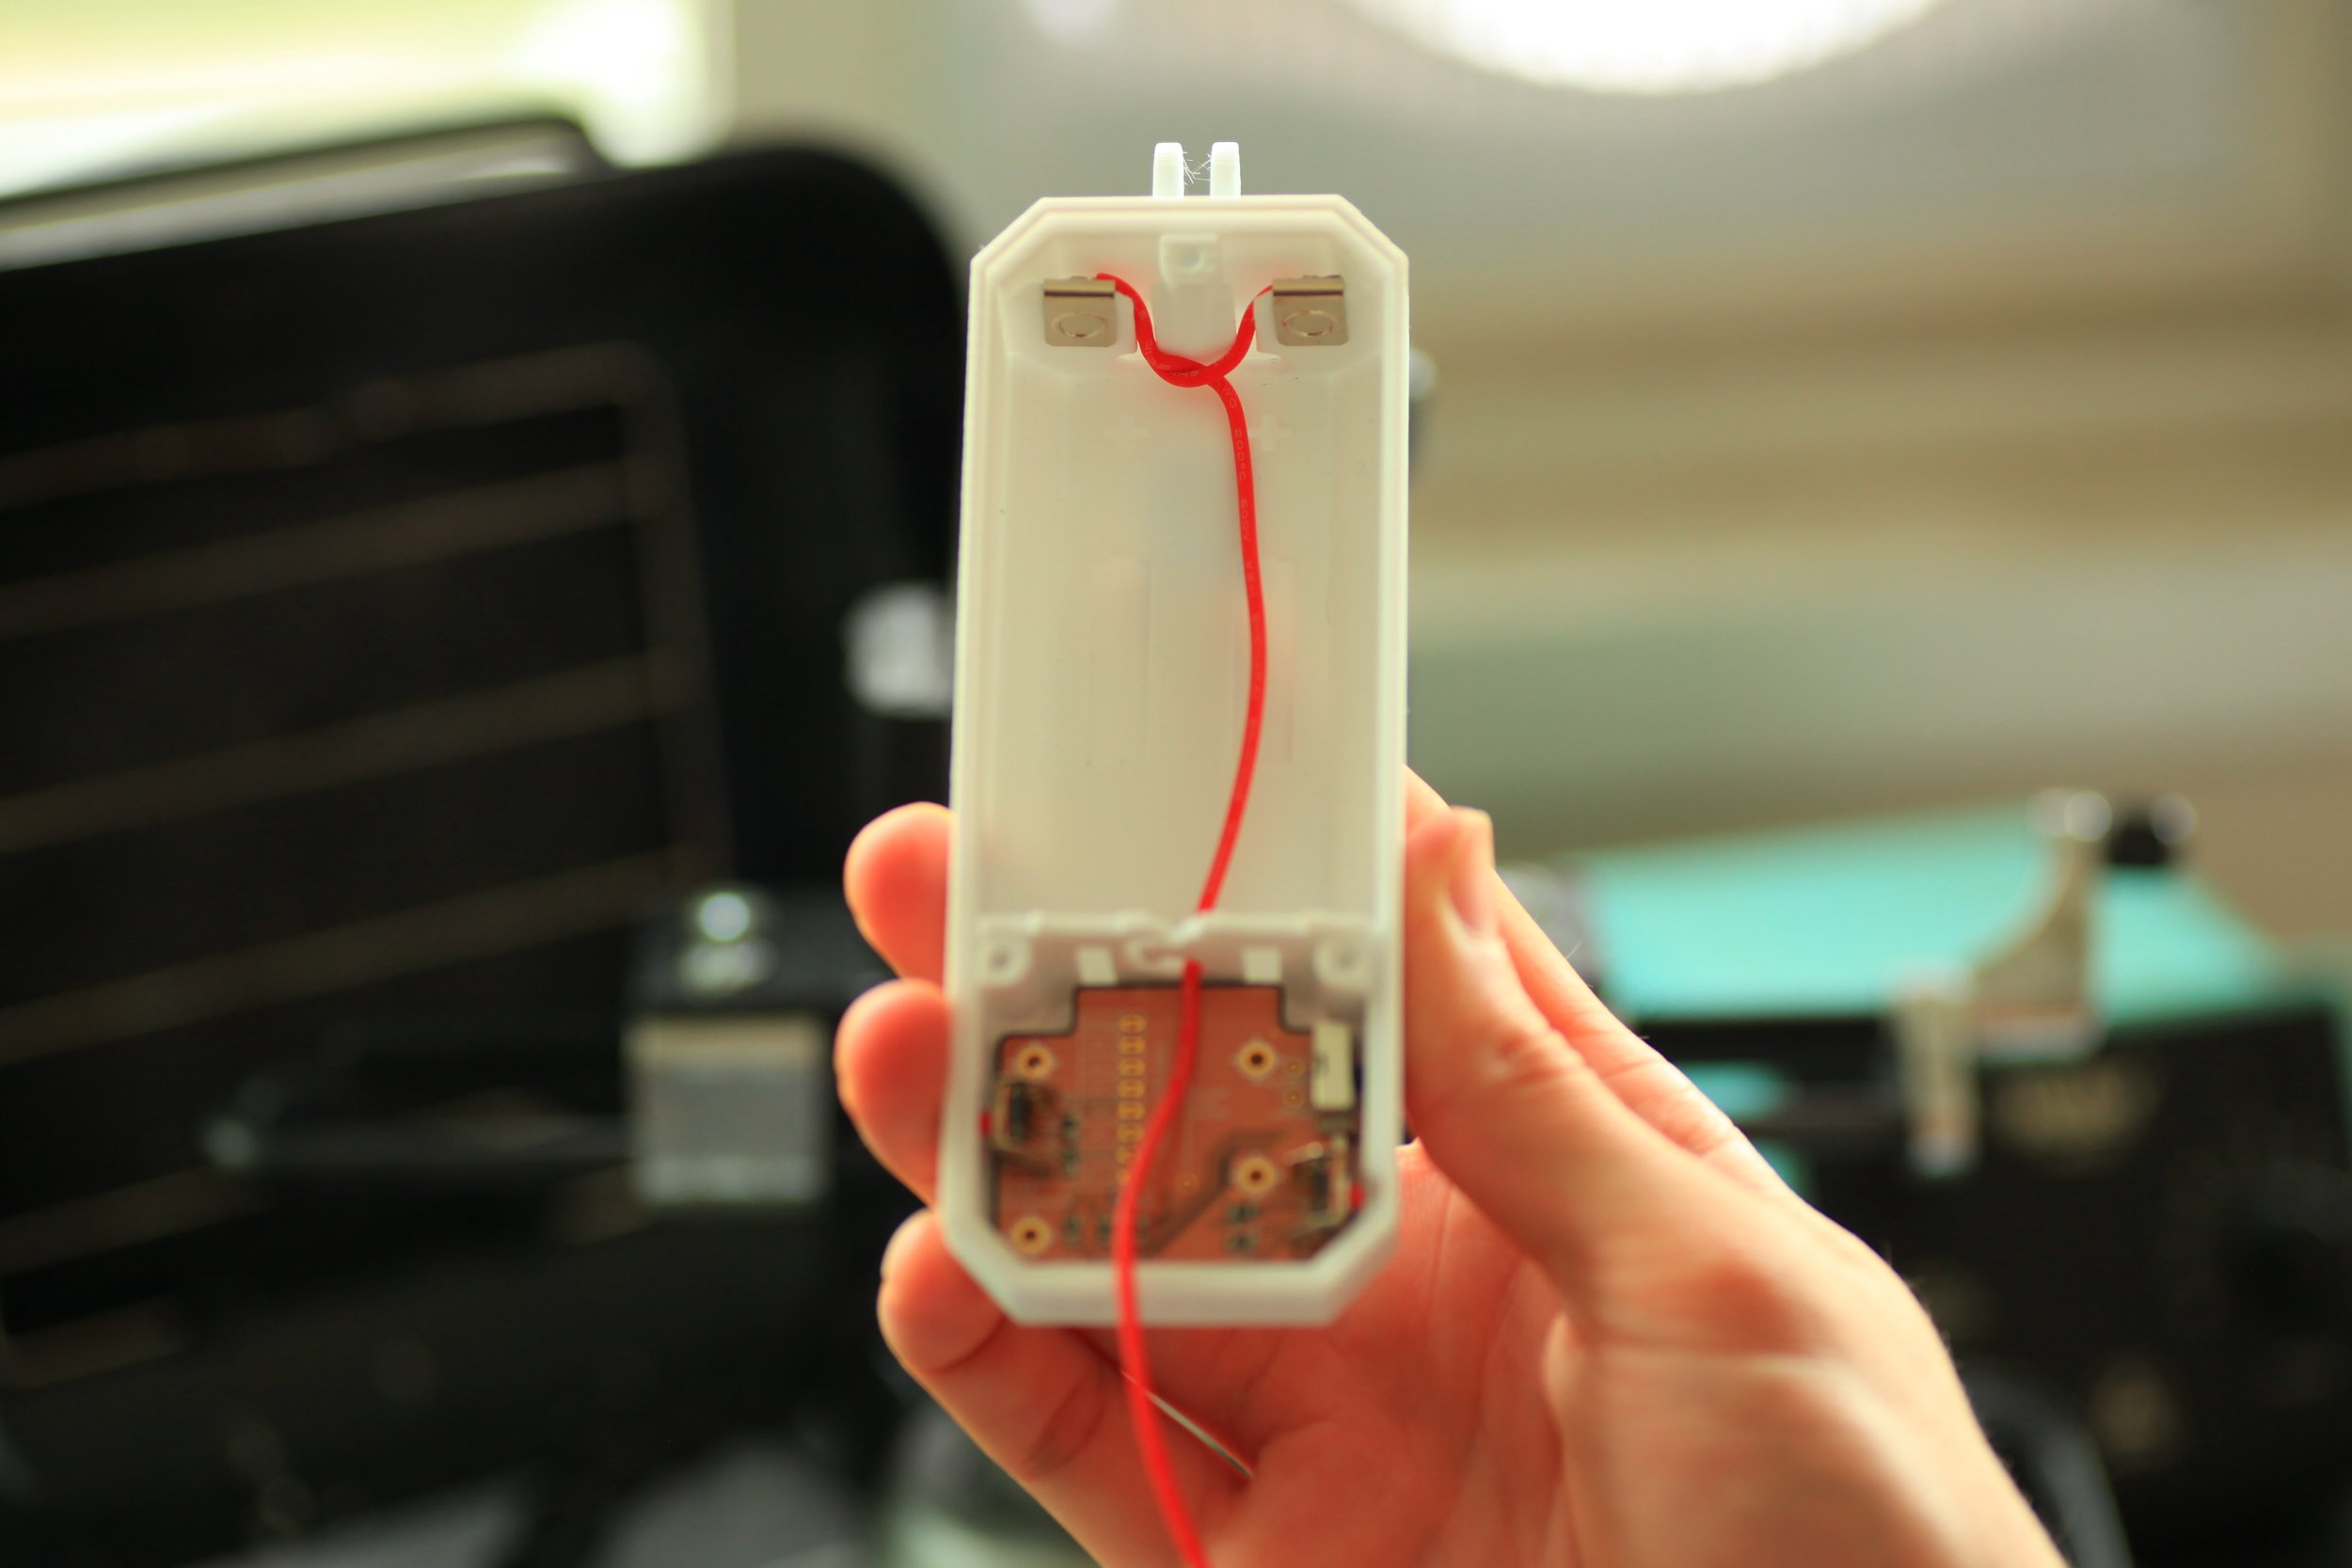
At this point in the design, we used a portable battery in a 3D printed holder to power the camera, had no lens covers, no weather proofing, and no GoPro connector.
A shot from the Collector in Mt. Rainier National Park
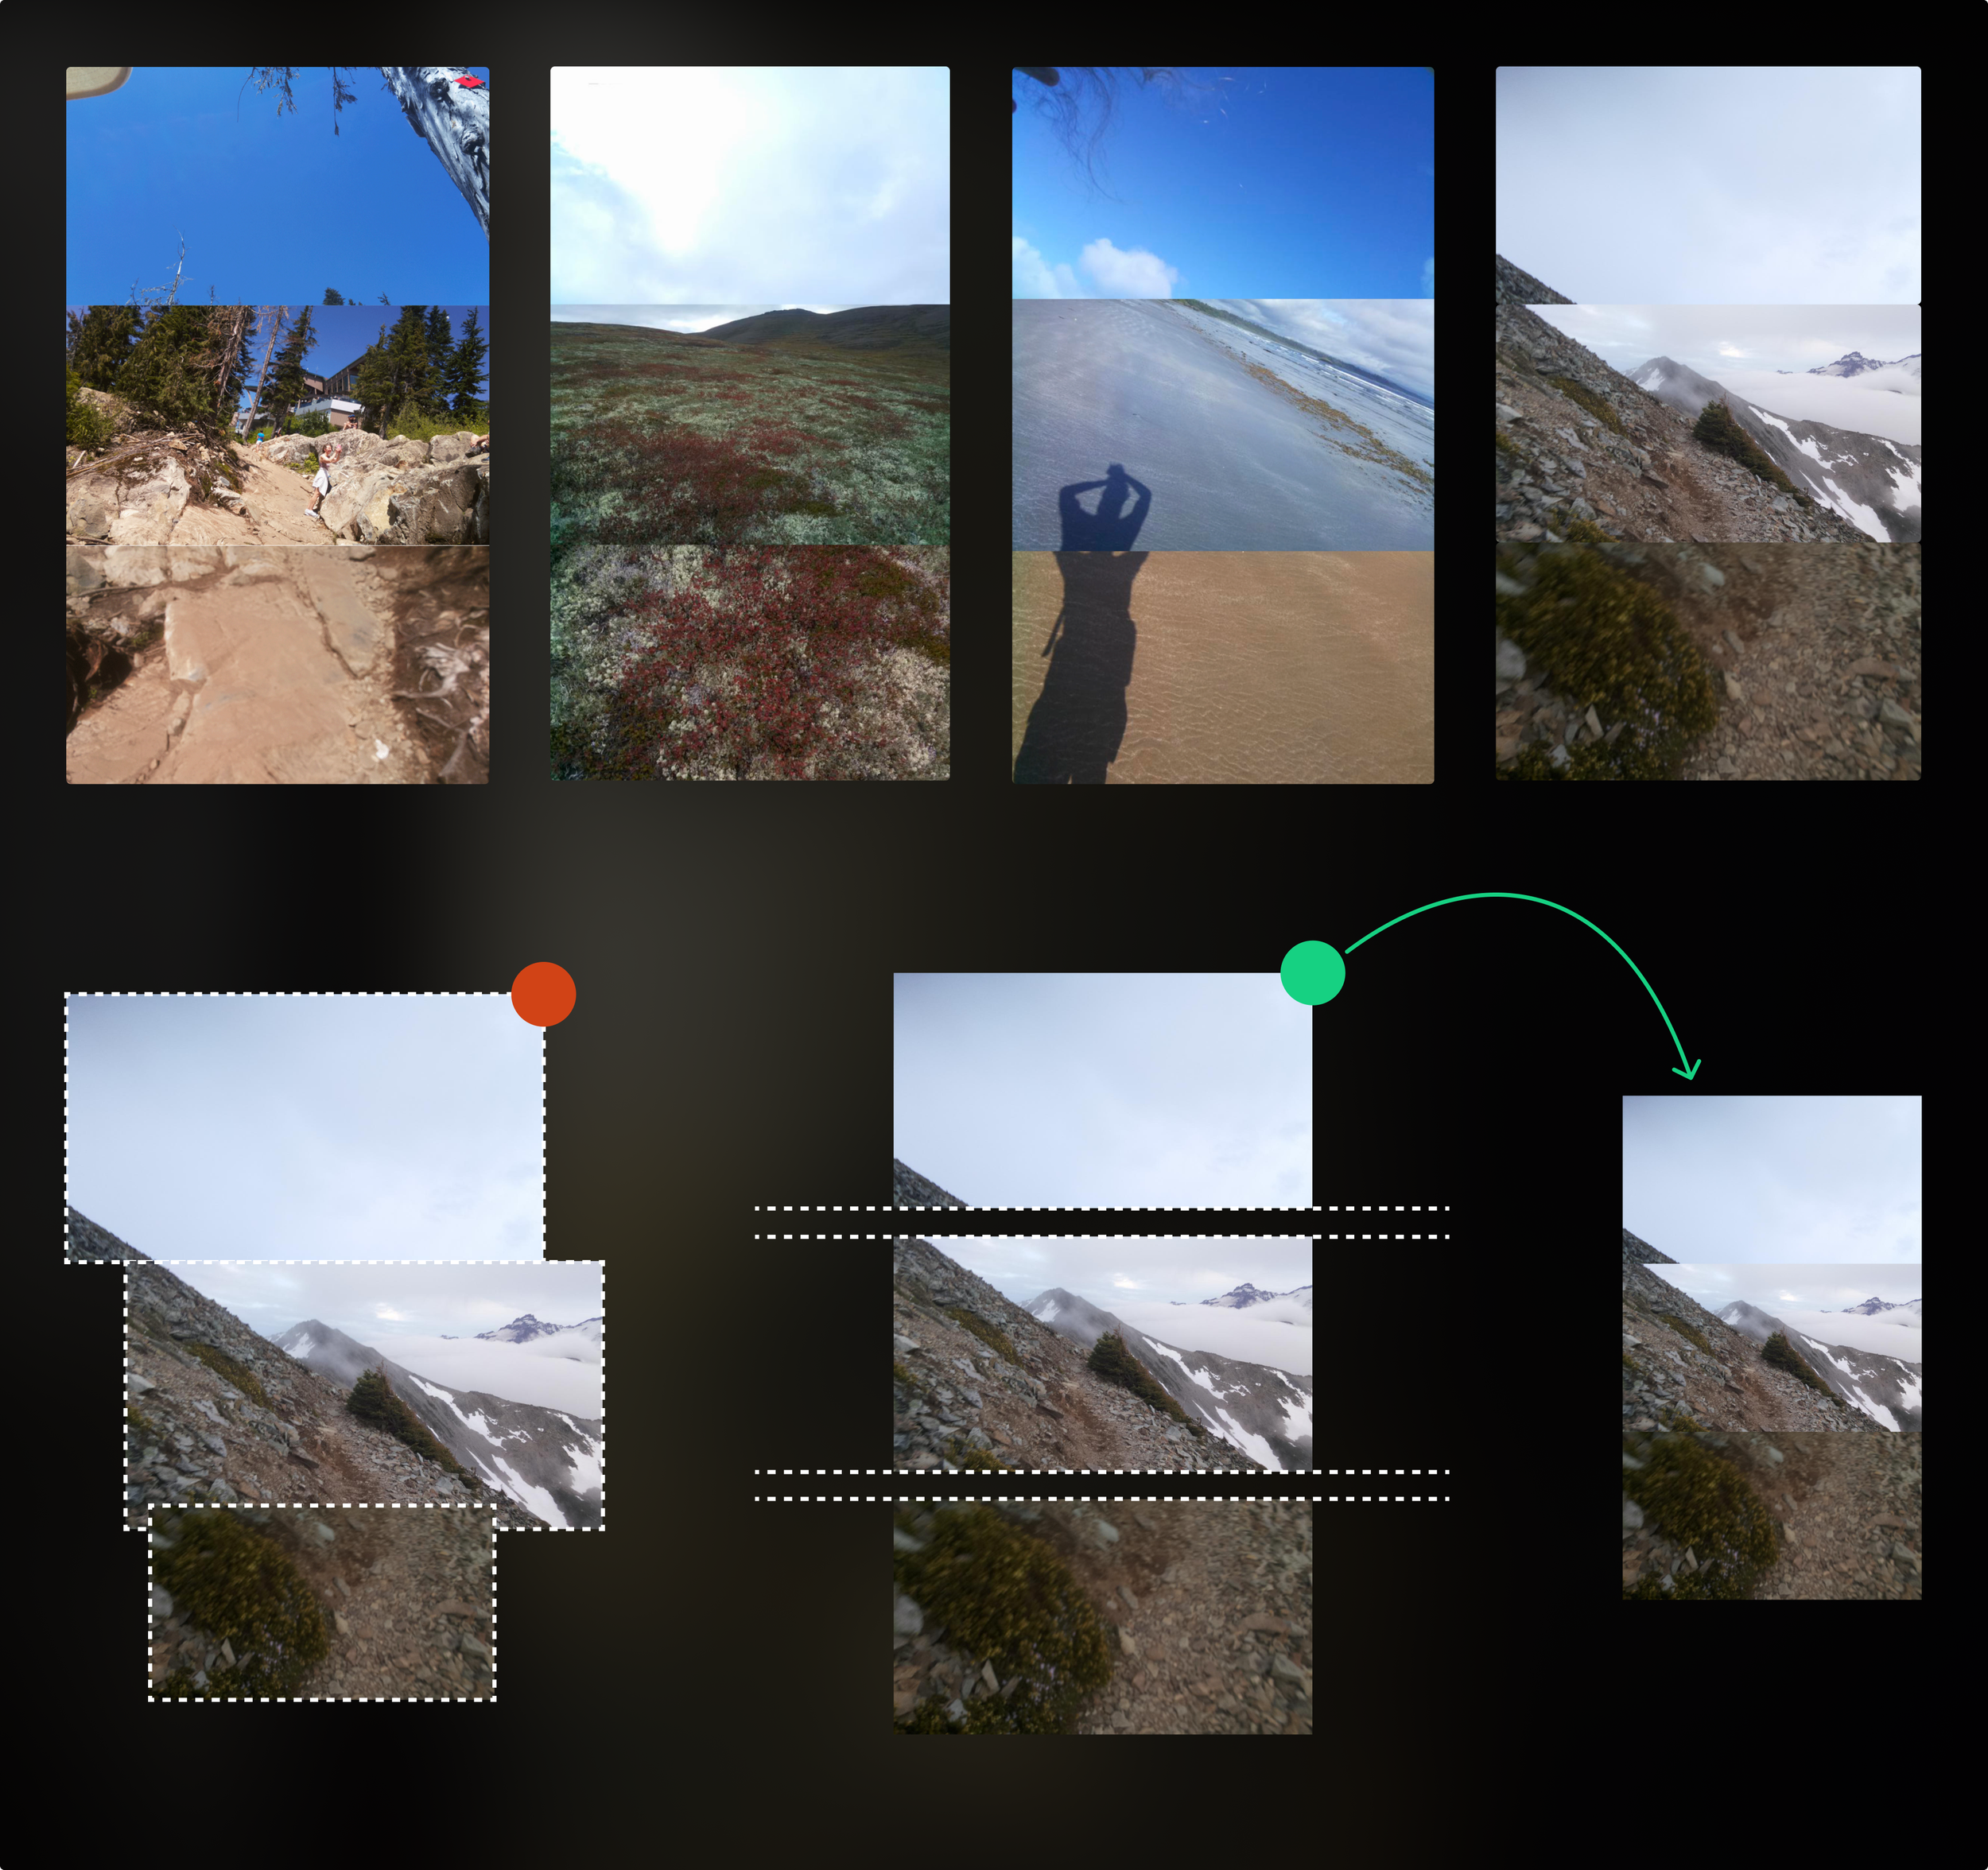
Exploring the 3 Perspectives
The Collector captures images from three different perspectives, creating a kind of vertical panorama.
The cameras are offset on the vertical axis far enough that there is a slight gap between each lens’s field of view.
We explored different ways of stitching these images back together: through connecting visual features treating them as separate images; before ultimately stacking them and embracing the seams that this emphasizes.
Camera Software
I wrote all the Collector software which reads from the 3 cameras, altimeter, RTC and saves to a SQLite database. It also controls the light and sound feedback when a user is starting, recording, pausing, and stopping a hike.
You can see the full code on GitHub
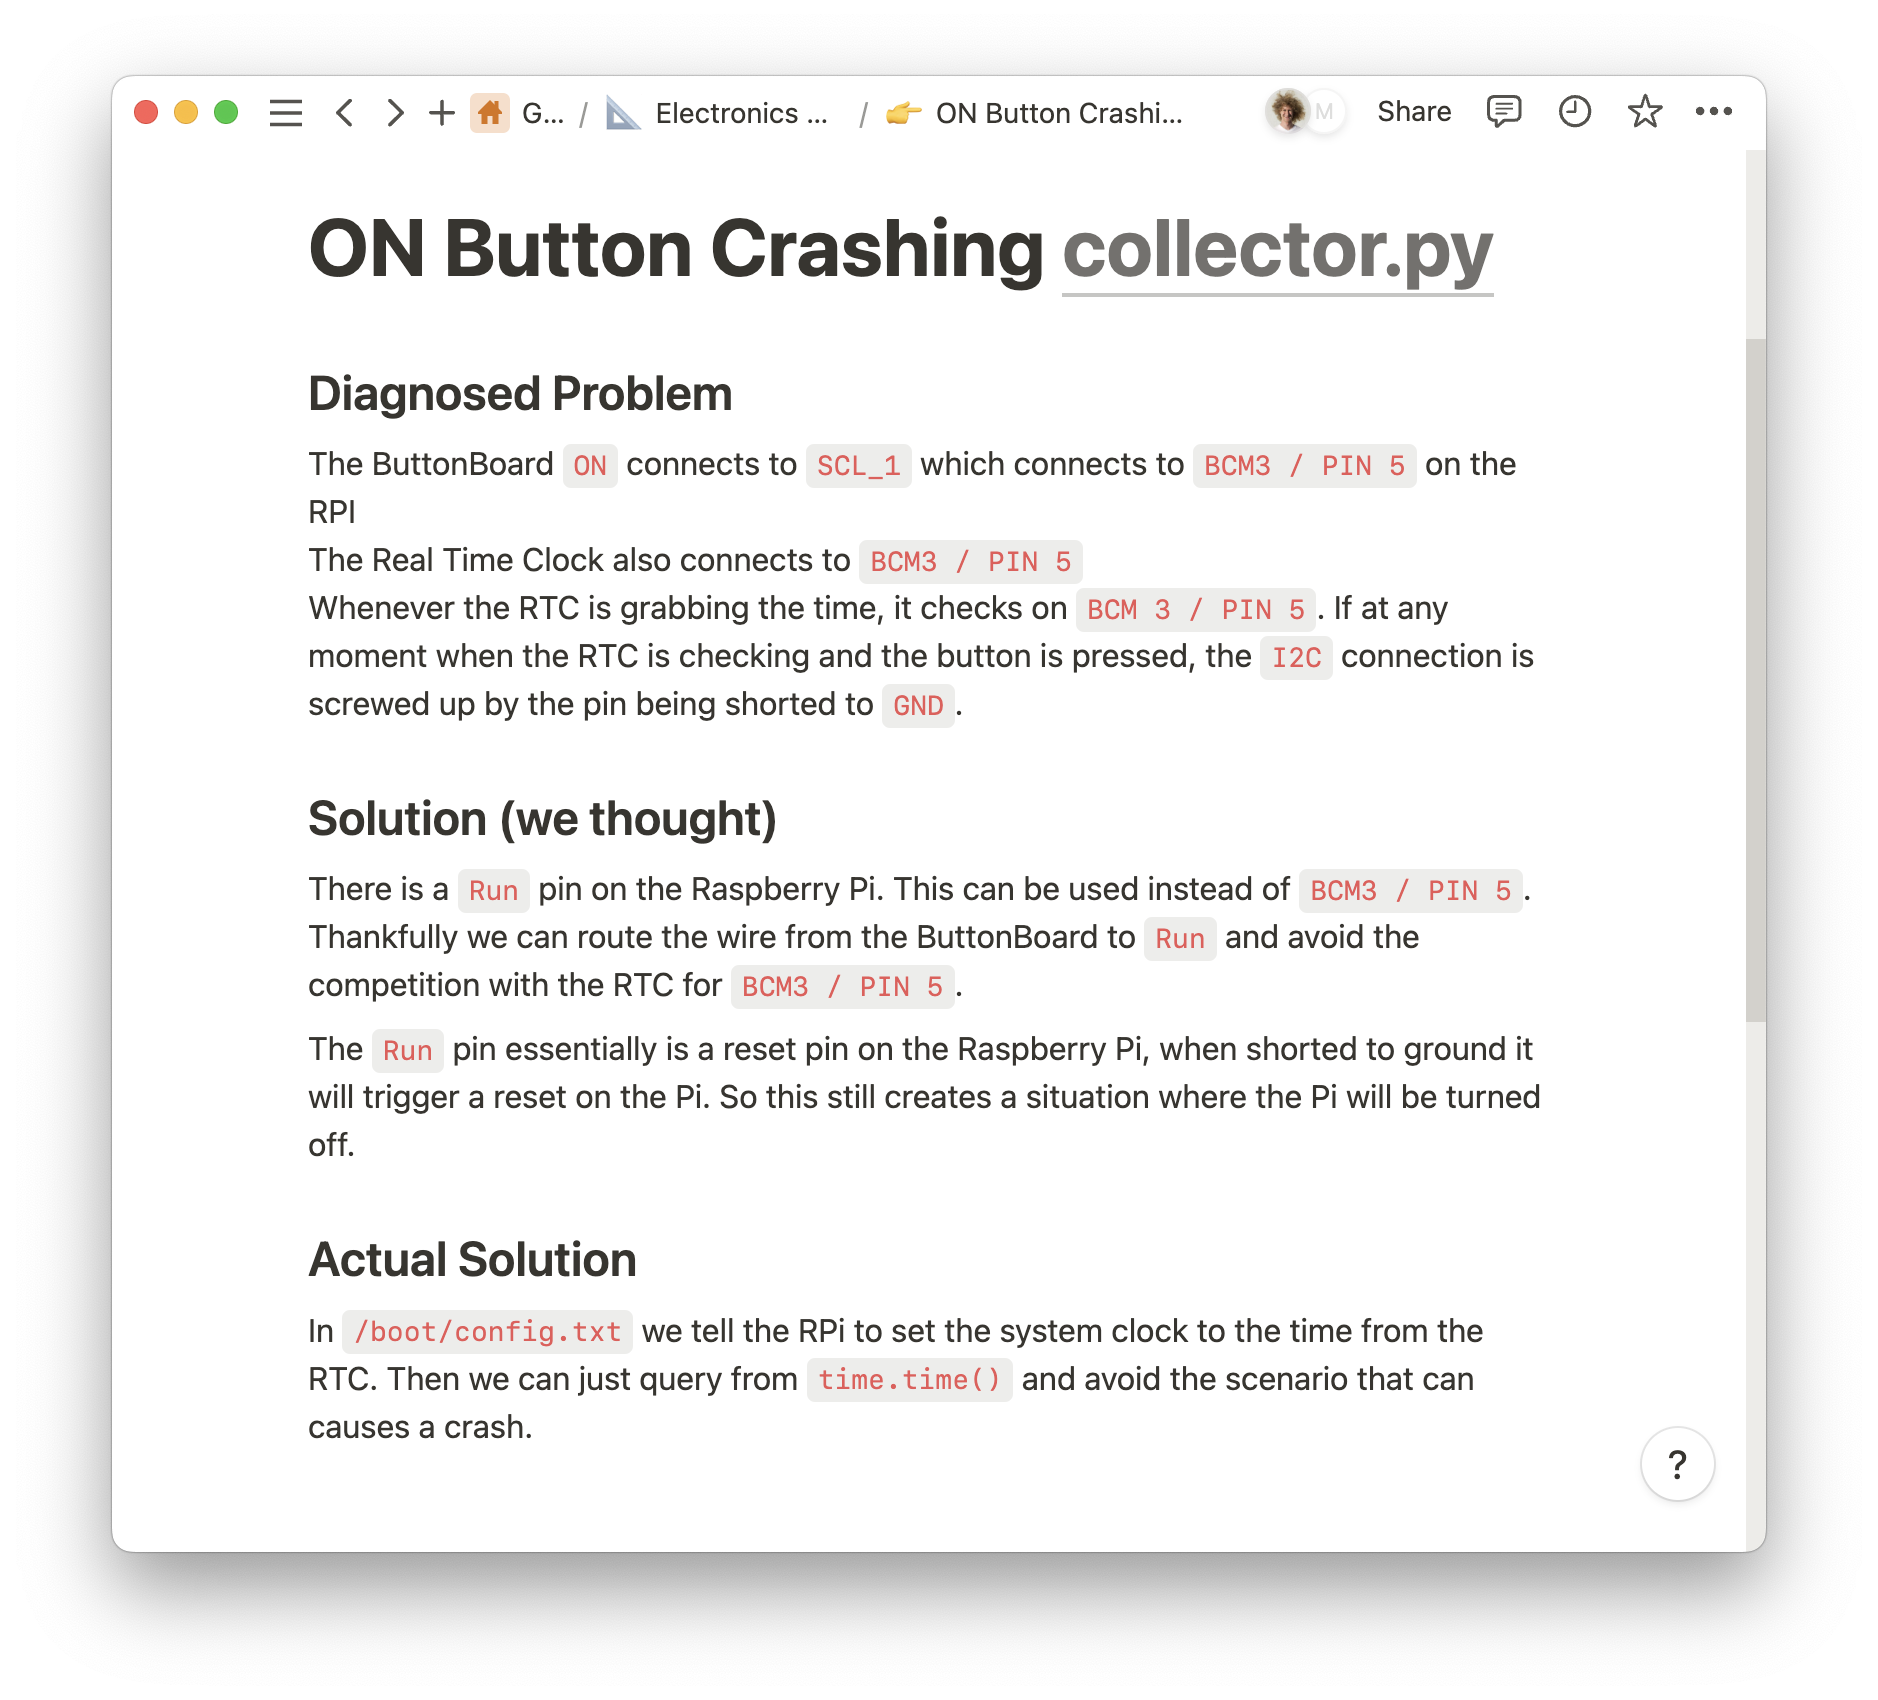
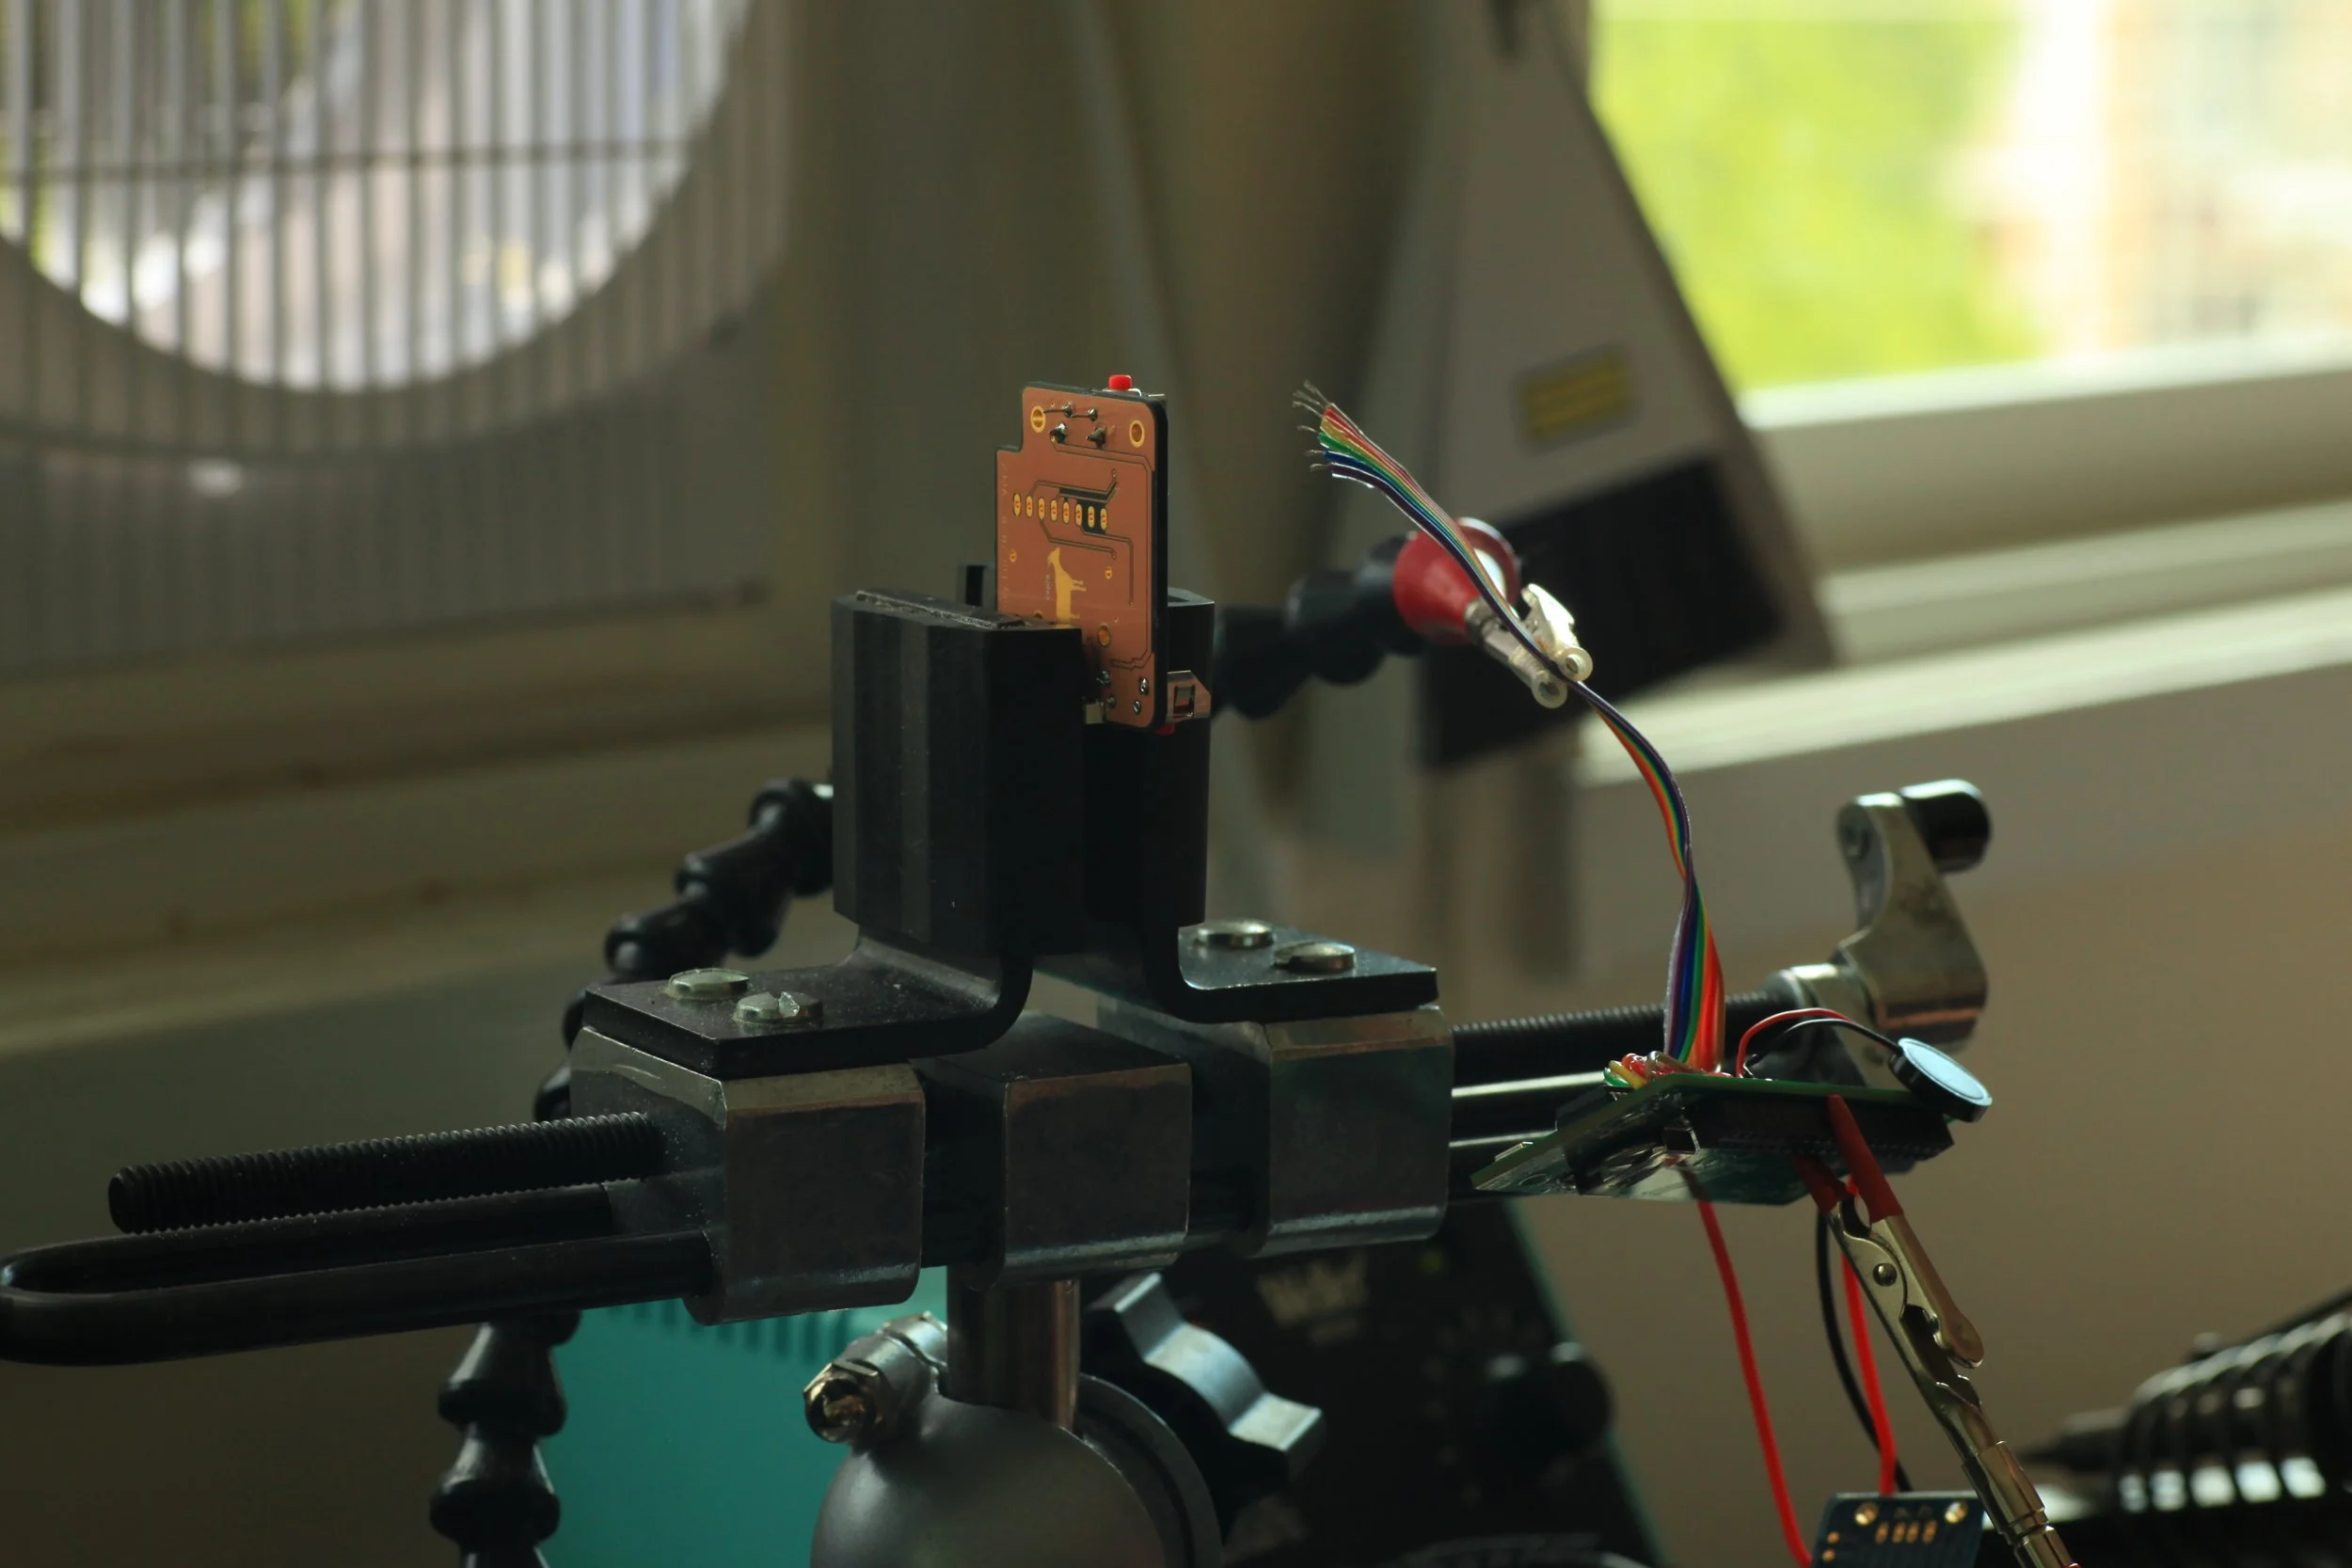
Various Technical Issues
Working on this project, we encountered a lot of bugs, especially hardware related.
Here are my notes on one particularly weird issue where pressing the power button during a hike, could cause the camera to crash.
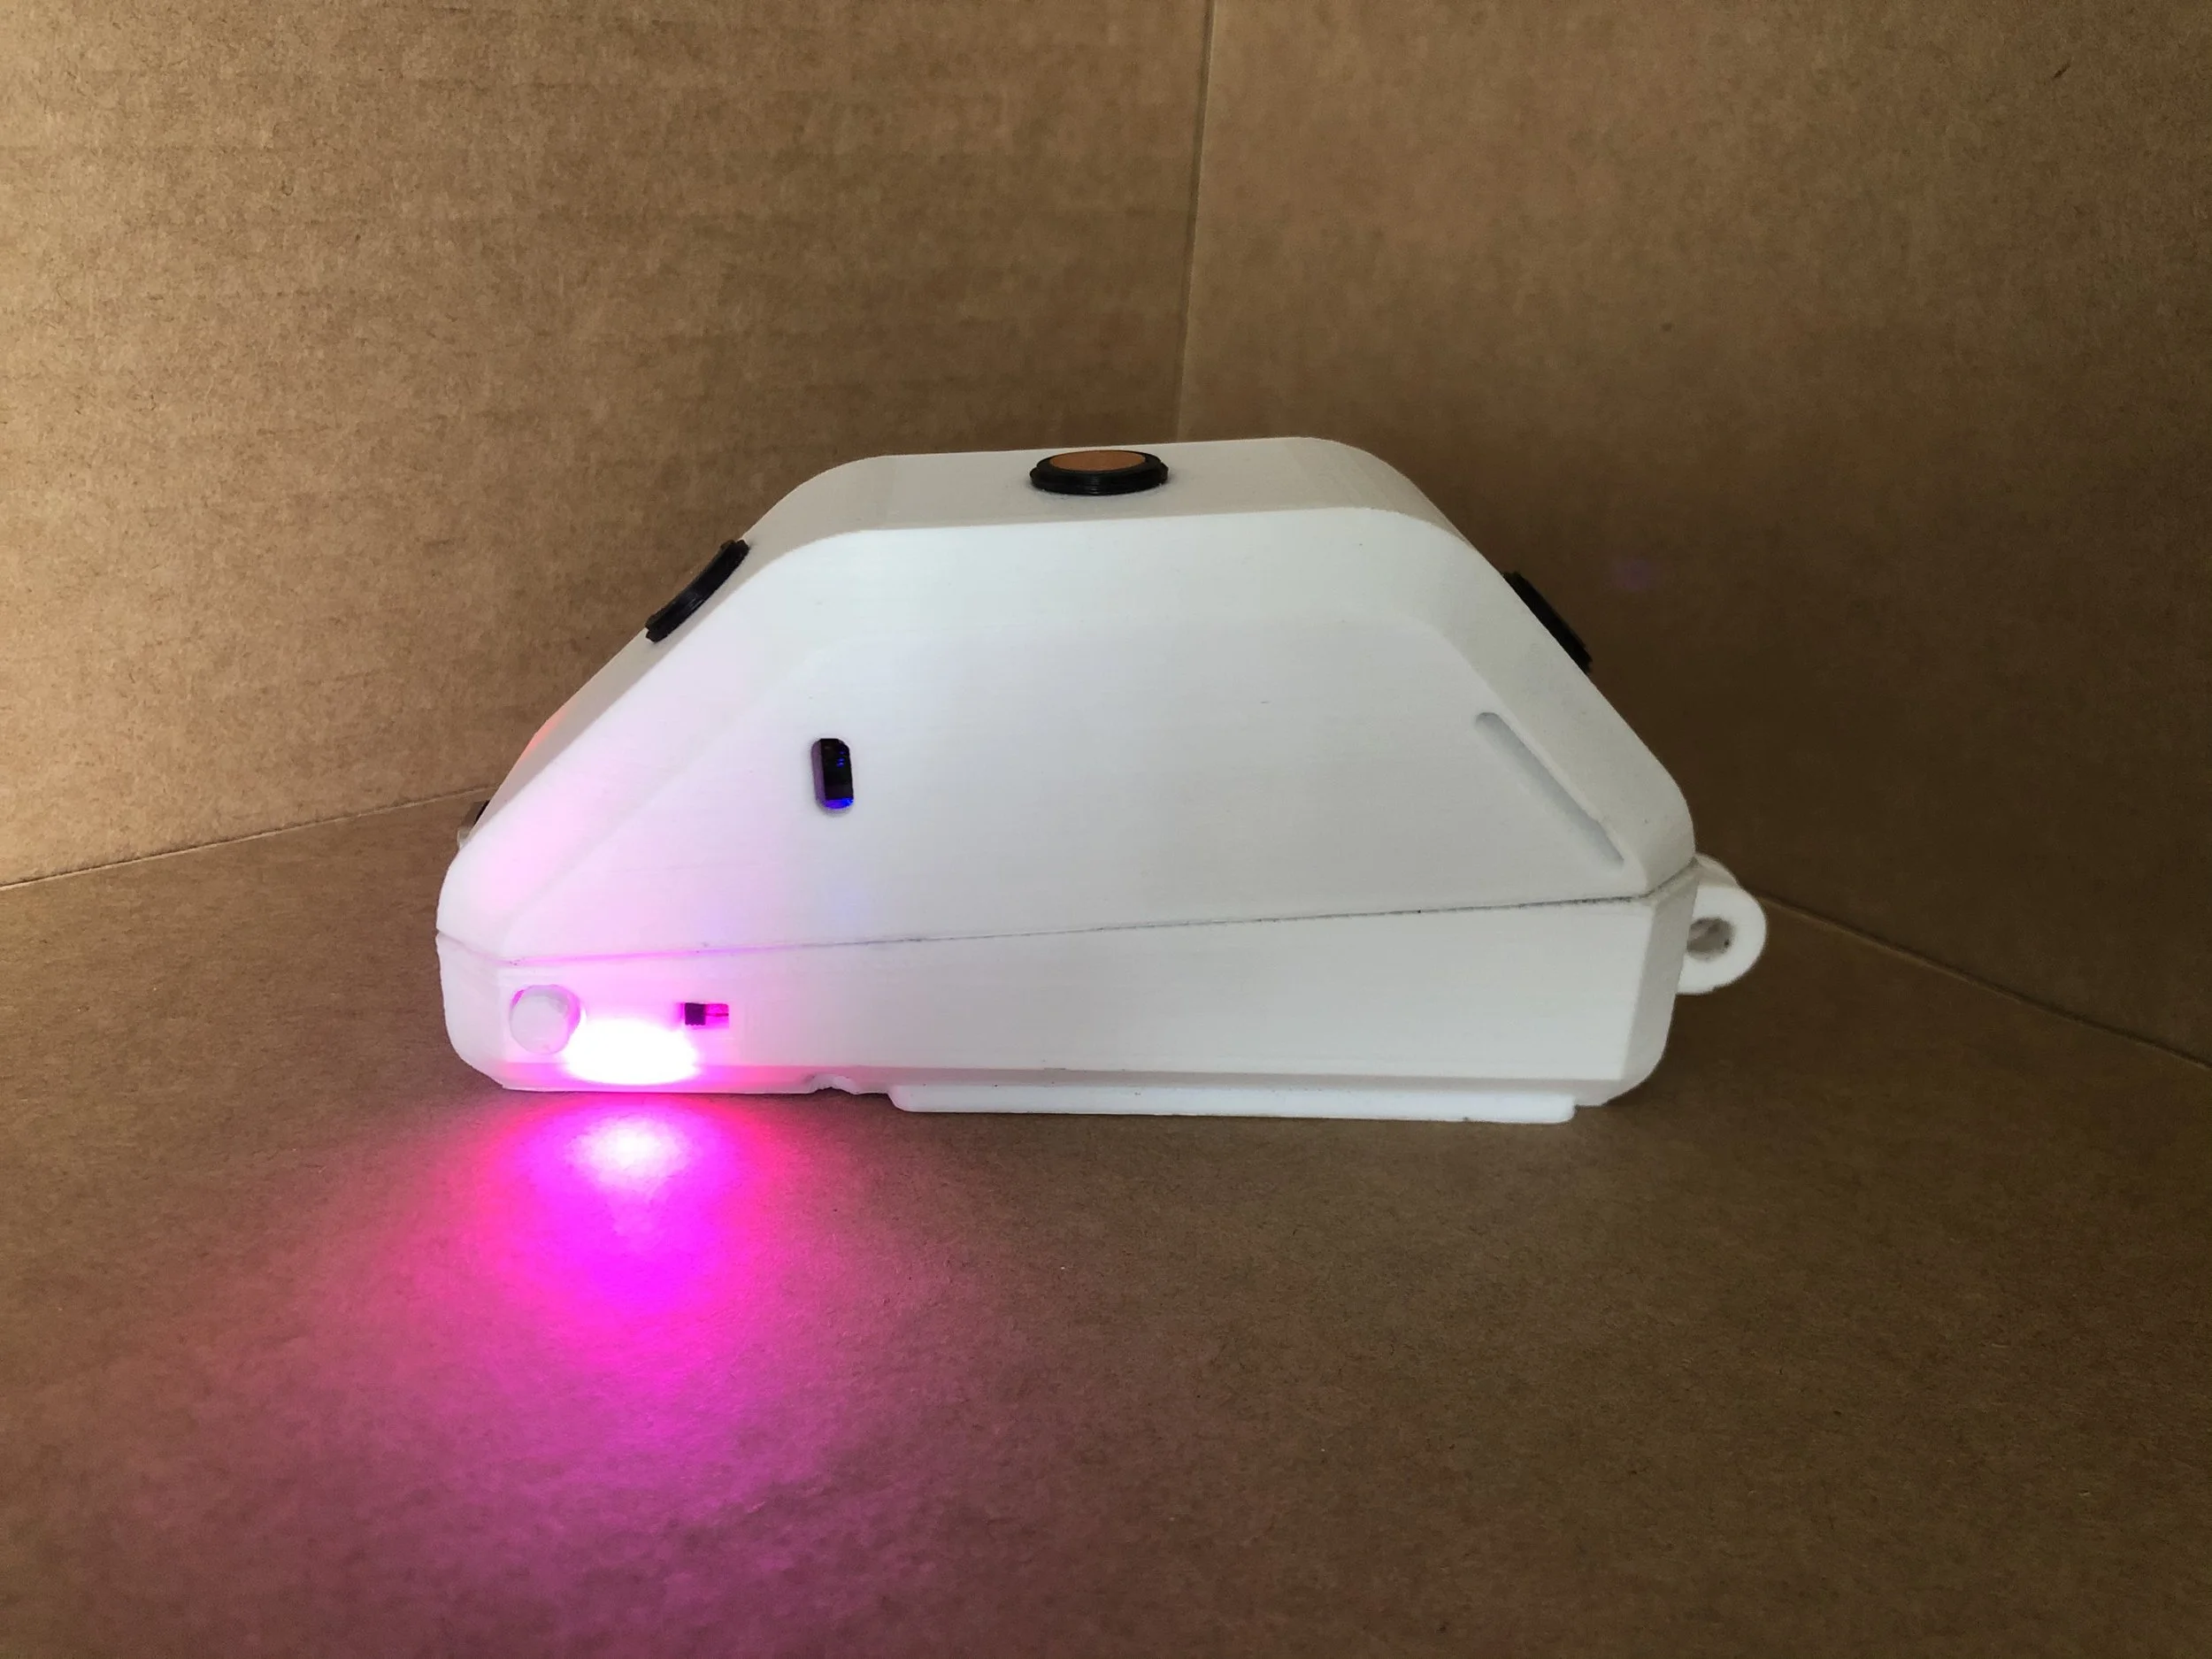
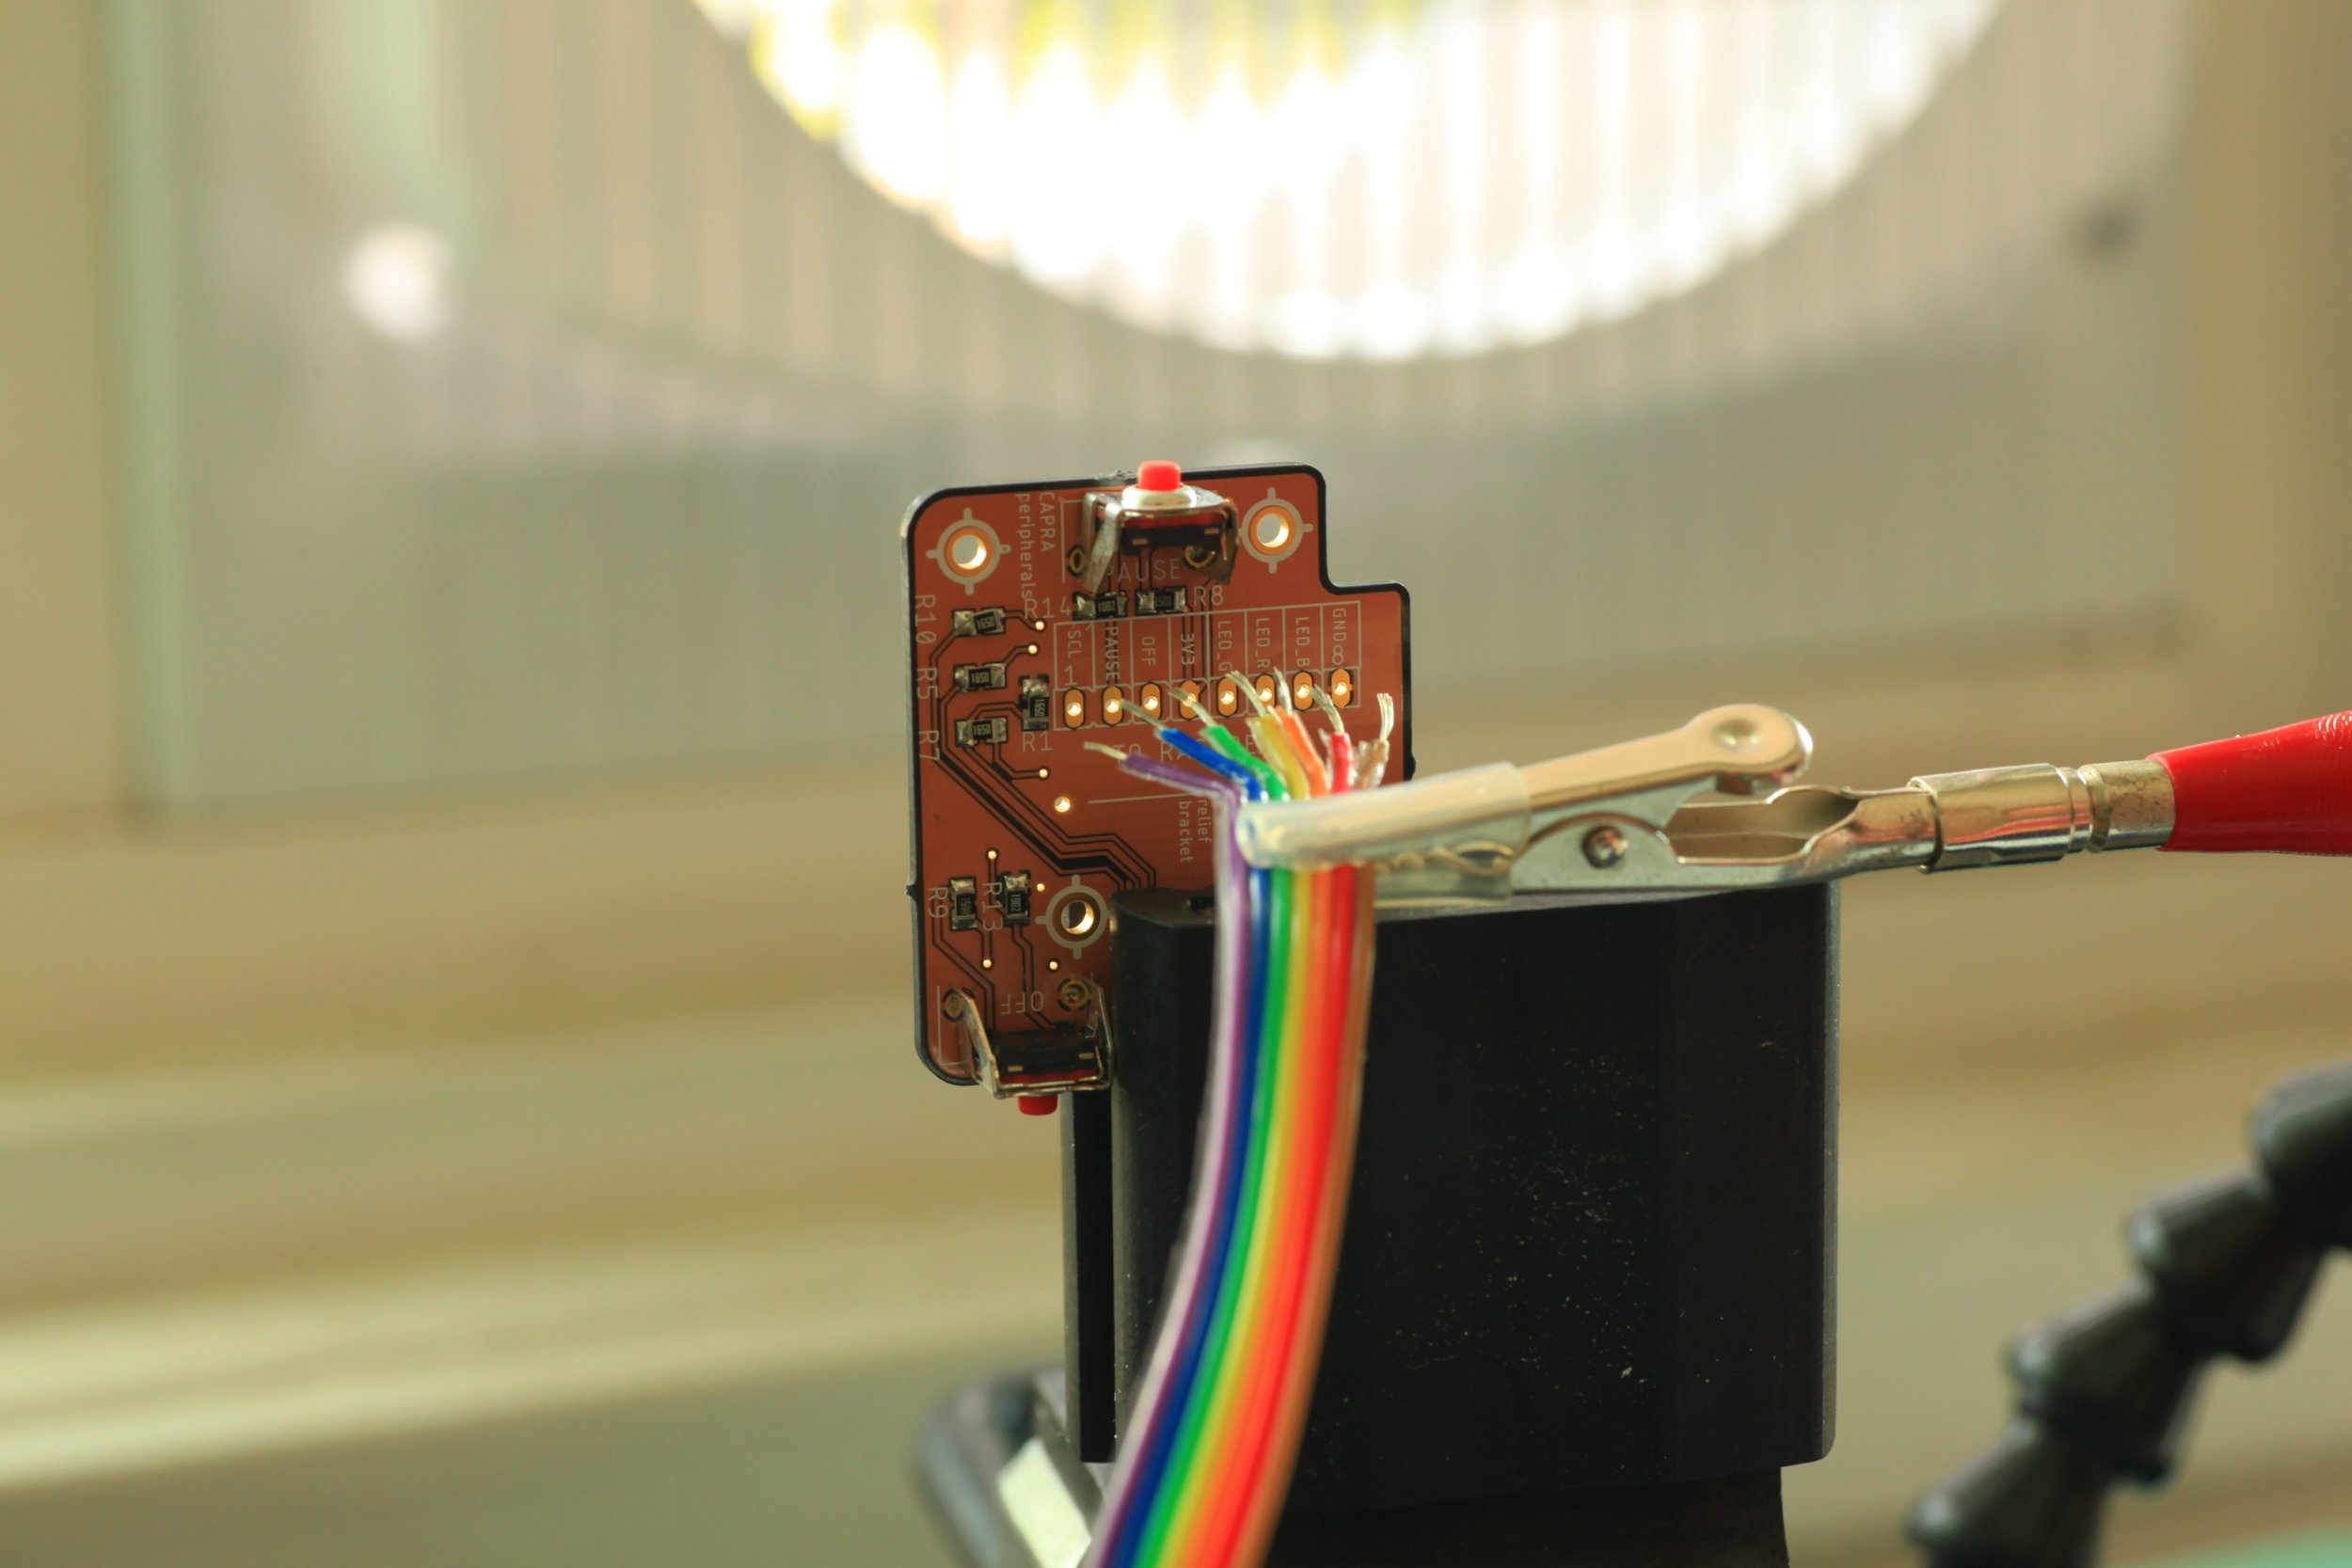
Camera Interface
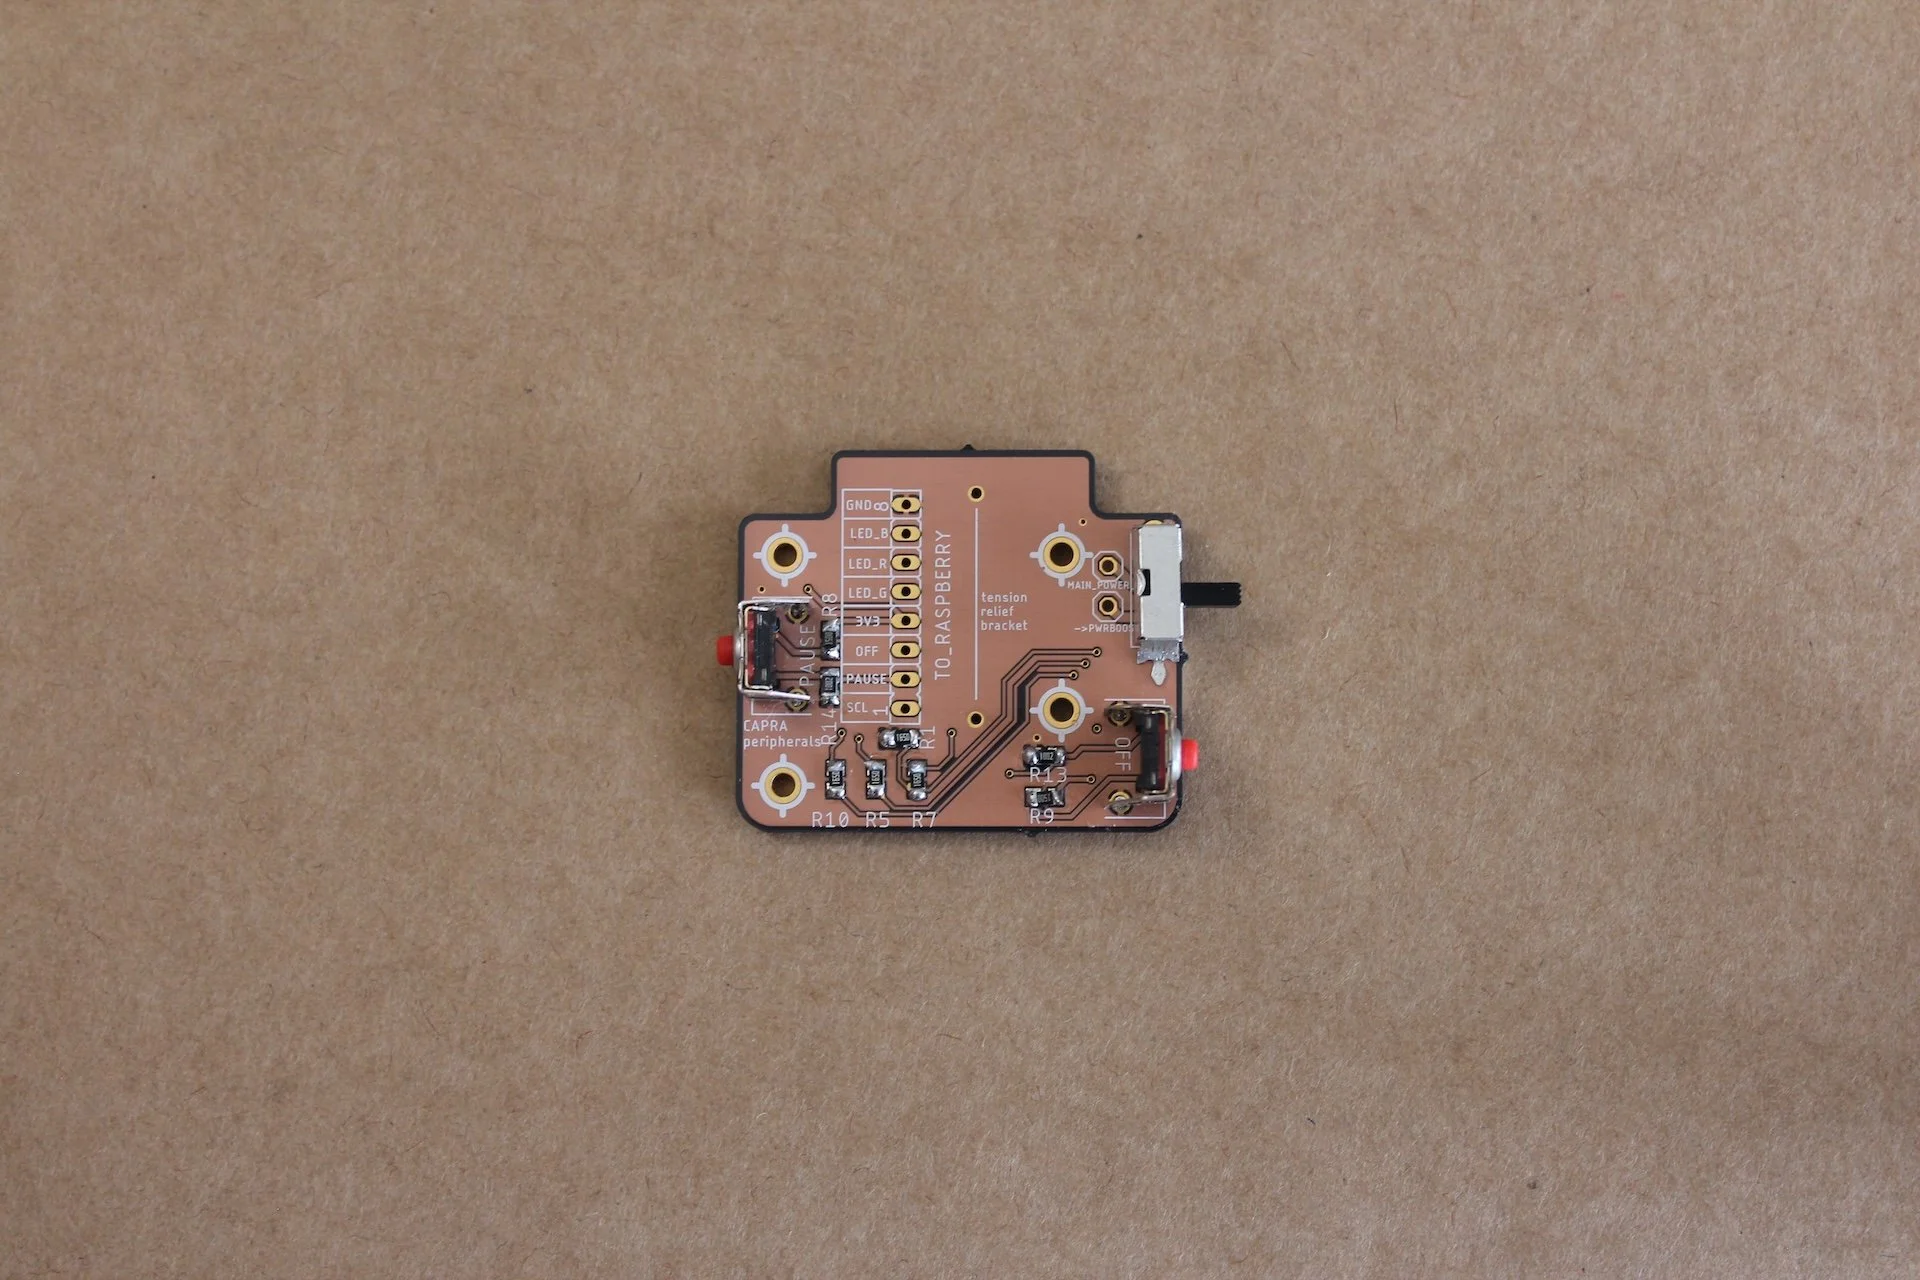
We wanted to keep the interface unobtrusive and minimal. I designed and built a simple interface using 2 buttons, a RGB LED, and a piezo.
Design explorations show below.
Starting a new hike
New photo taken
Recording paused
Design & Engineering Tensions
How to do the data transfer was a tough decision. Given the user experience we wanted of sliding the Collector onto the Explorer, combined with the physical location of the memory card in the Pi Zero, we opted for using wireless transfer of the data.
This is a good example of one of the main things I learned from working on this project. The balancing act of engineering and design and when to make certain trade-offs for the ideal experience vs the practical experience vs the speed of development.
→ Ideal: Sliding the camera onto the projector and it “magically” initiates the transfer is great.
→ Practical: The speed of an over-the-air transfer is much slower.
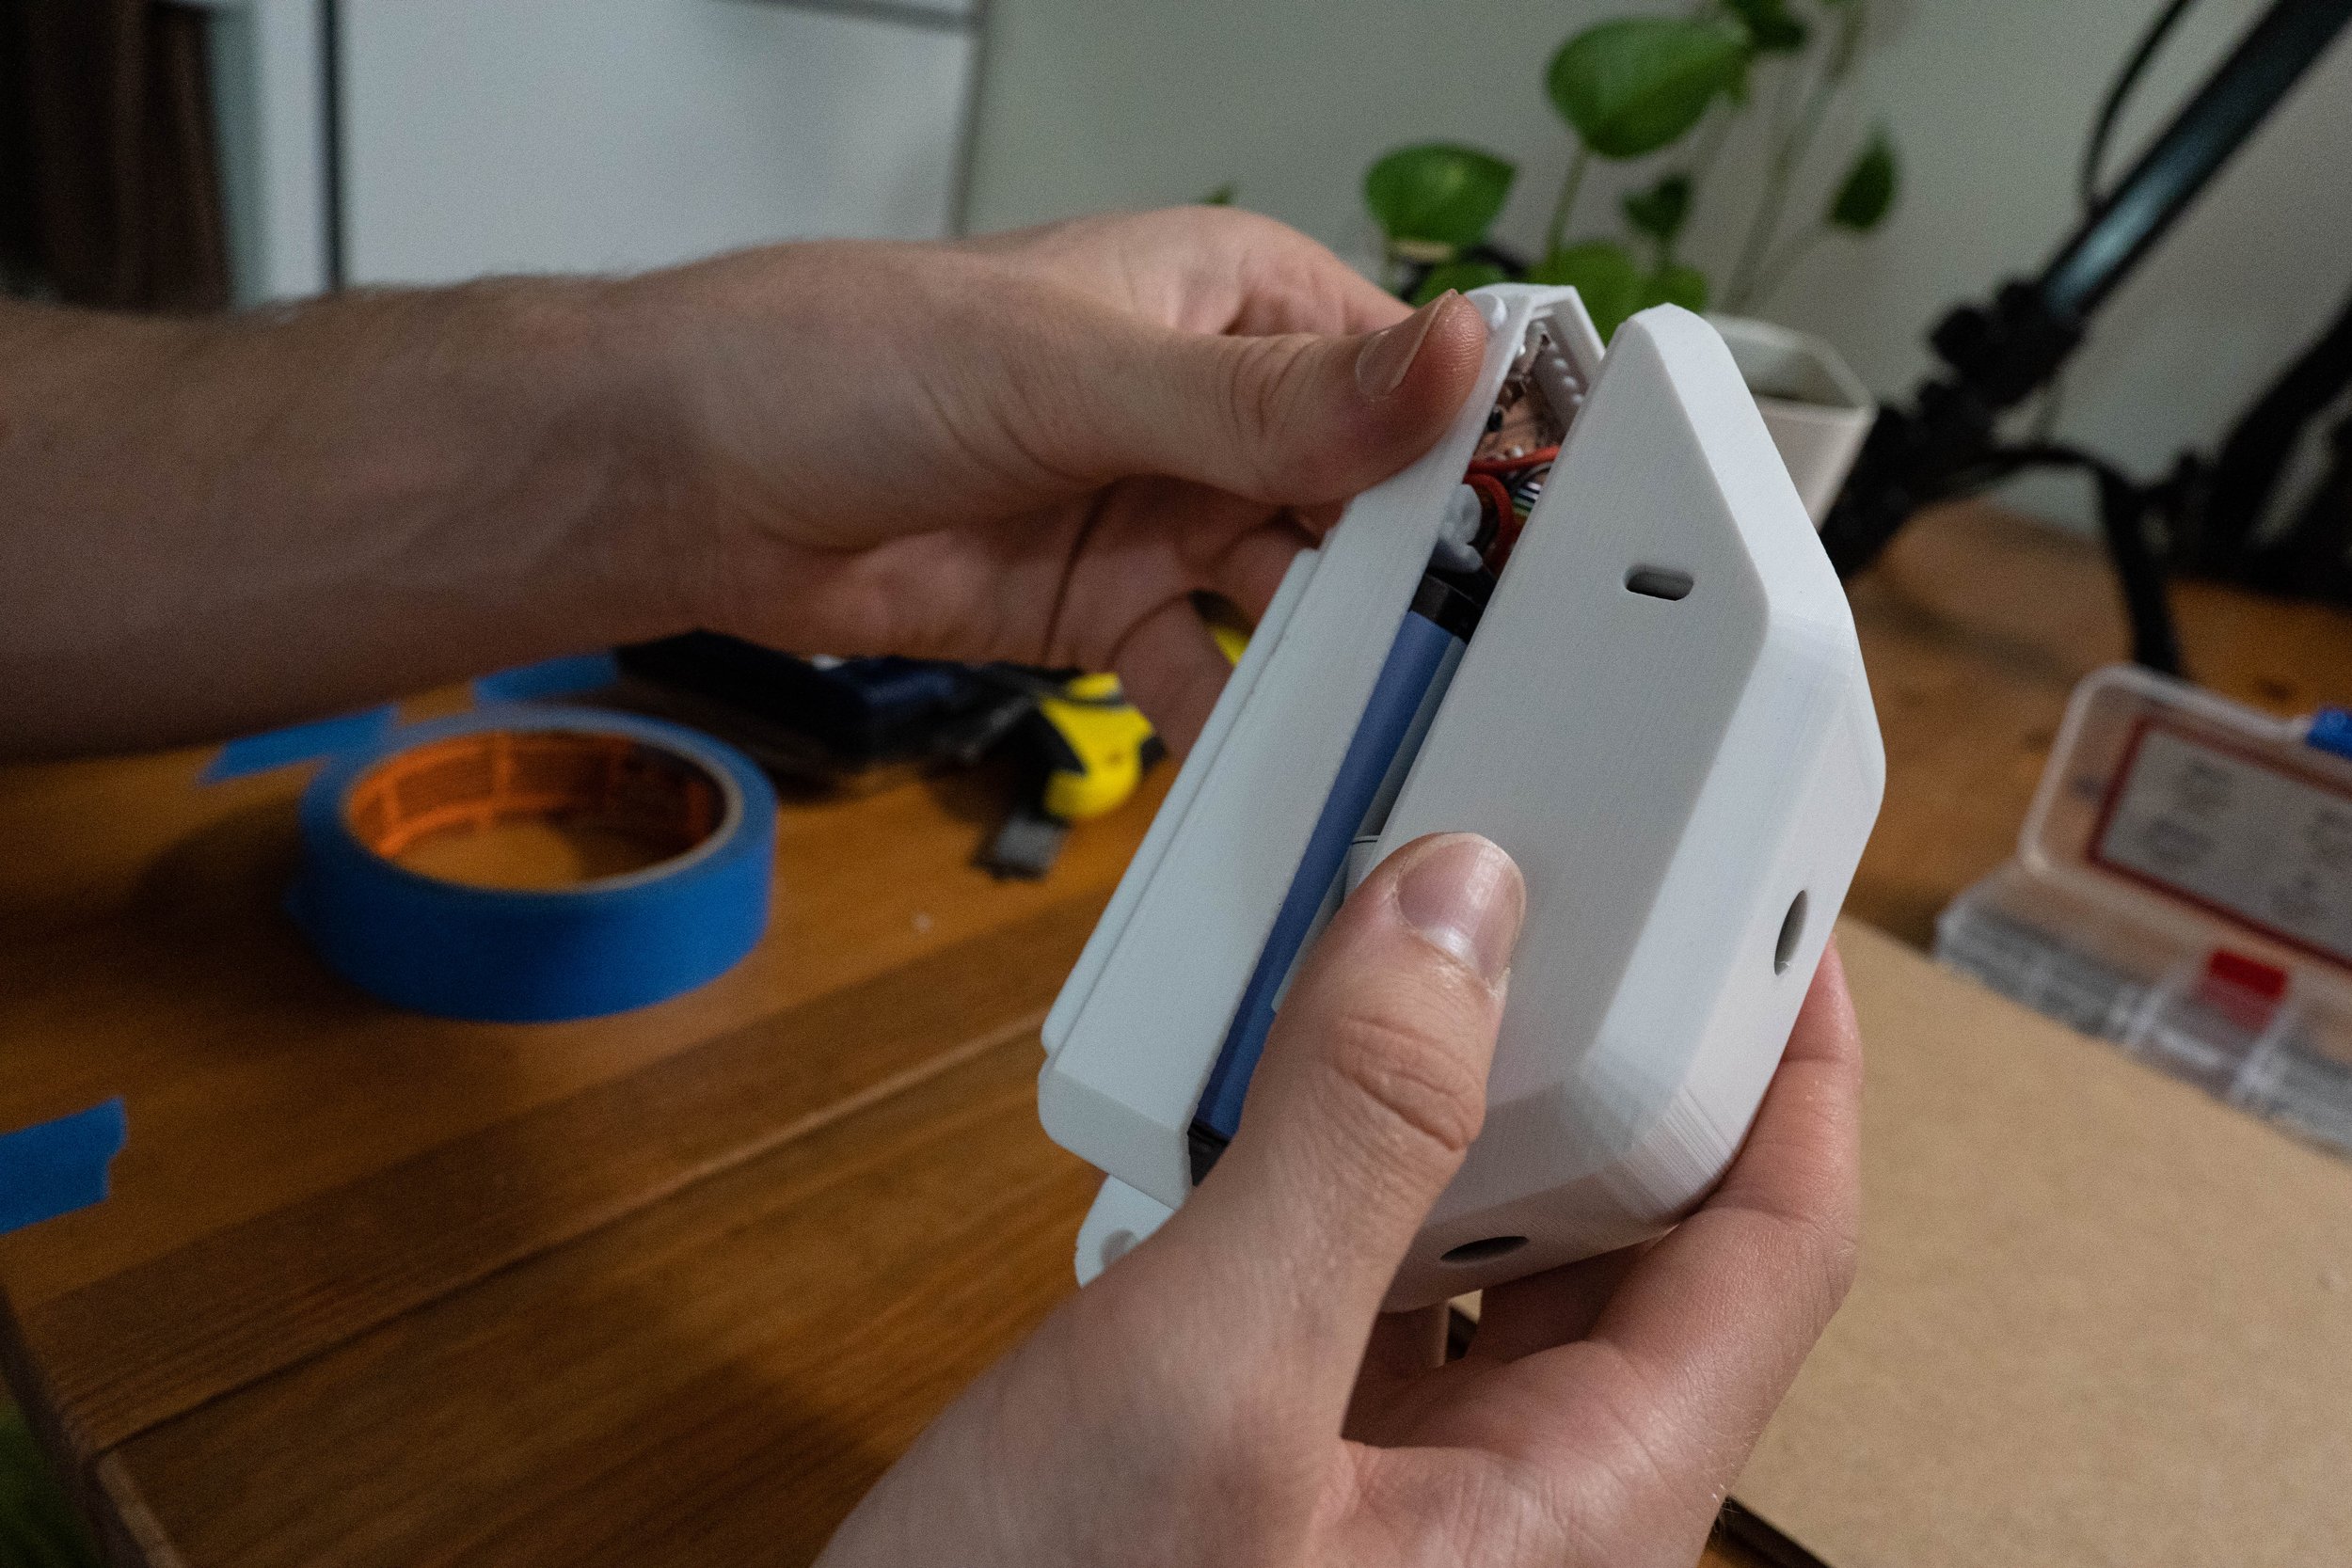
→ Development: The network connection sometimes would hang or time out, and not being able to access the data directly during the testing and development became a serious inconvenience at times. Ultimately, I had to open up and disassemble the device from time to time to get direct access to the memory card.
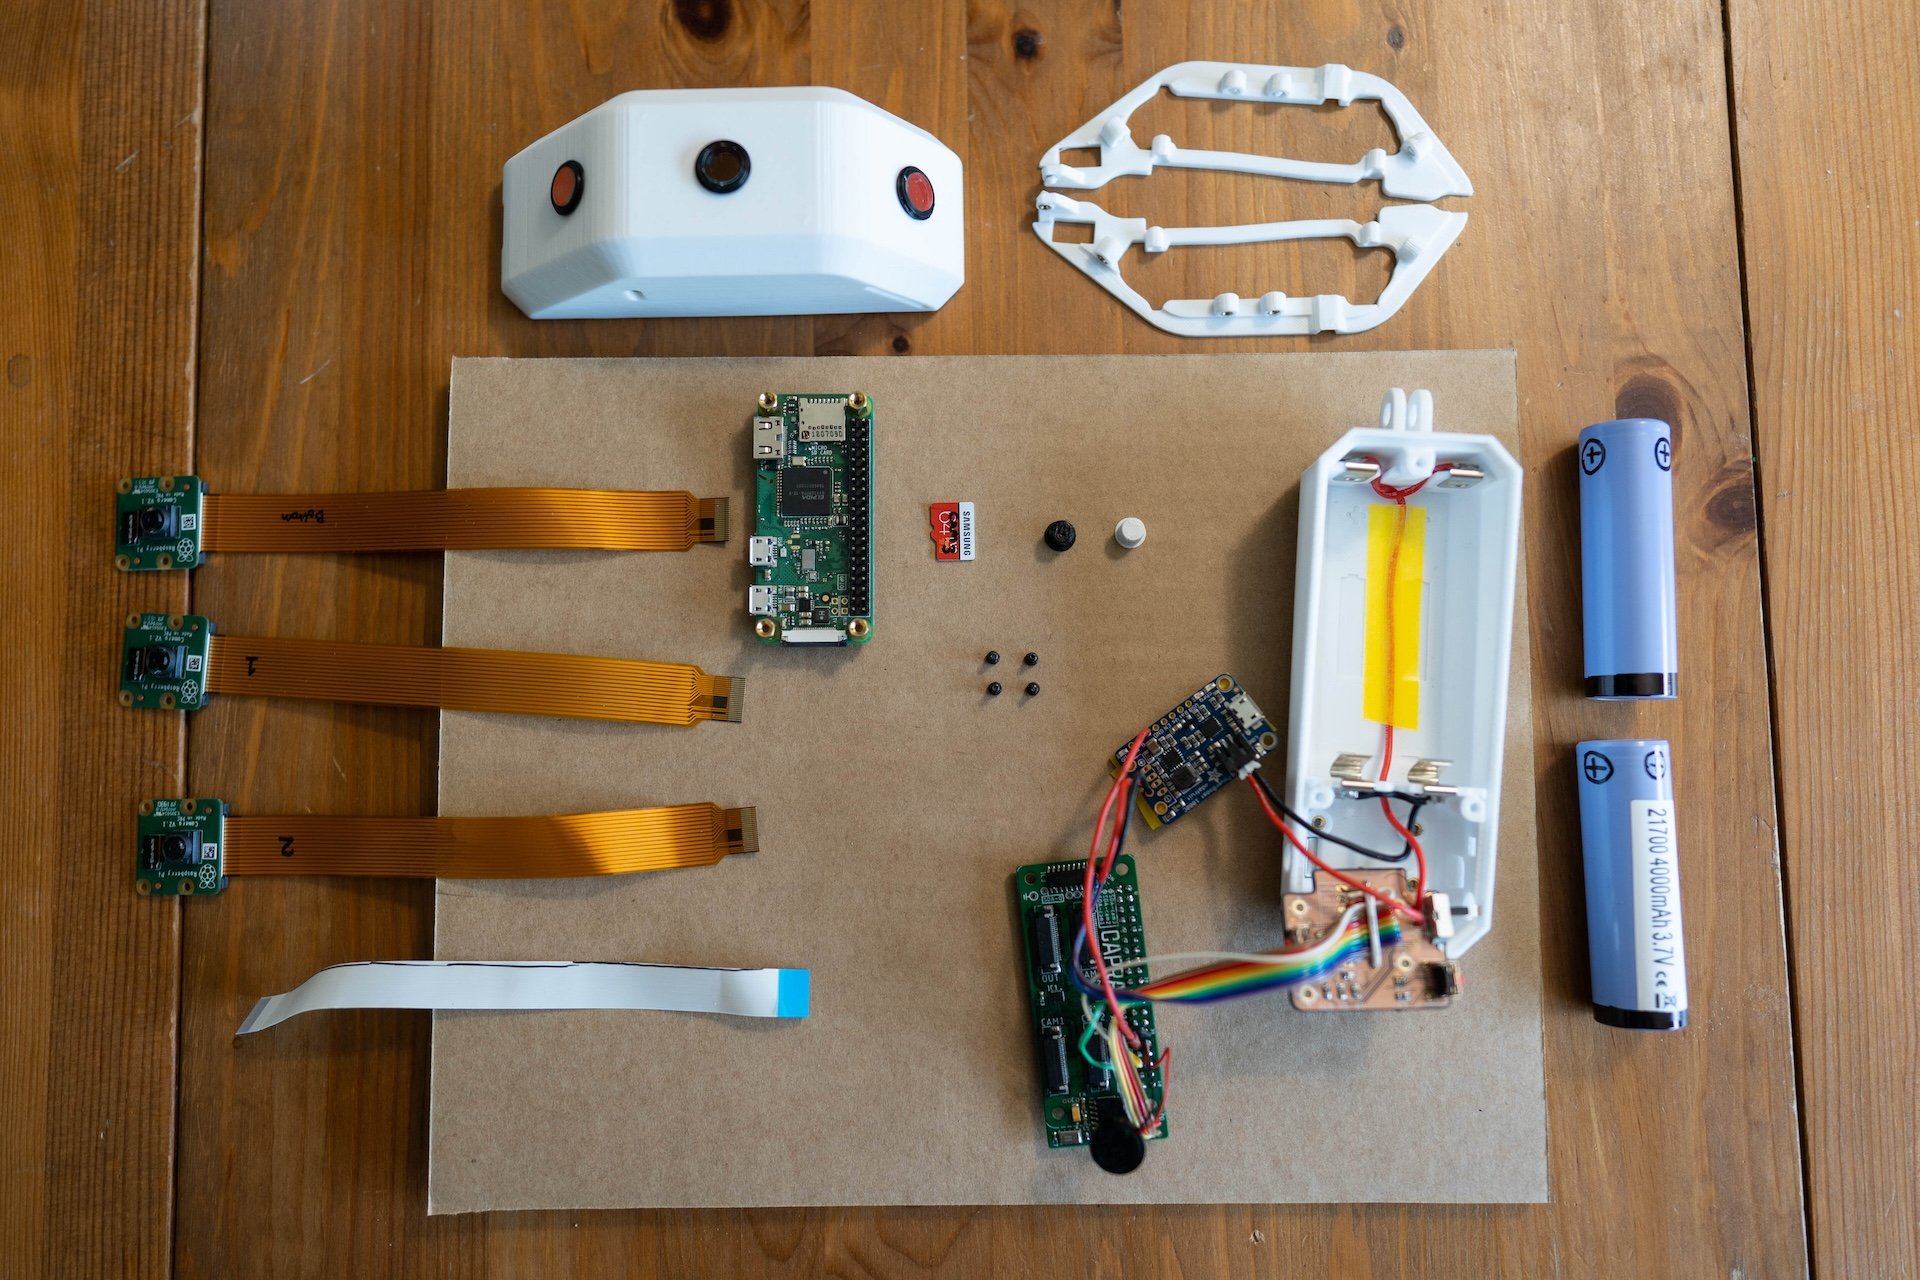
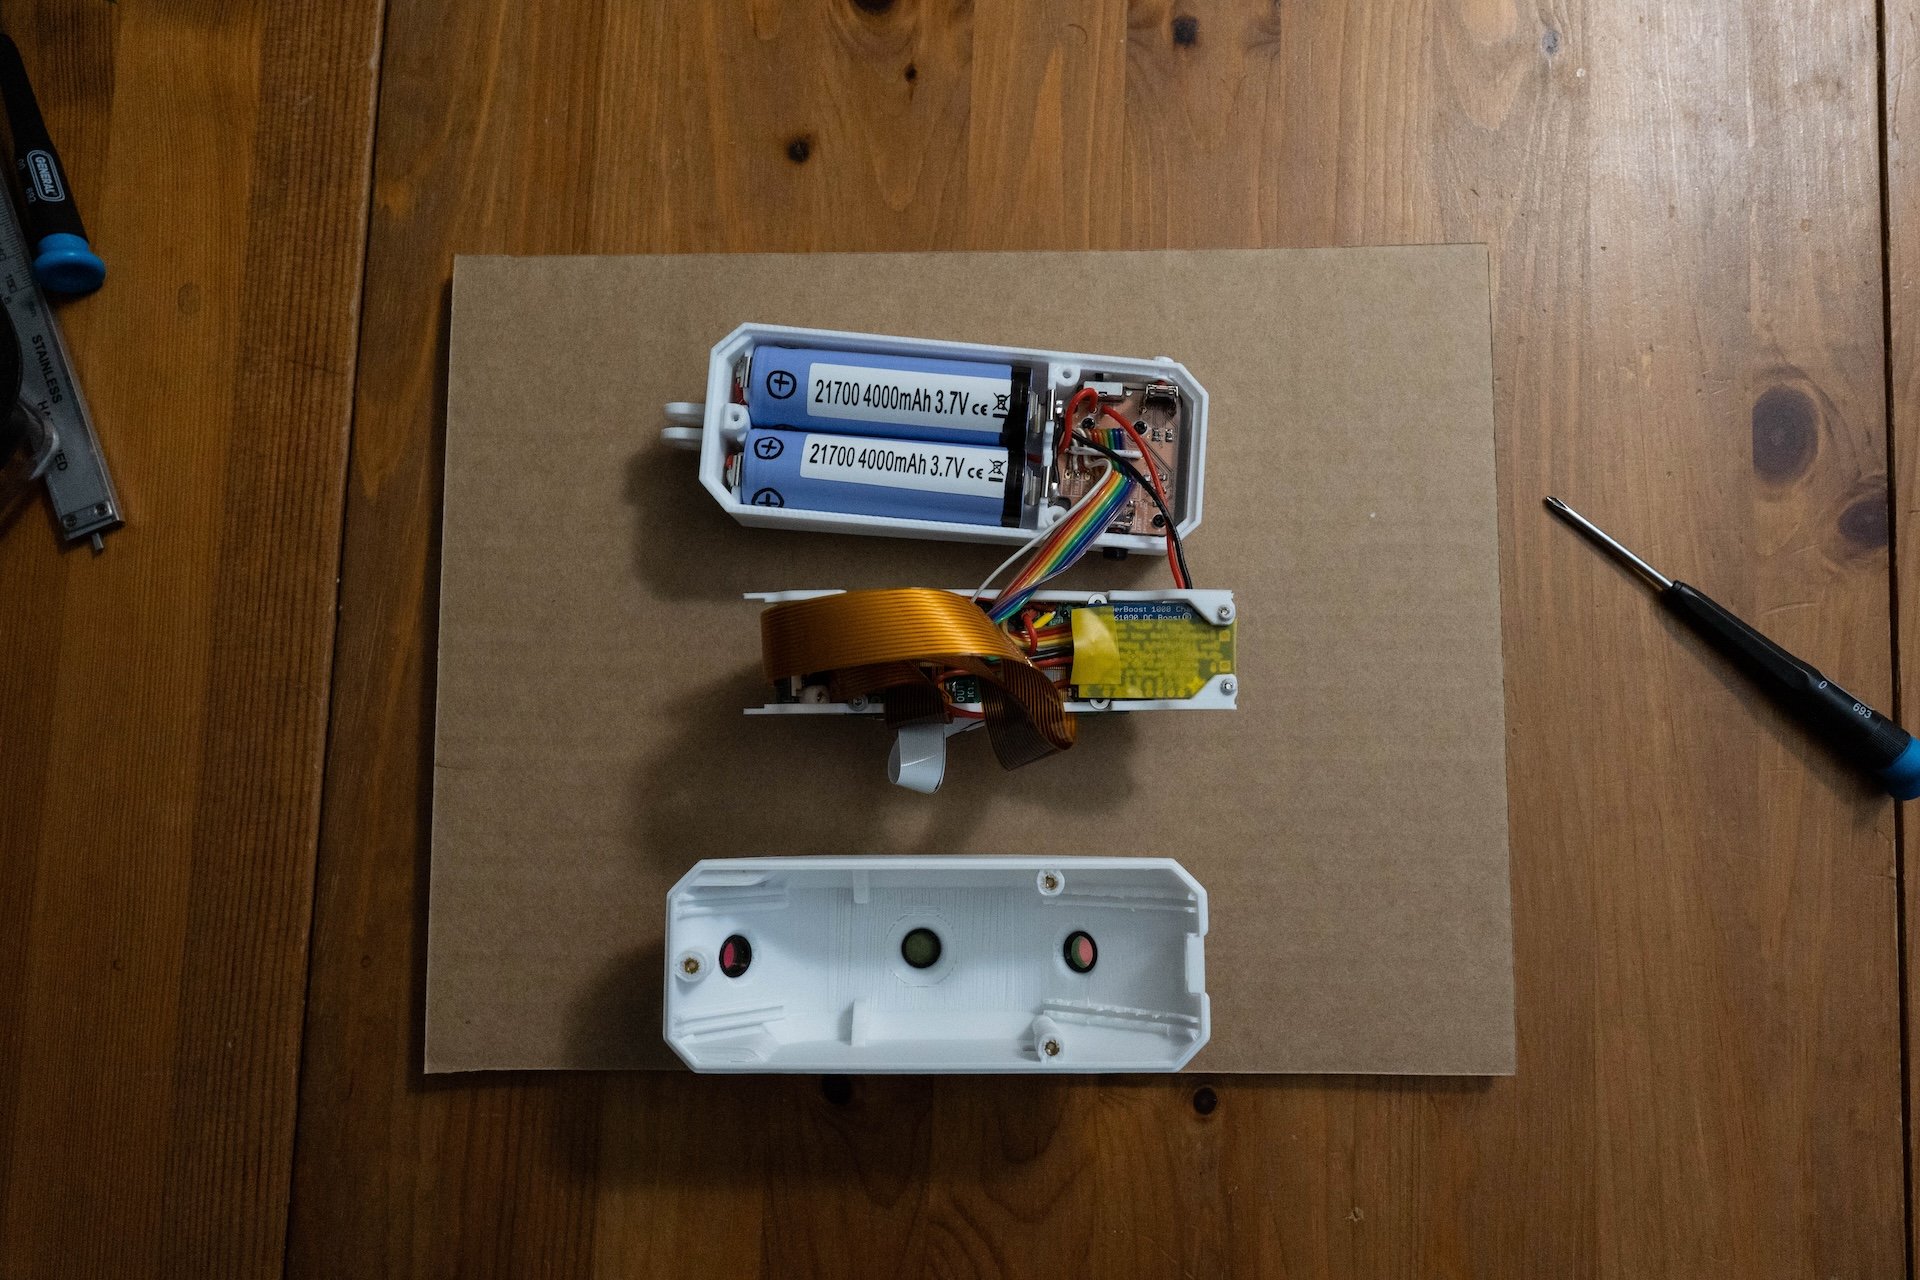
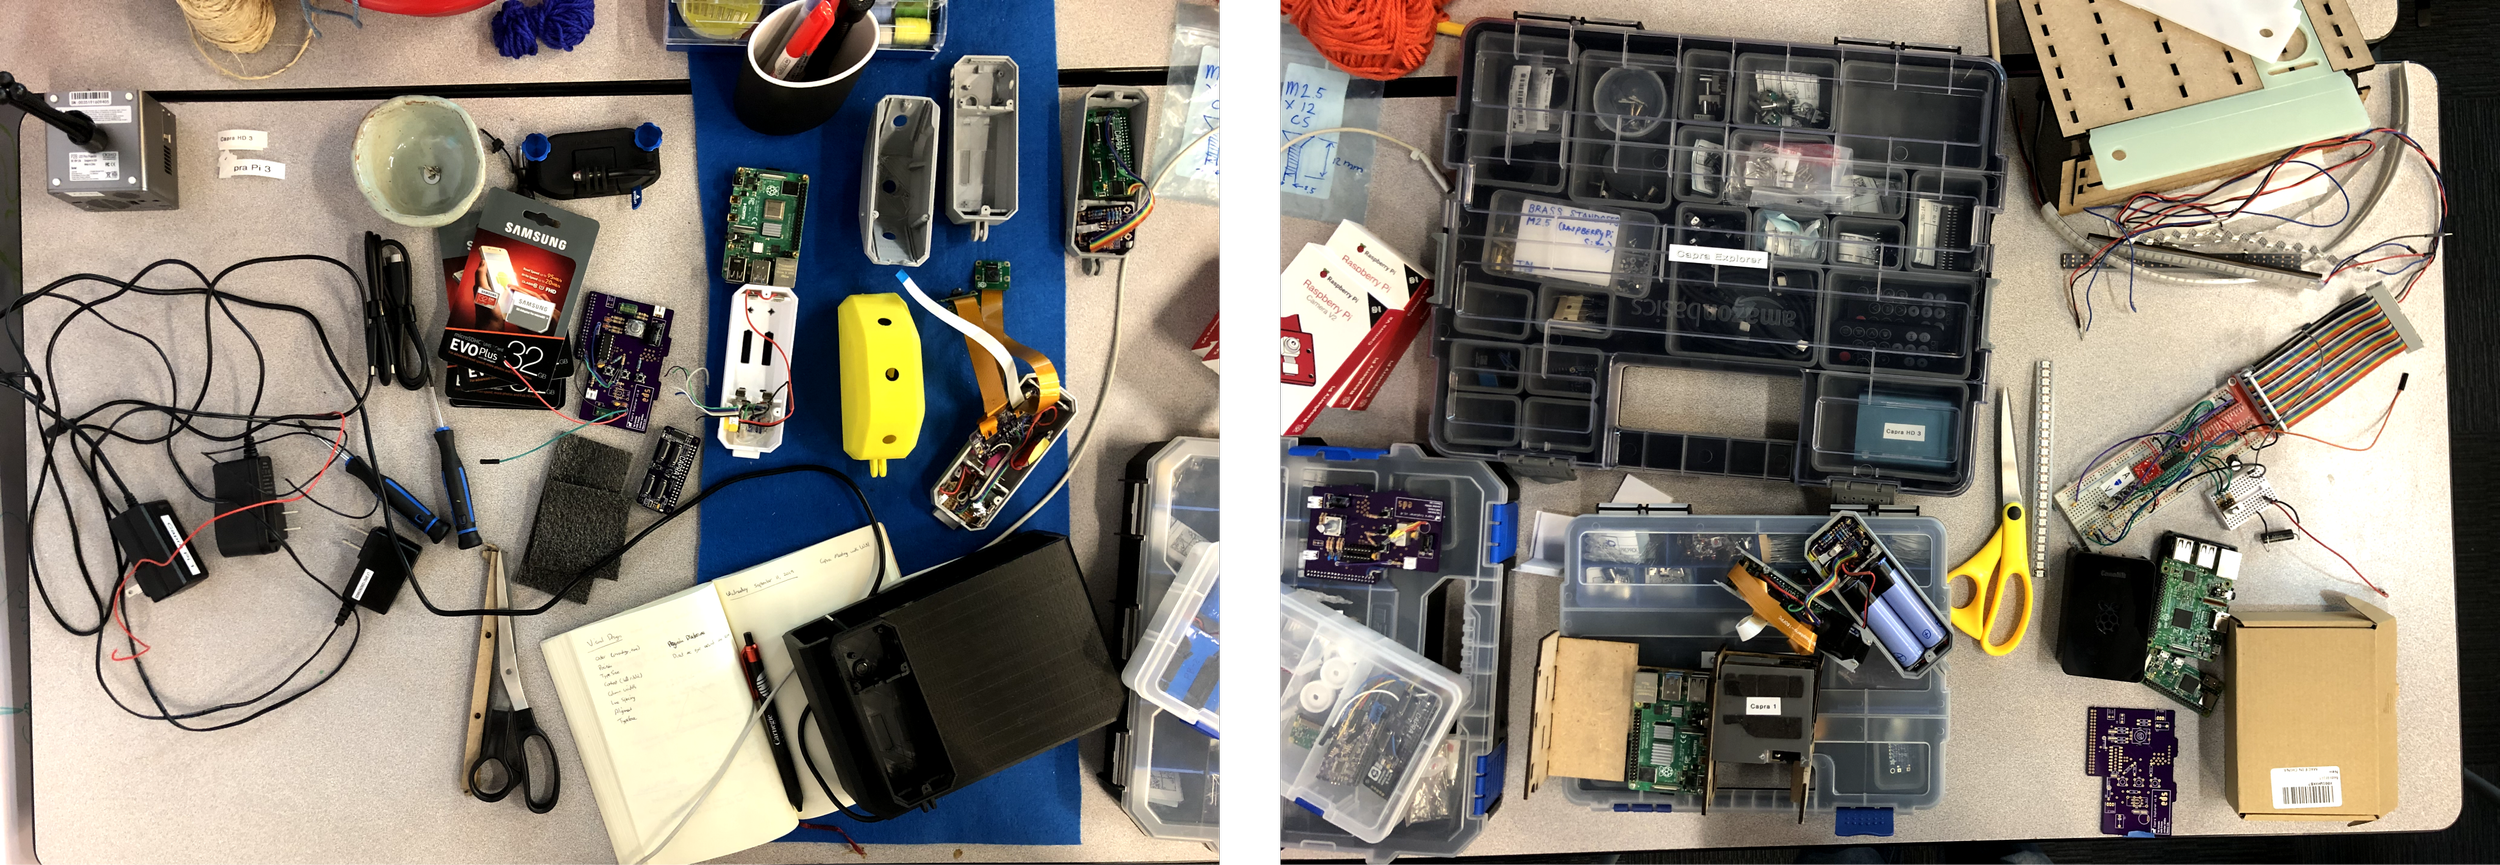
Component List


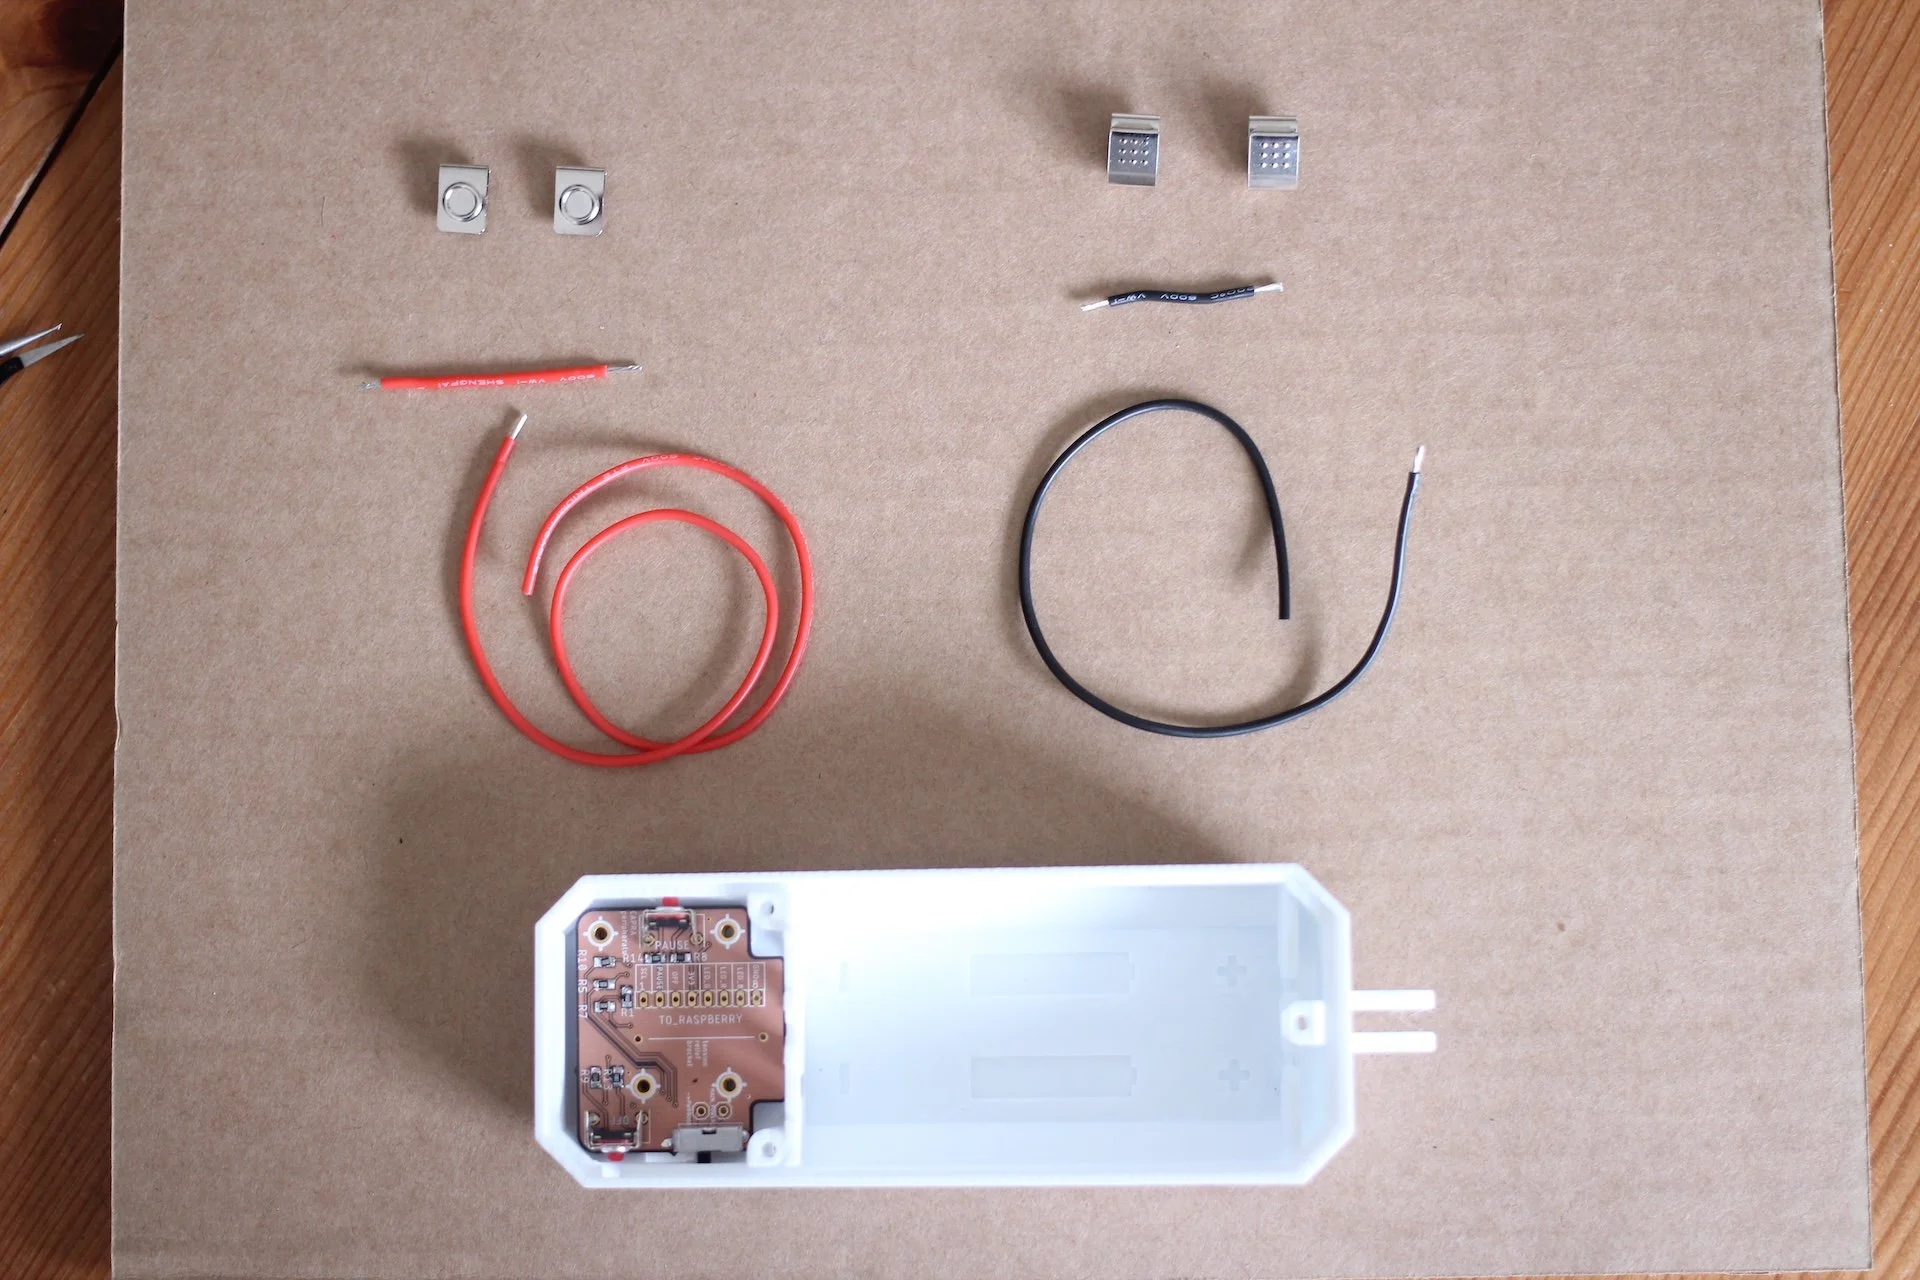
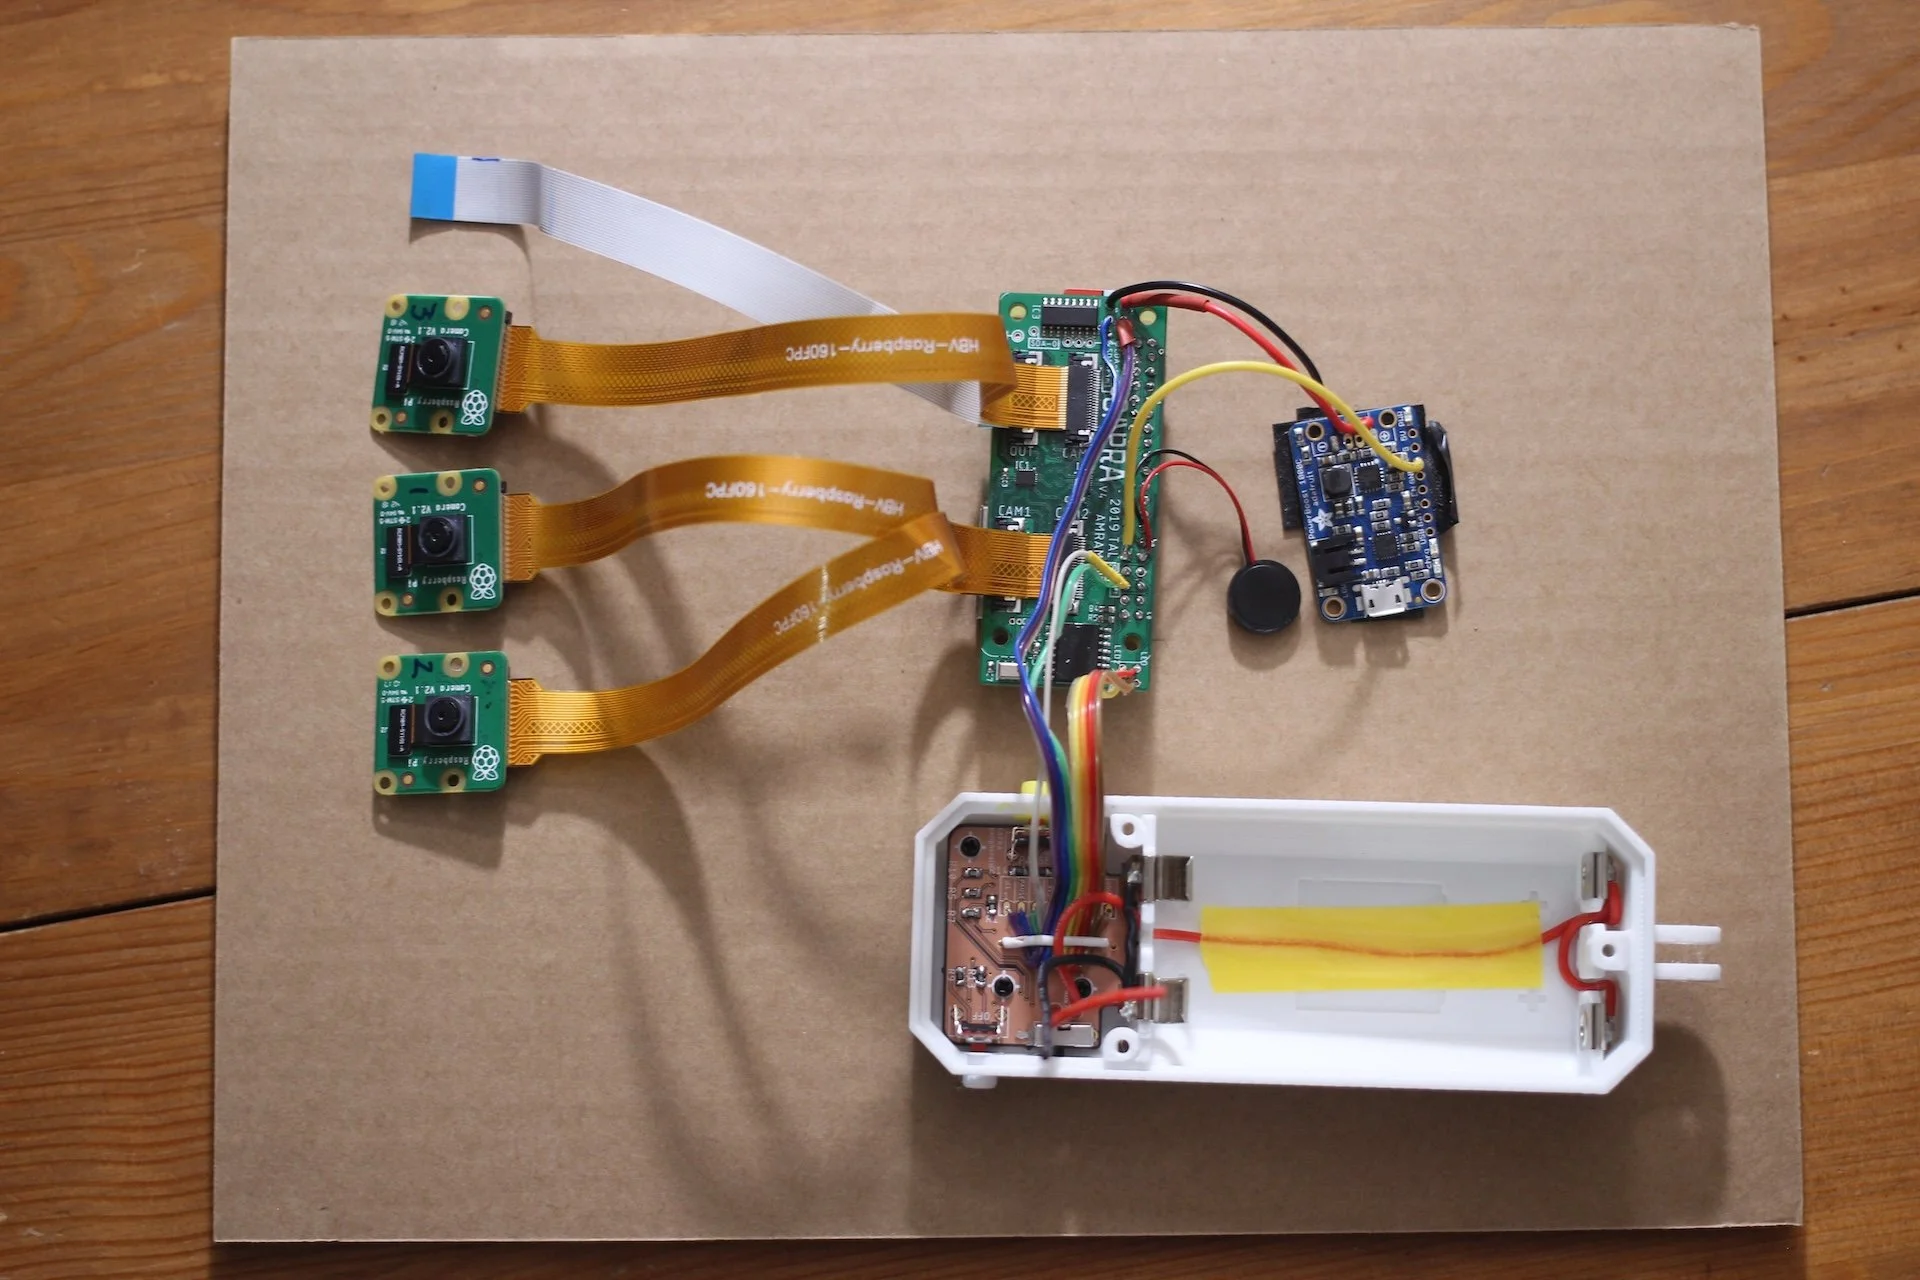
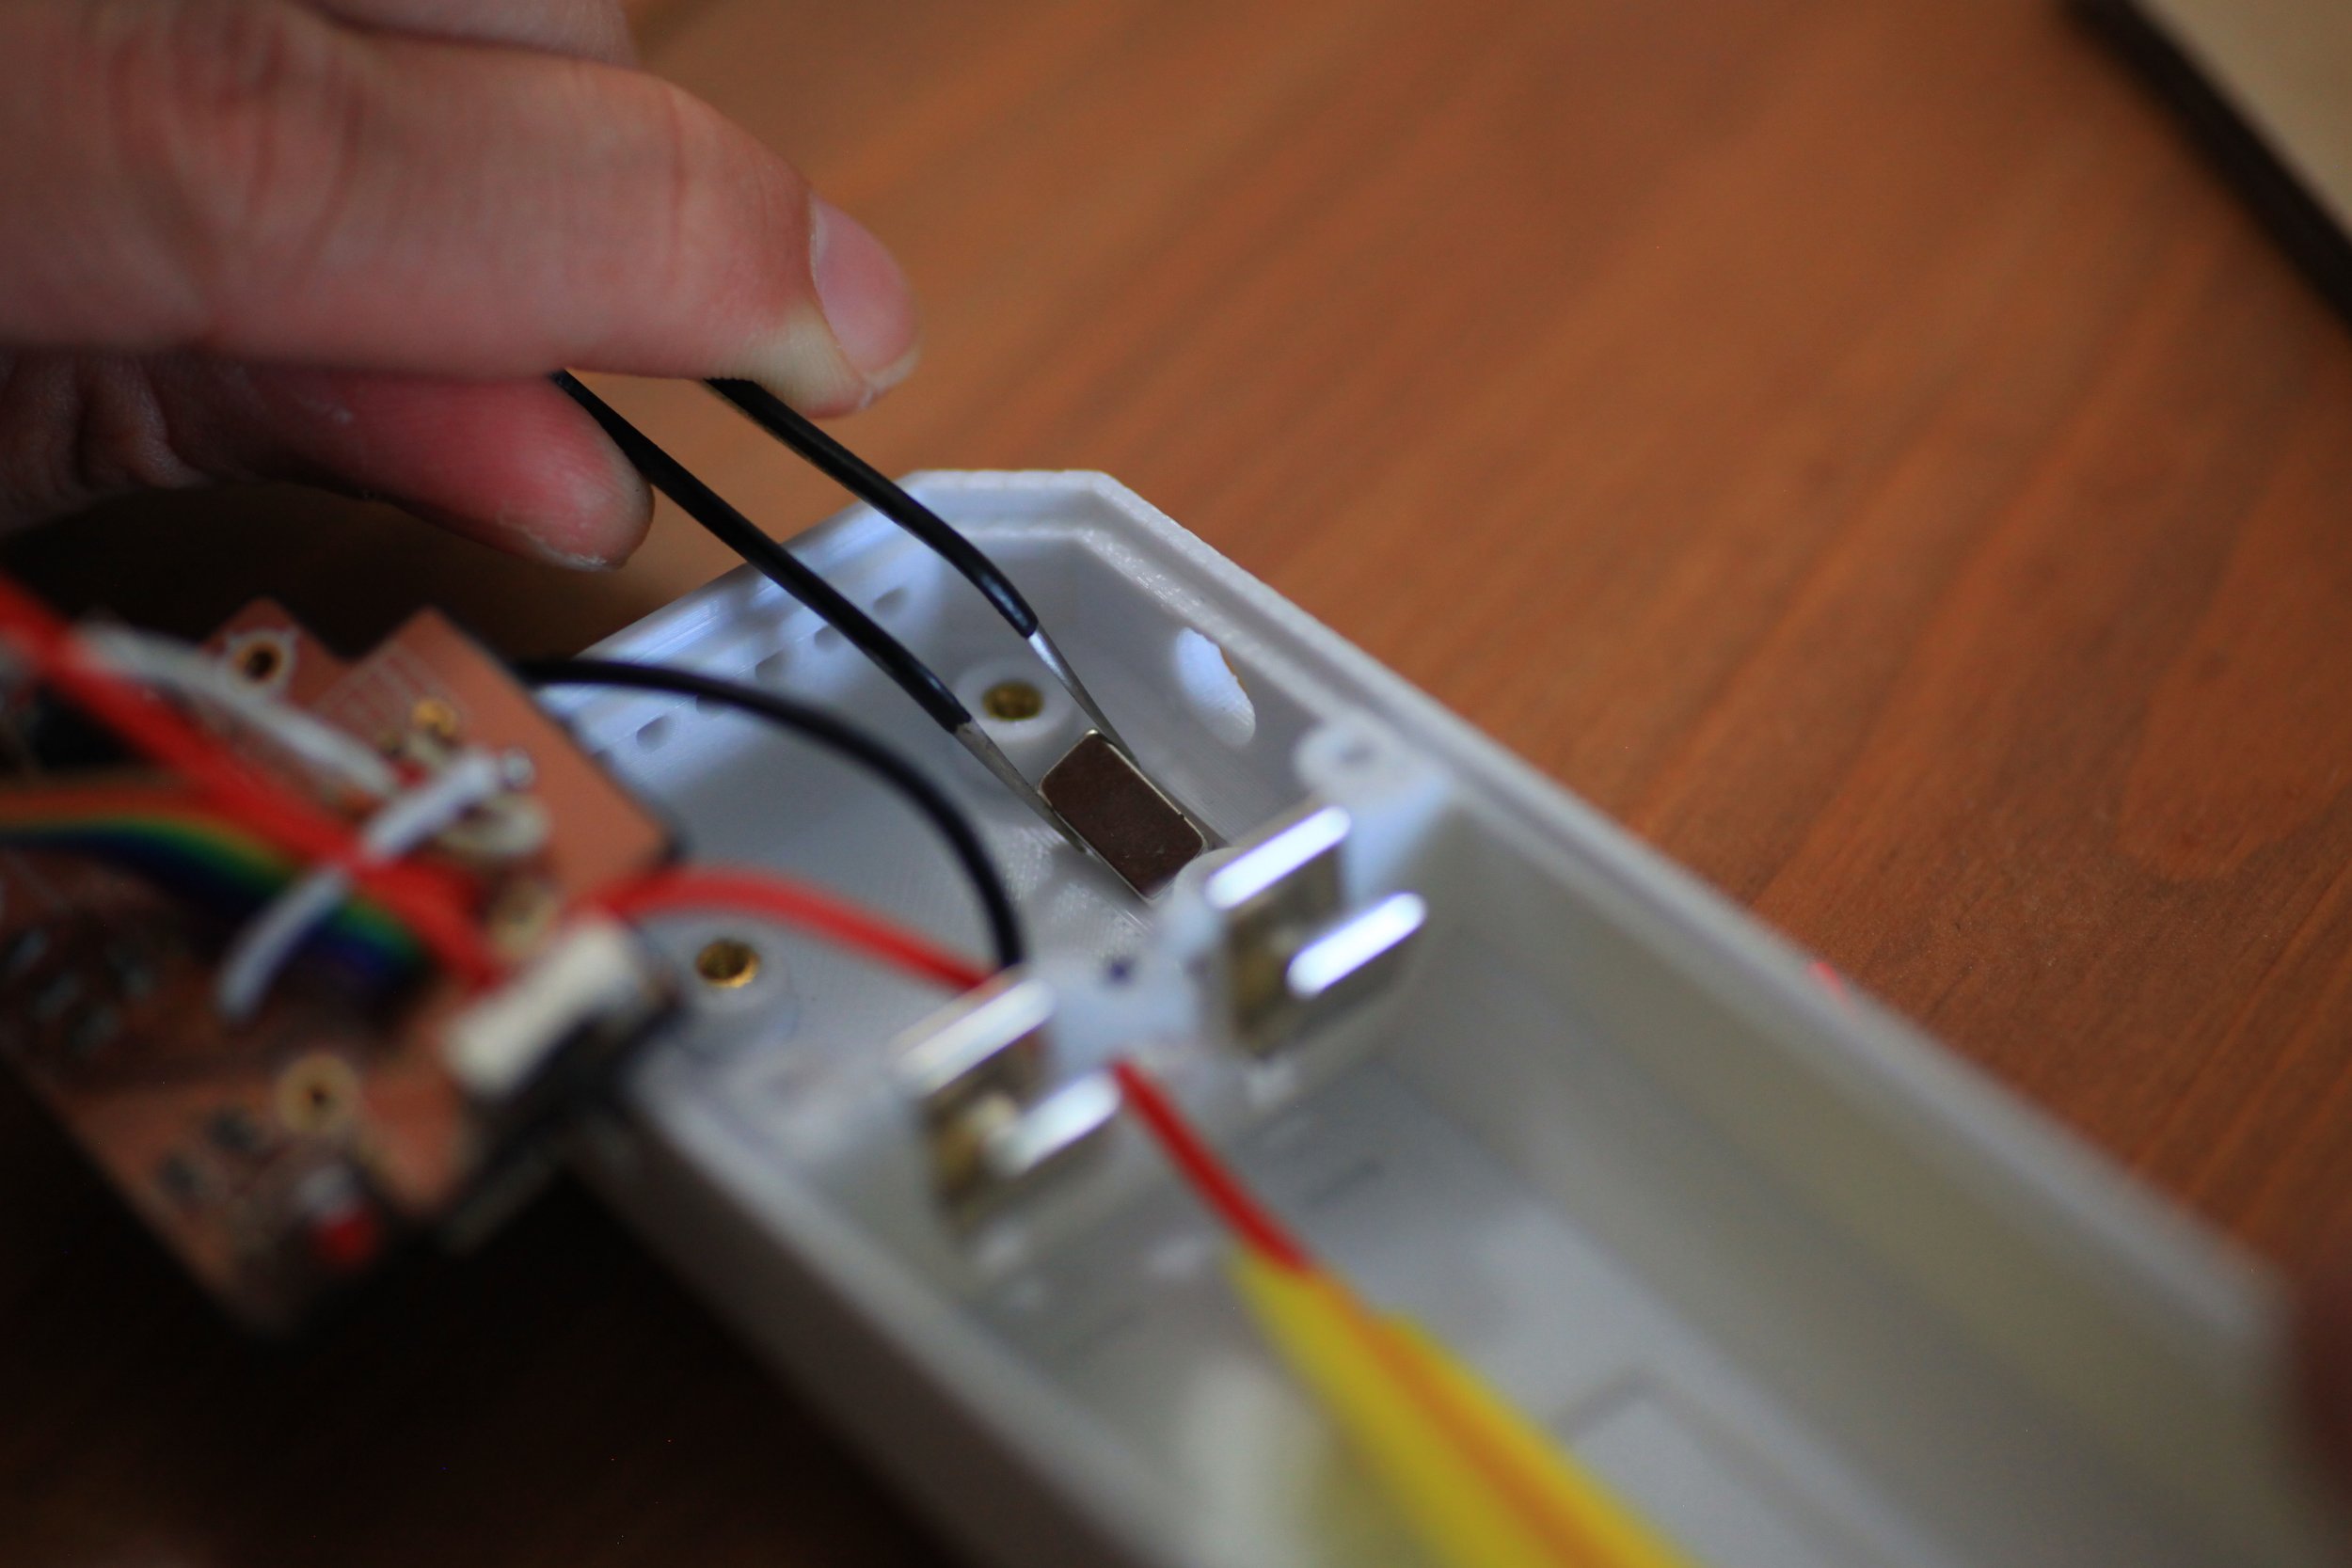
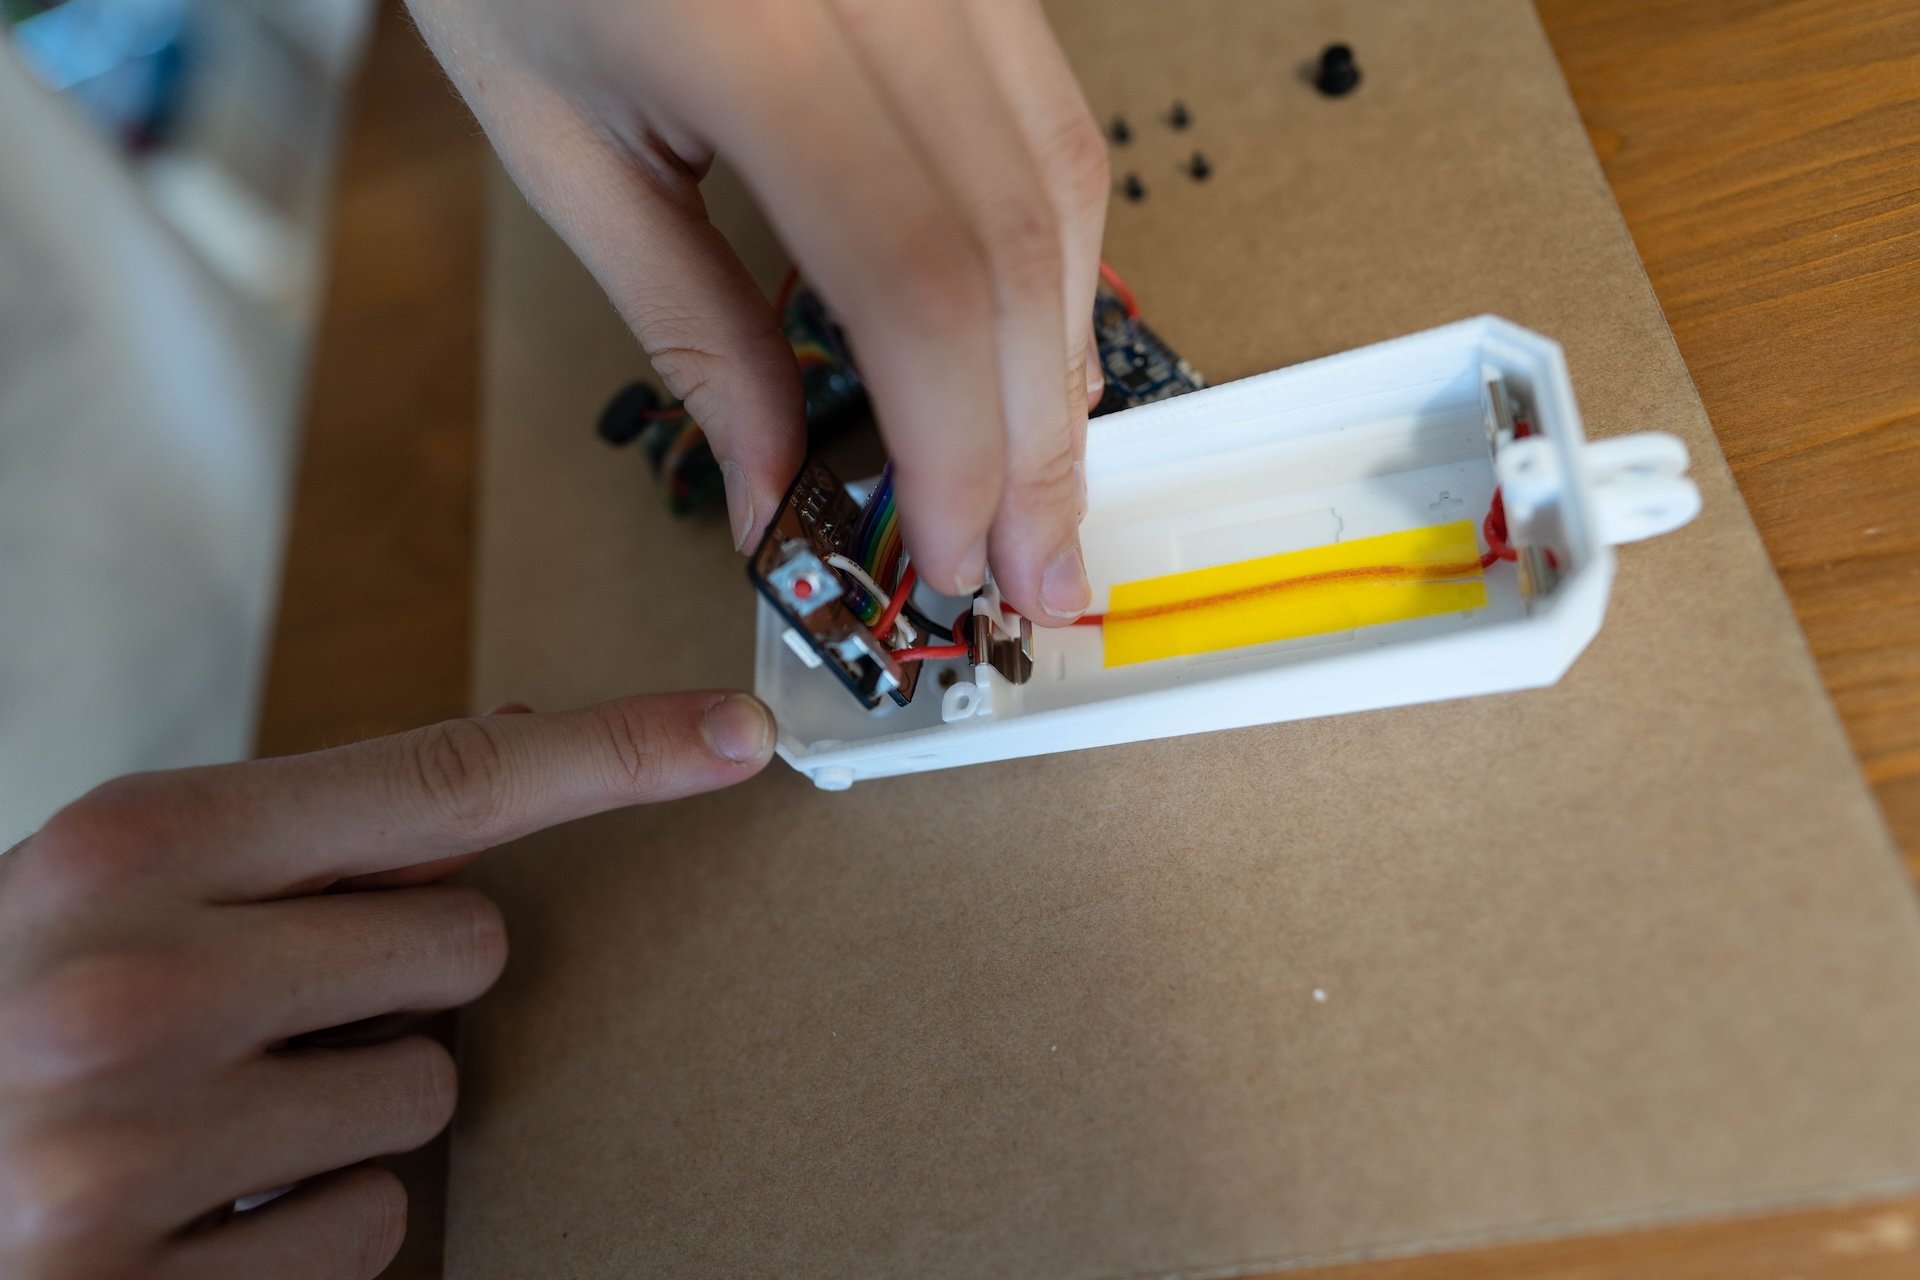
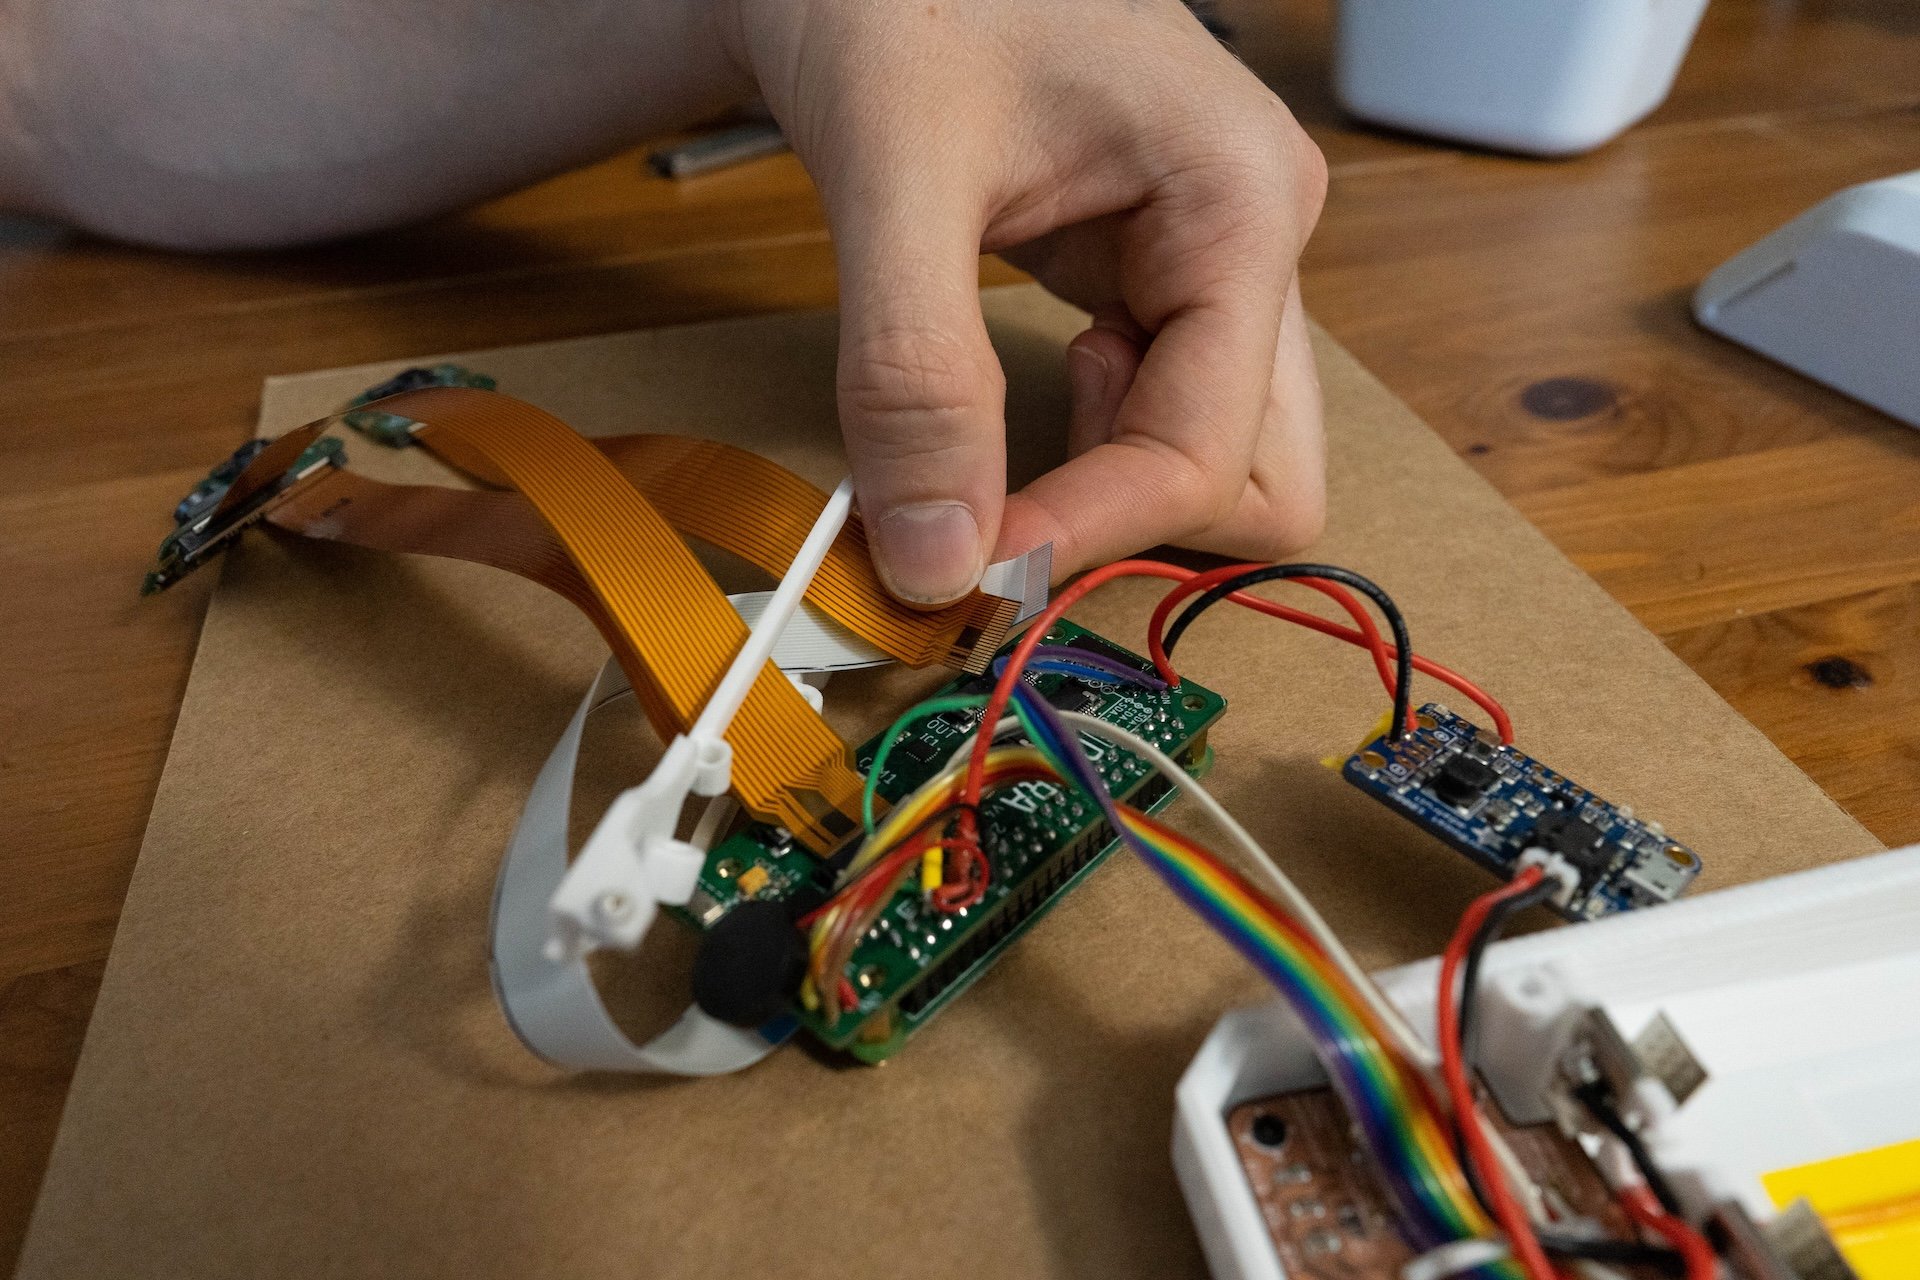
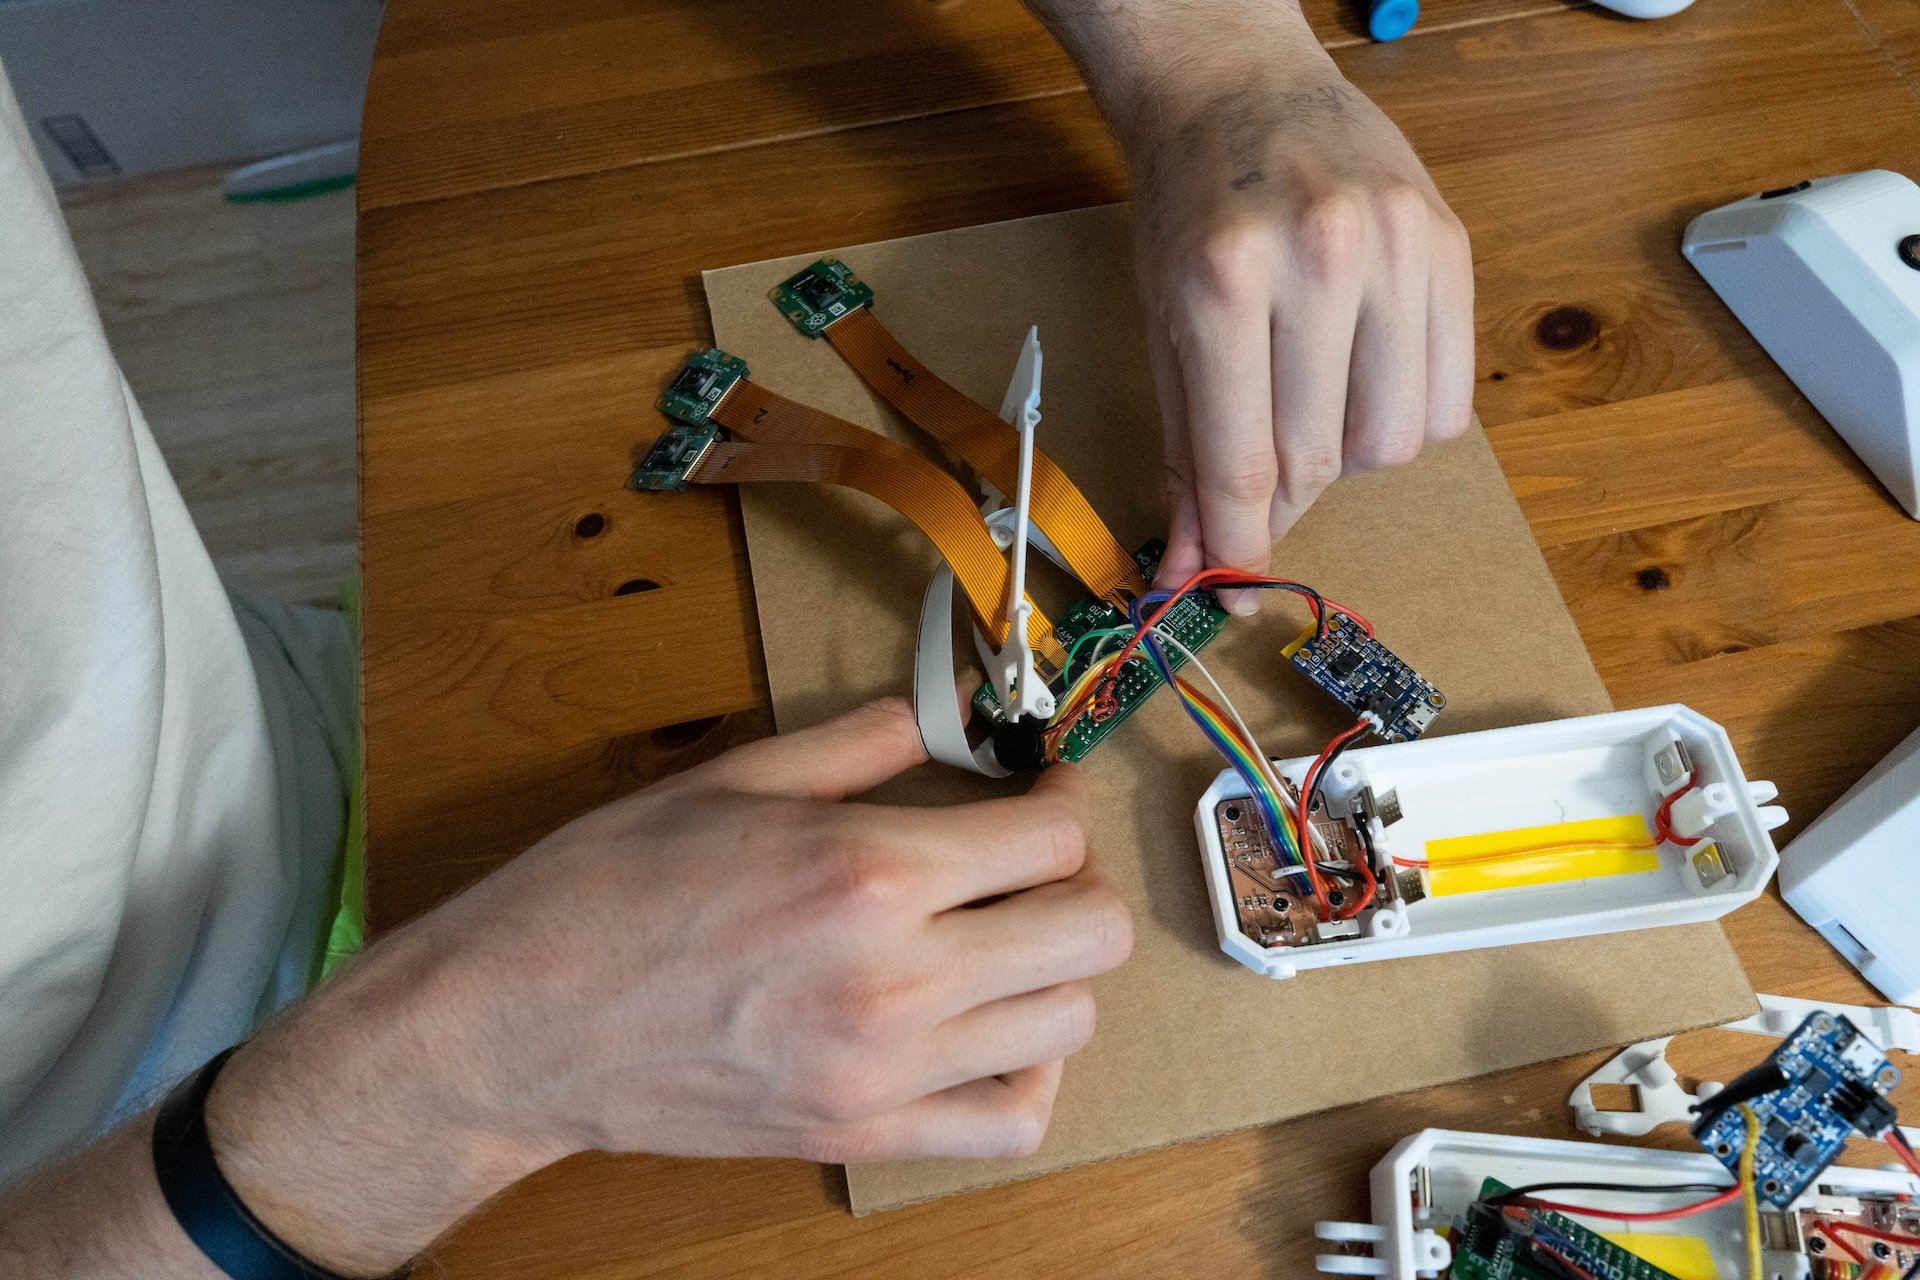
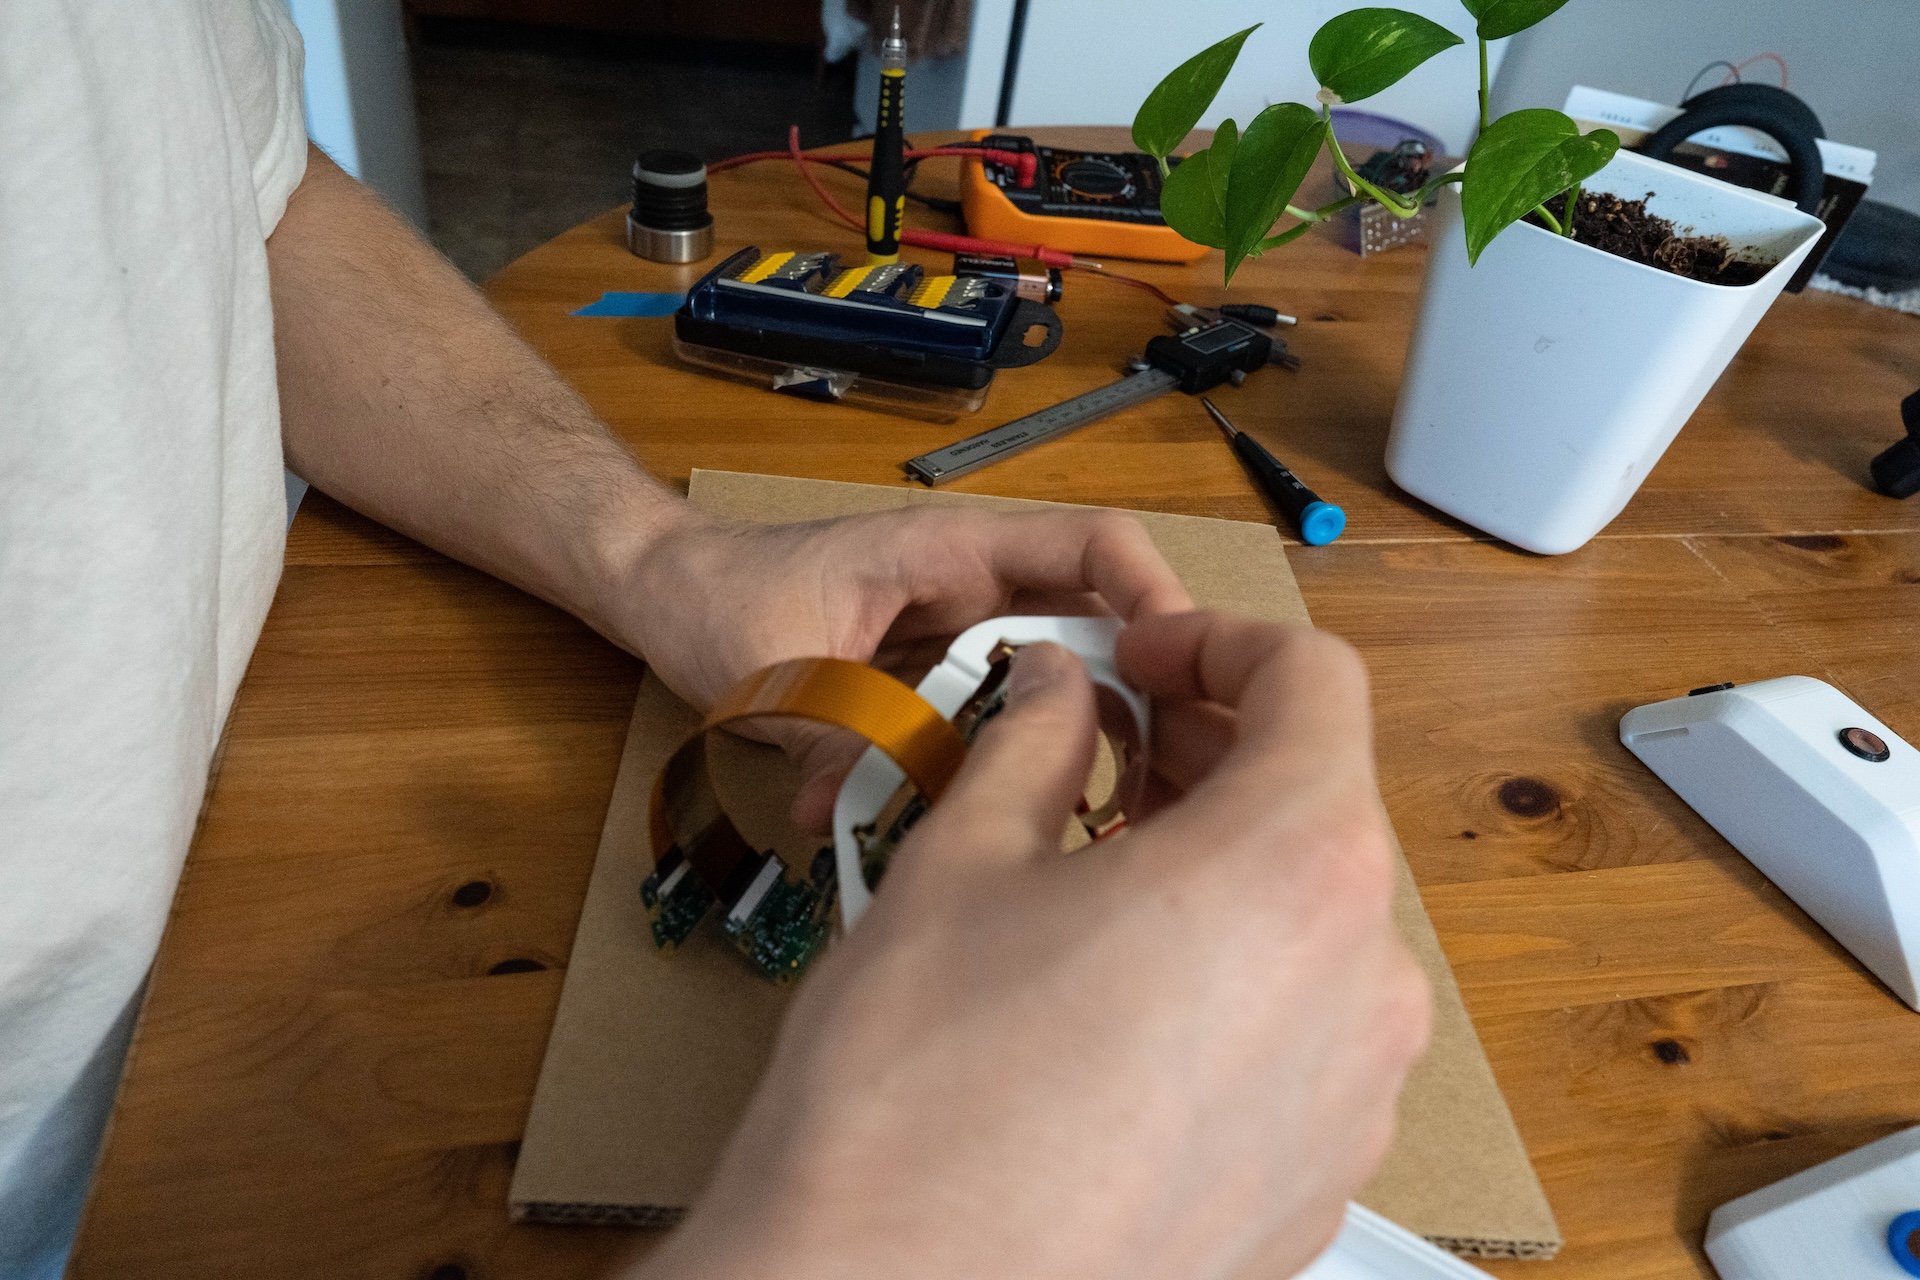
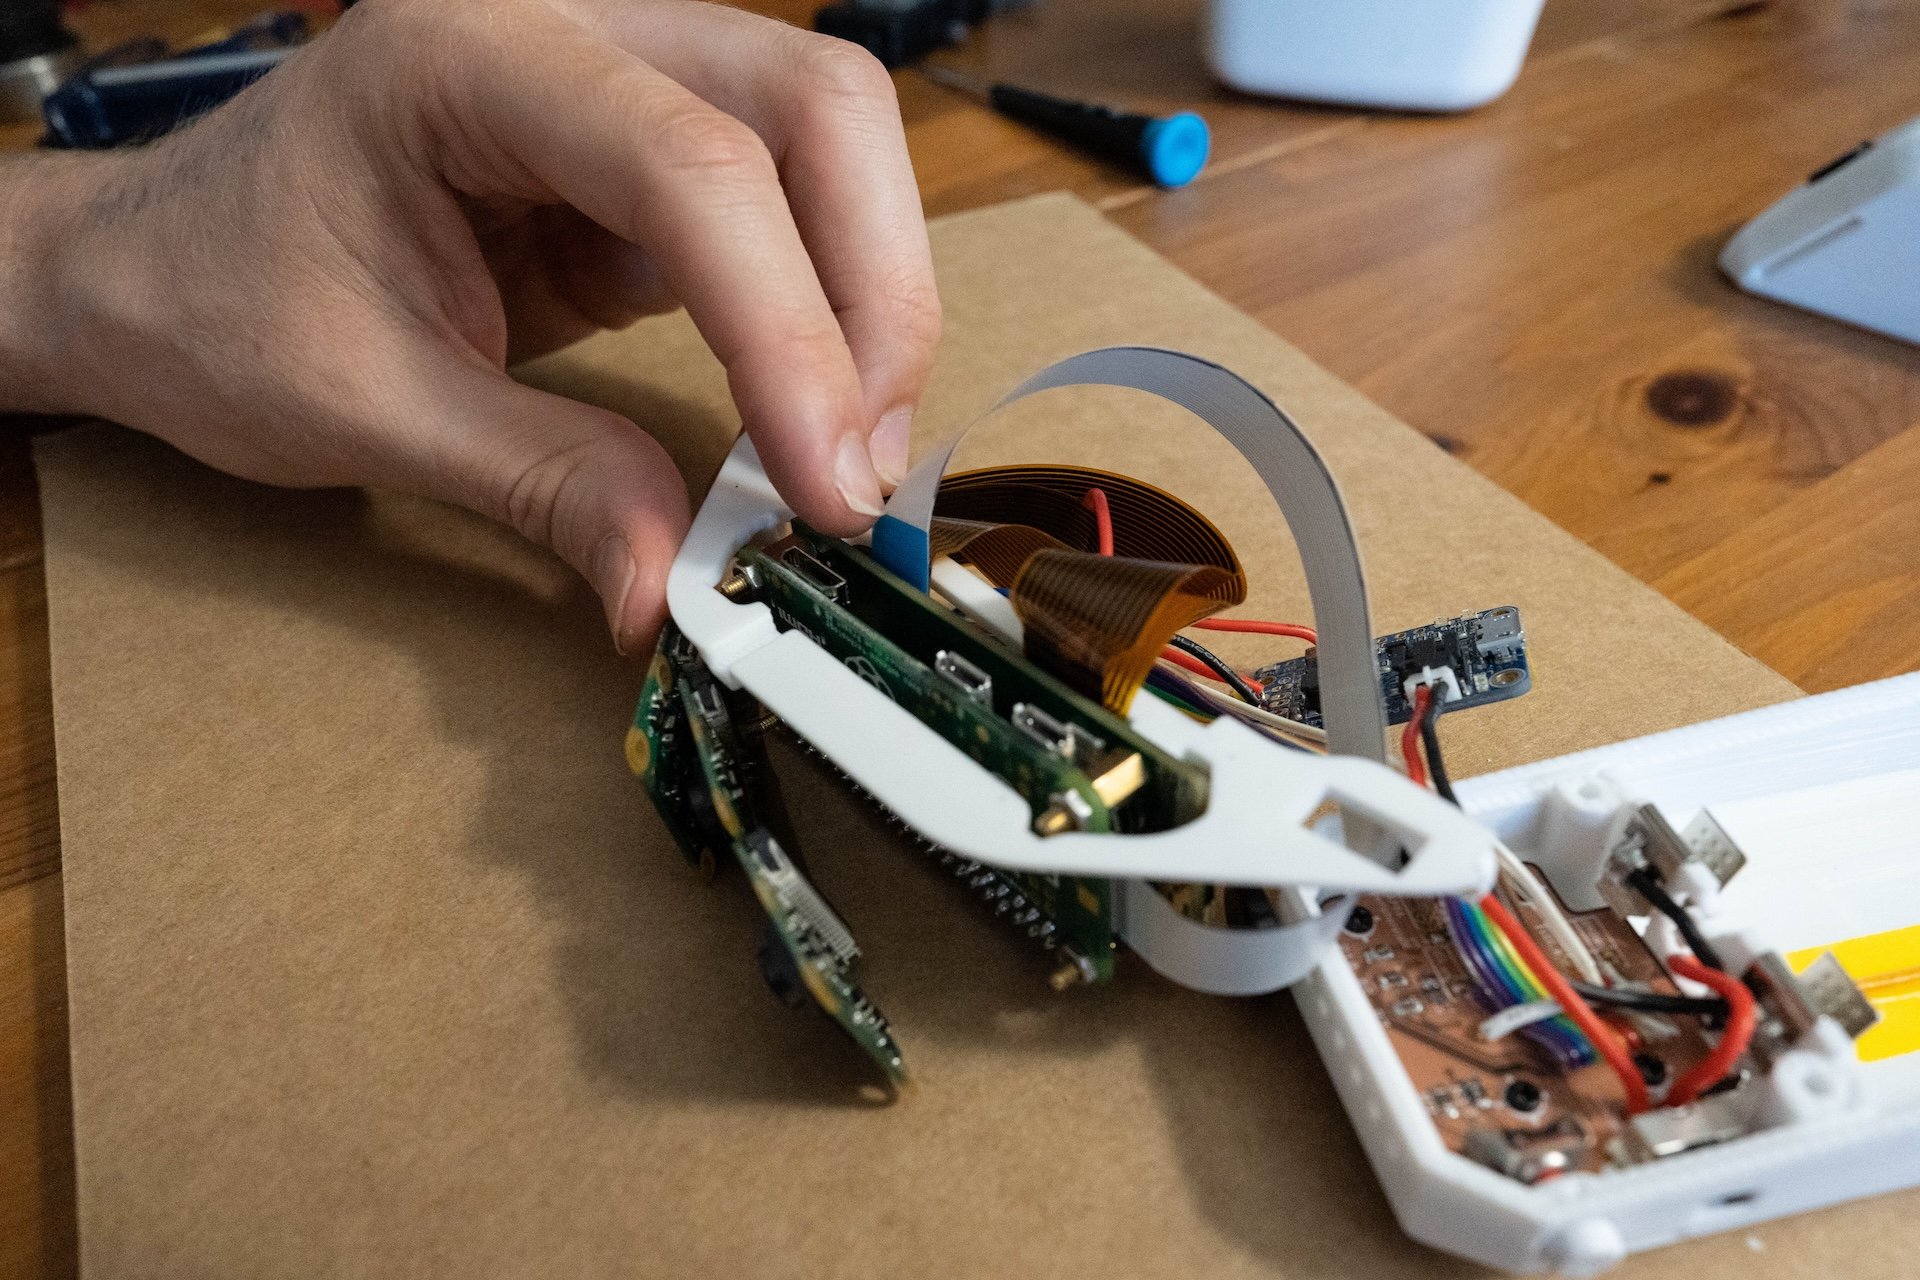
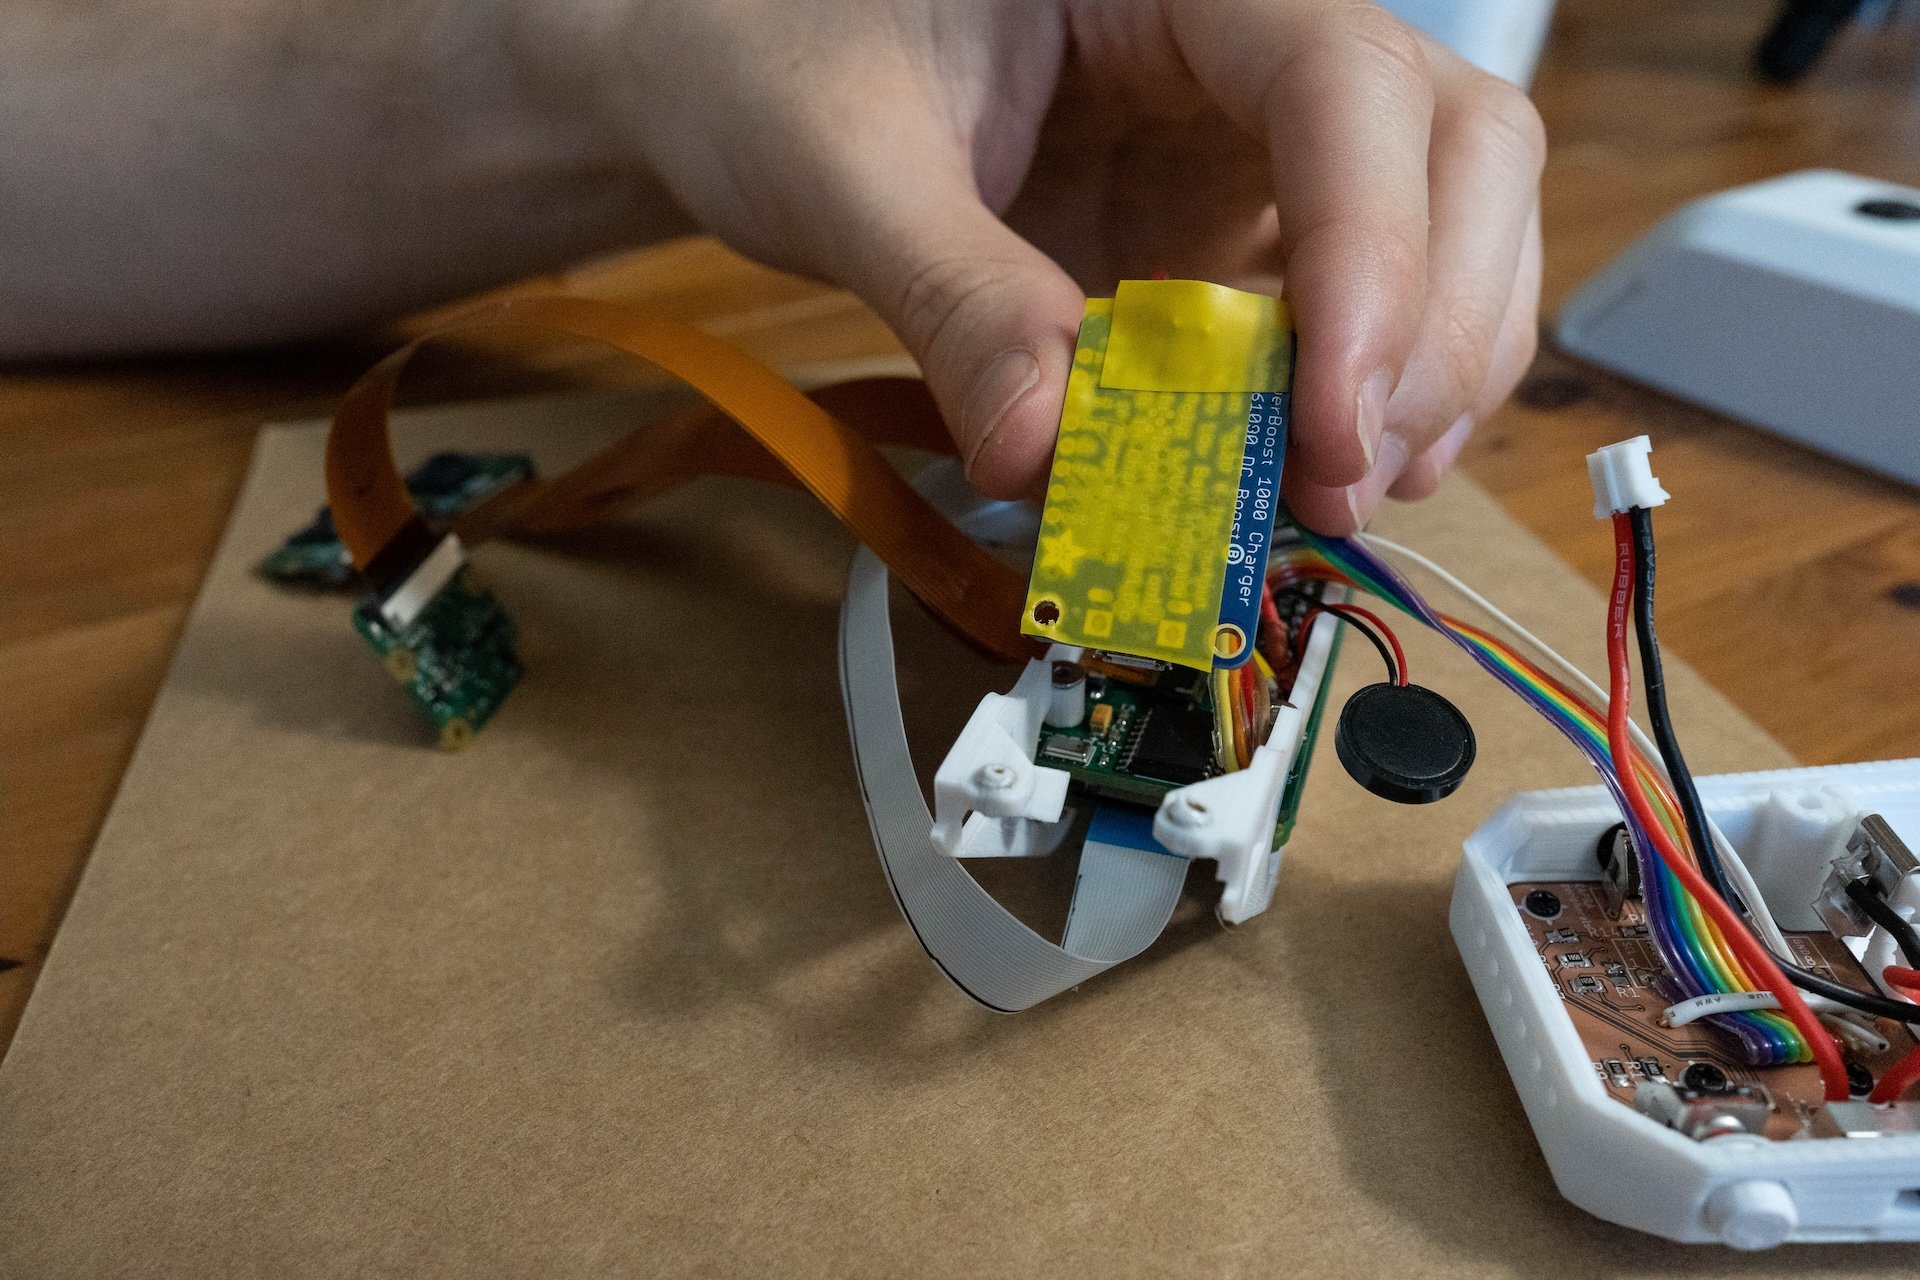
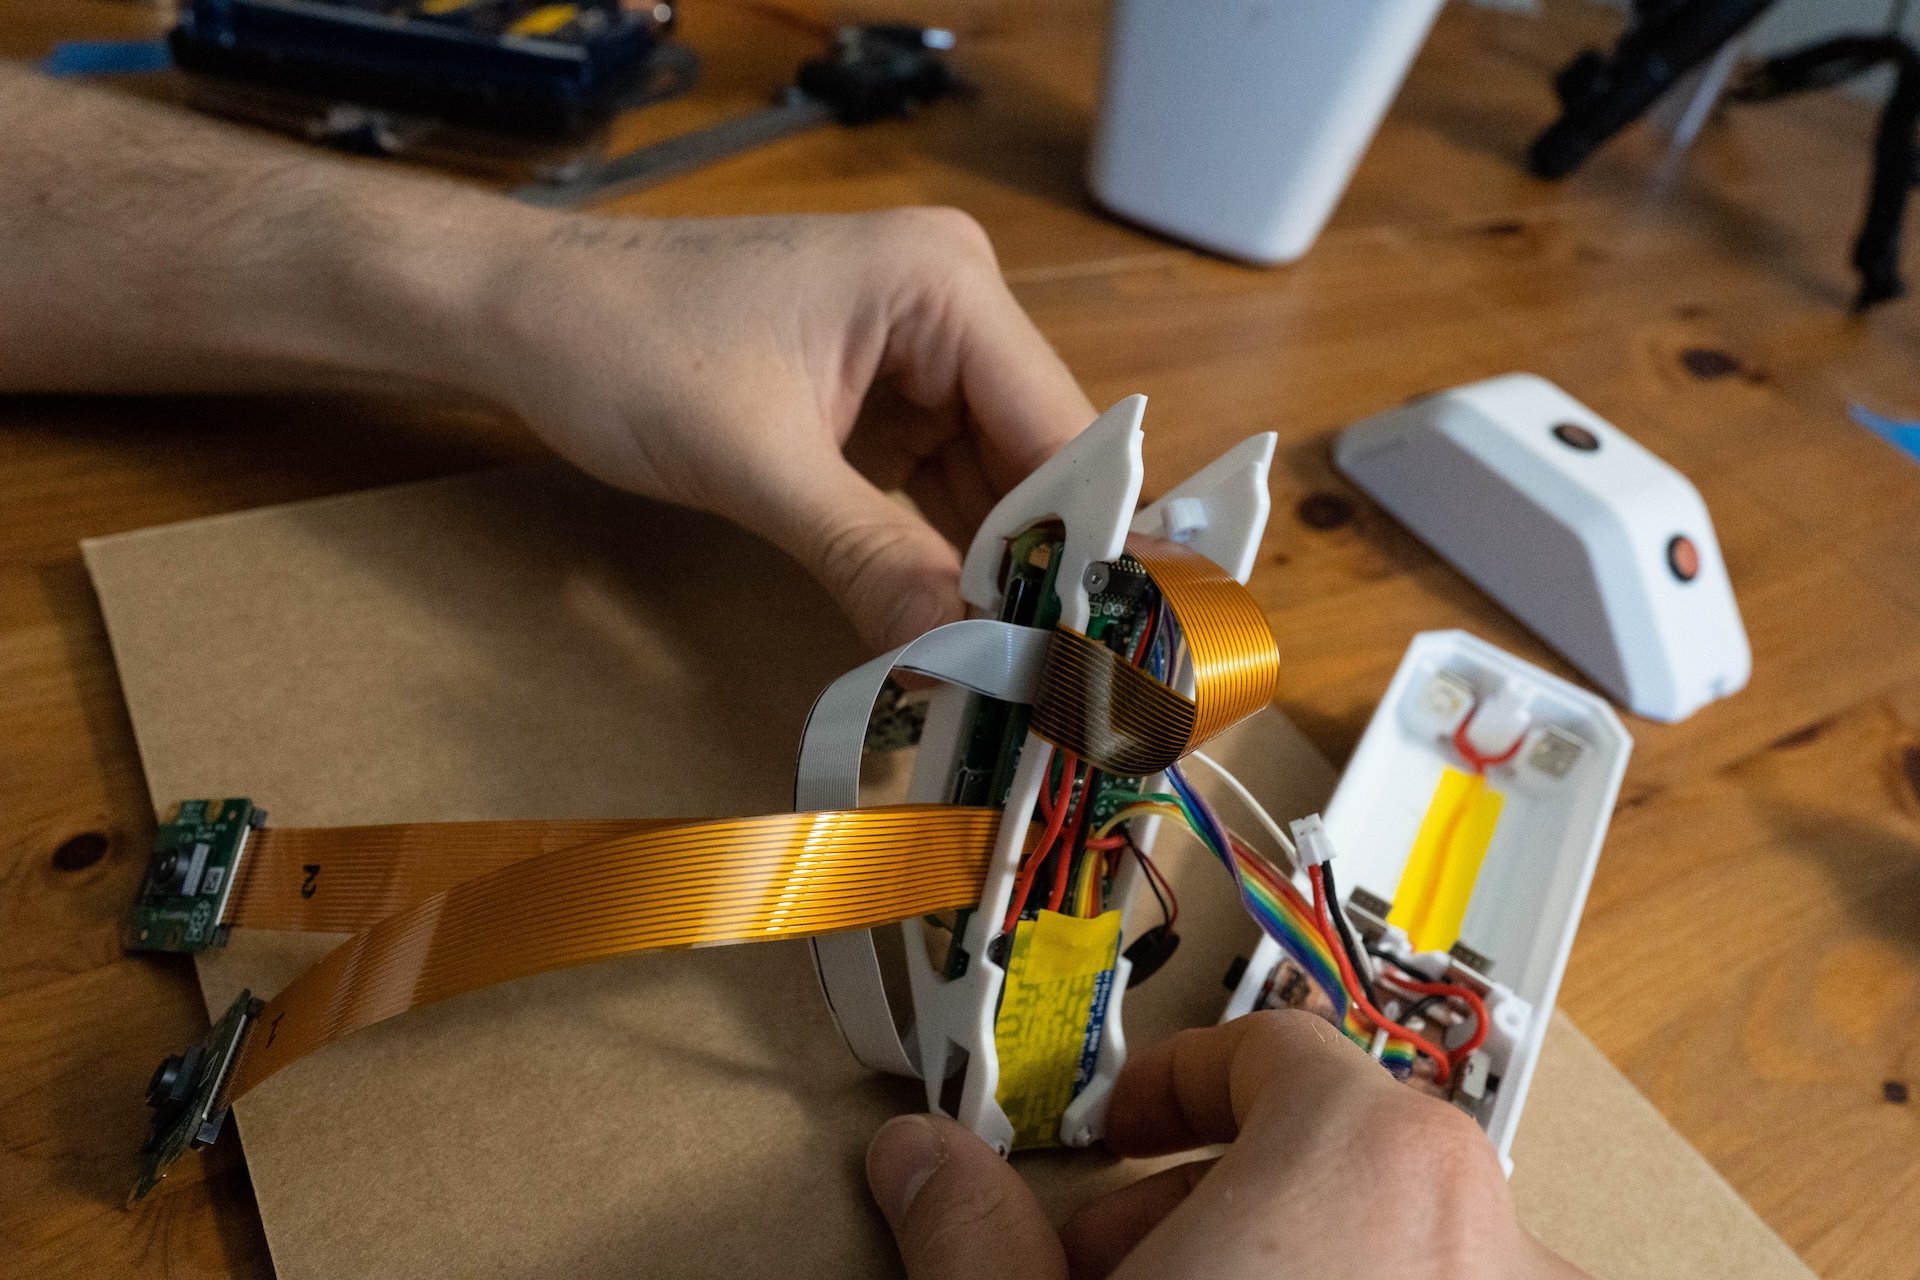
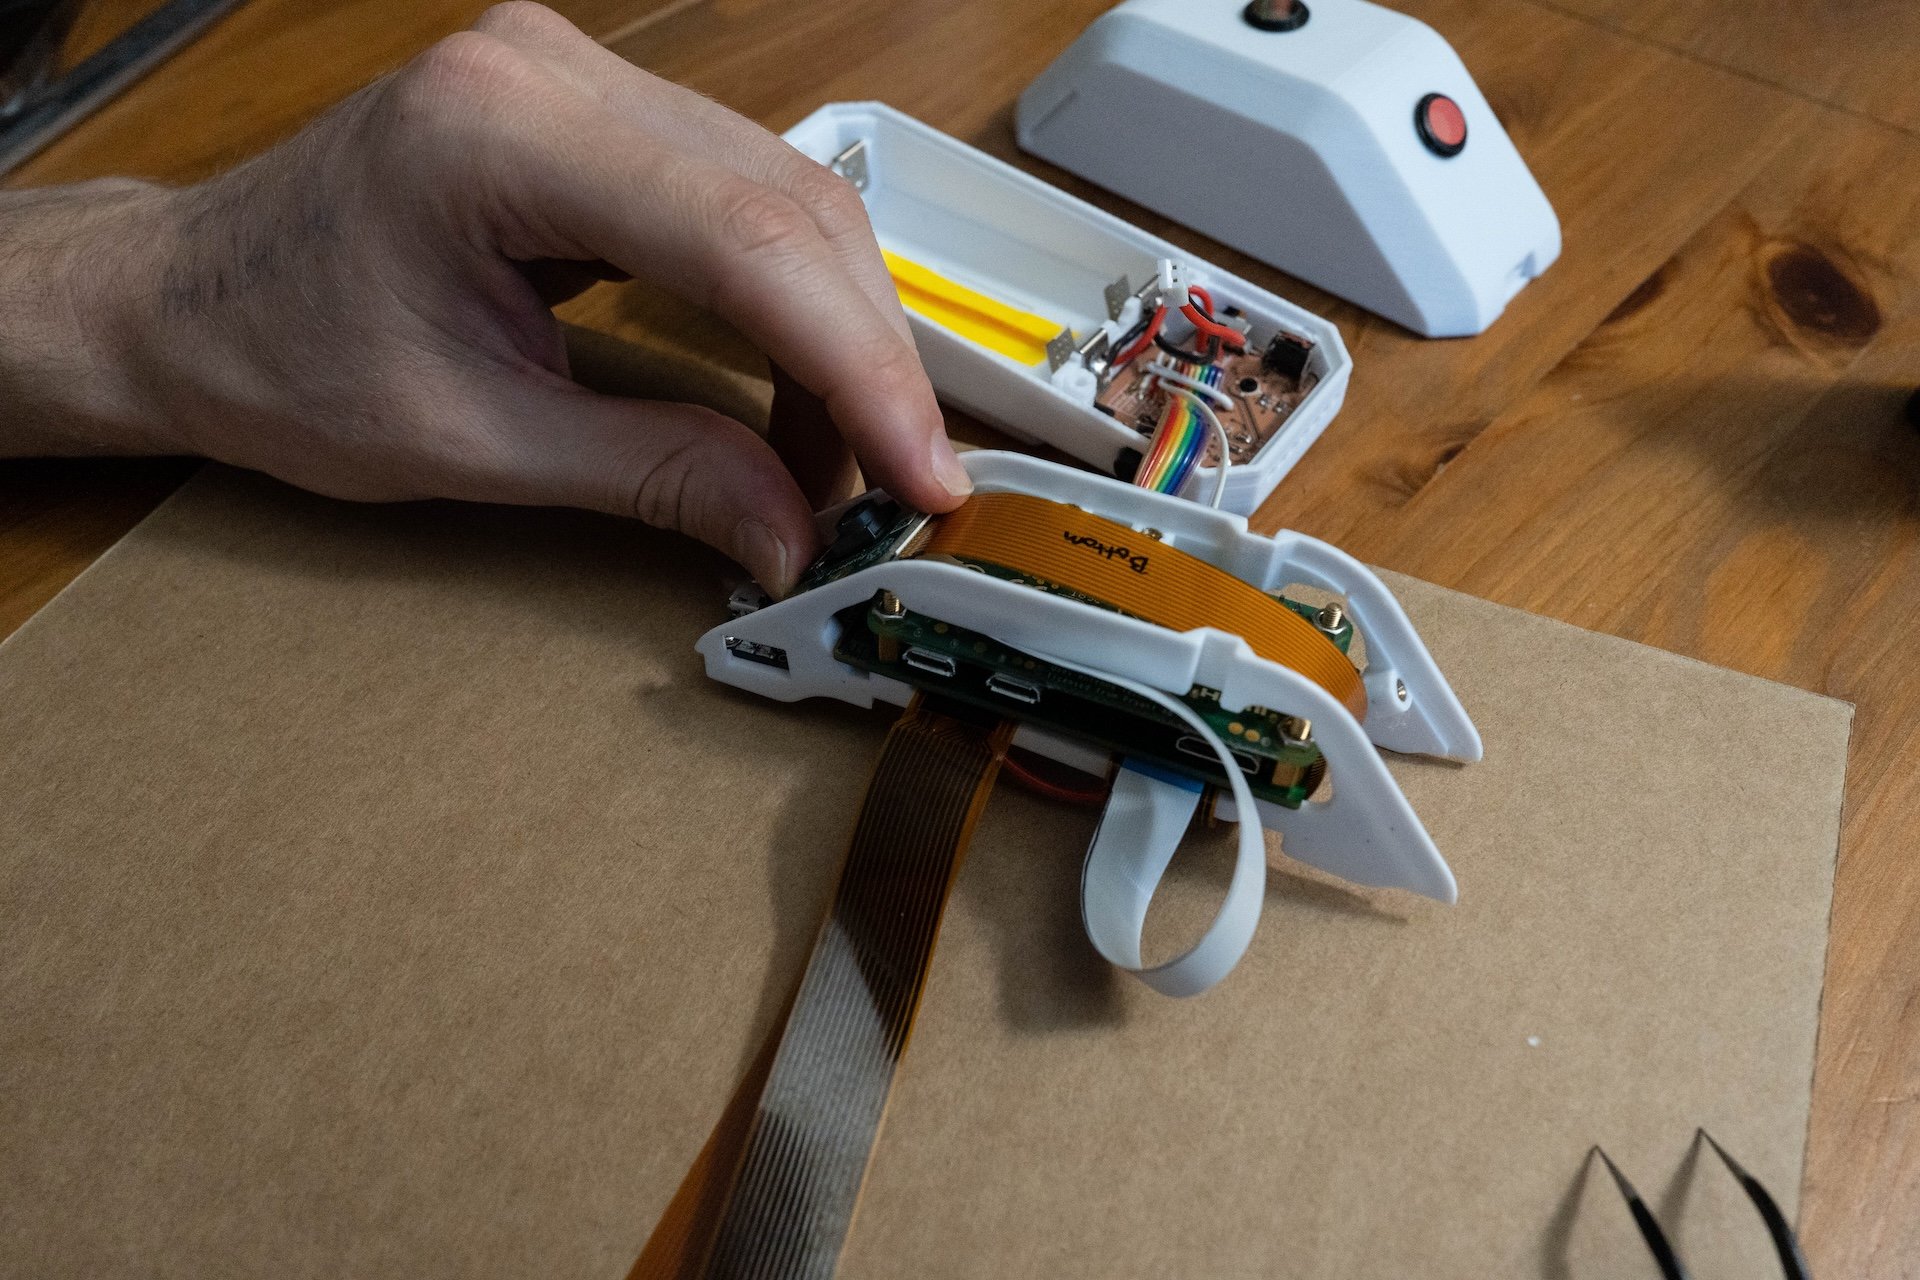
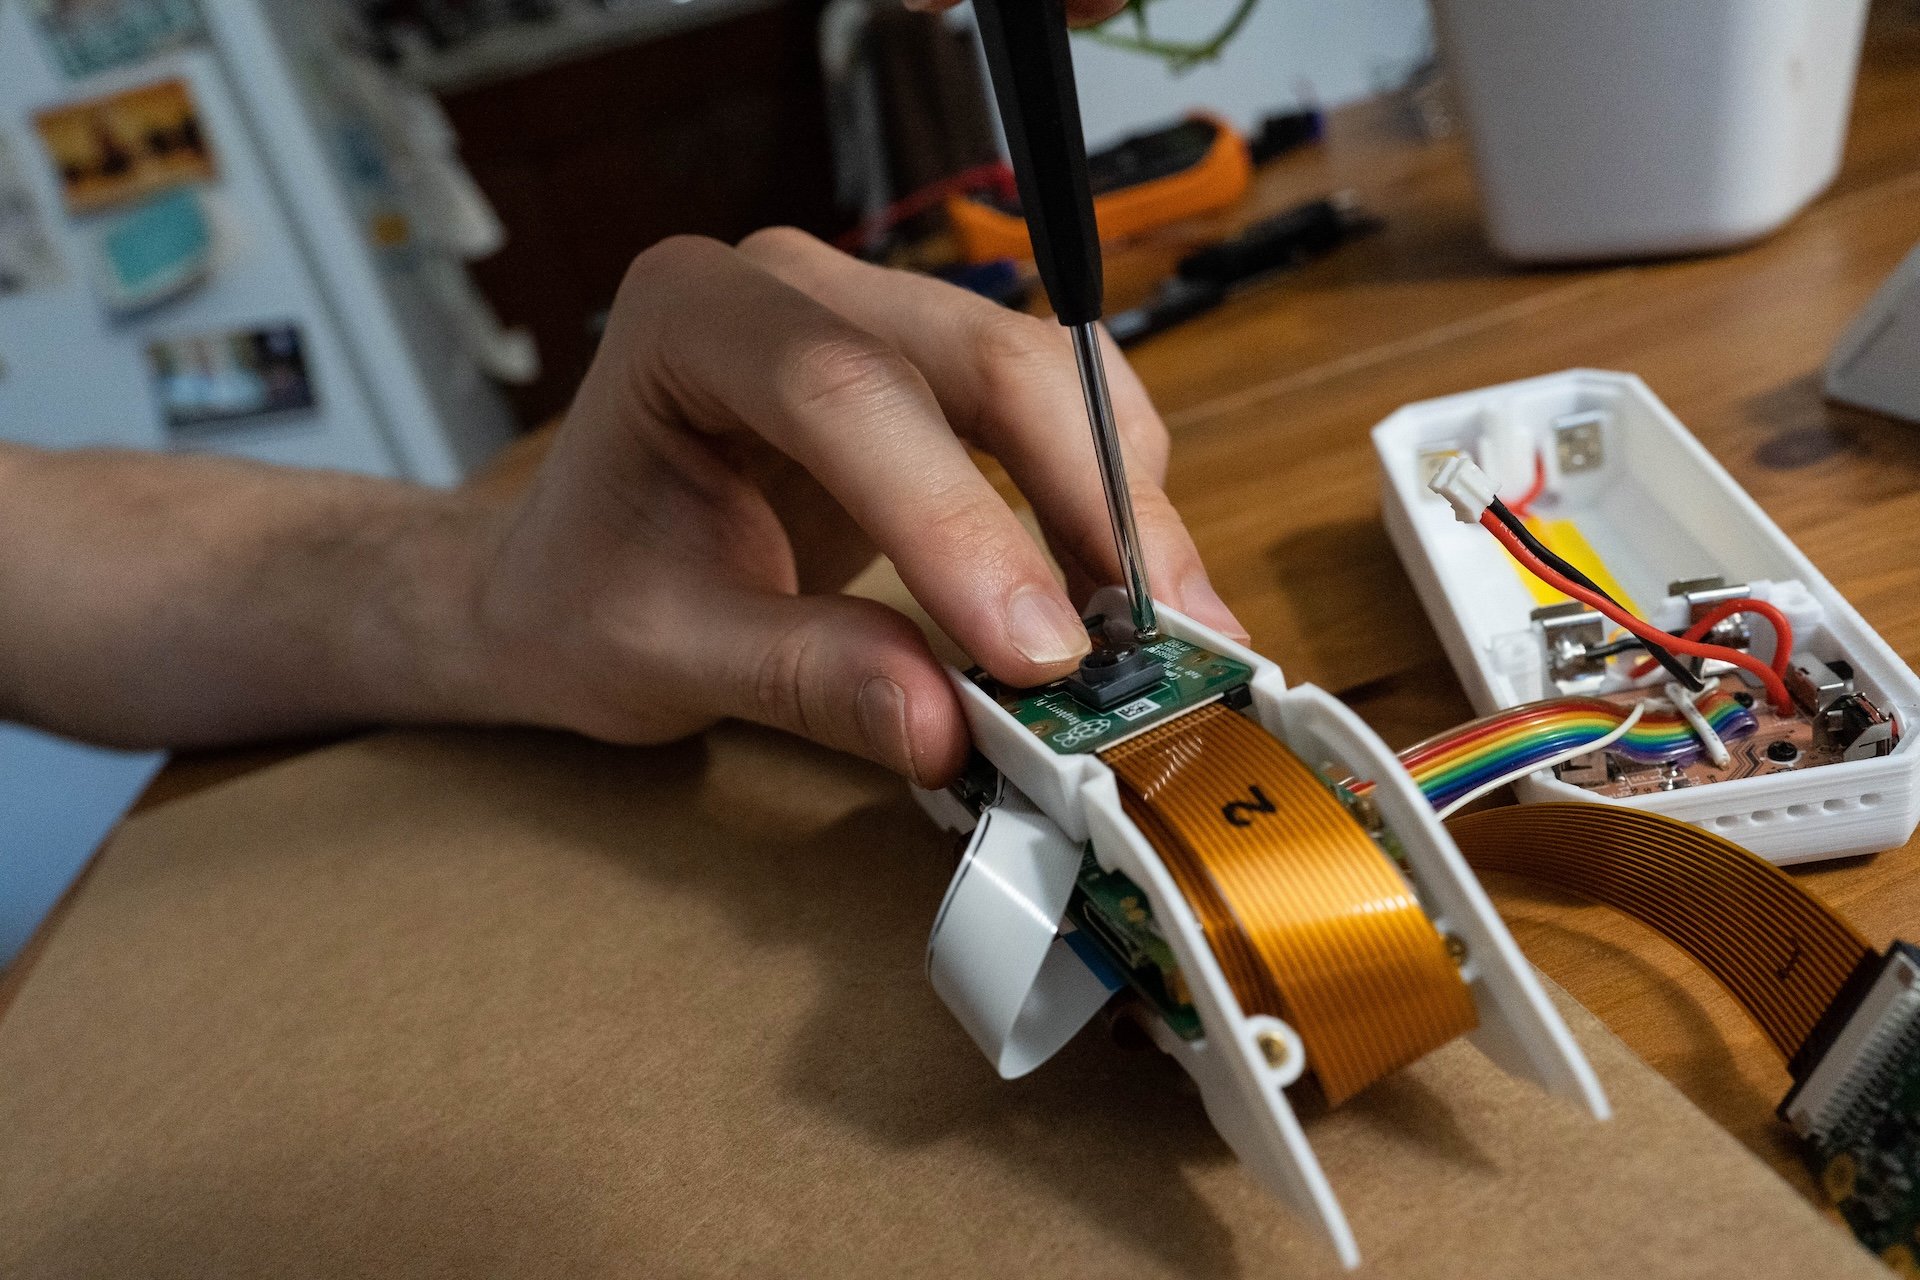
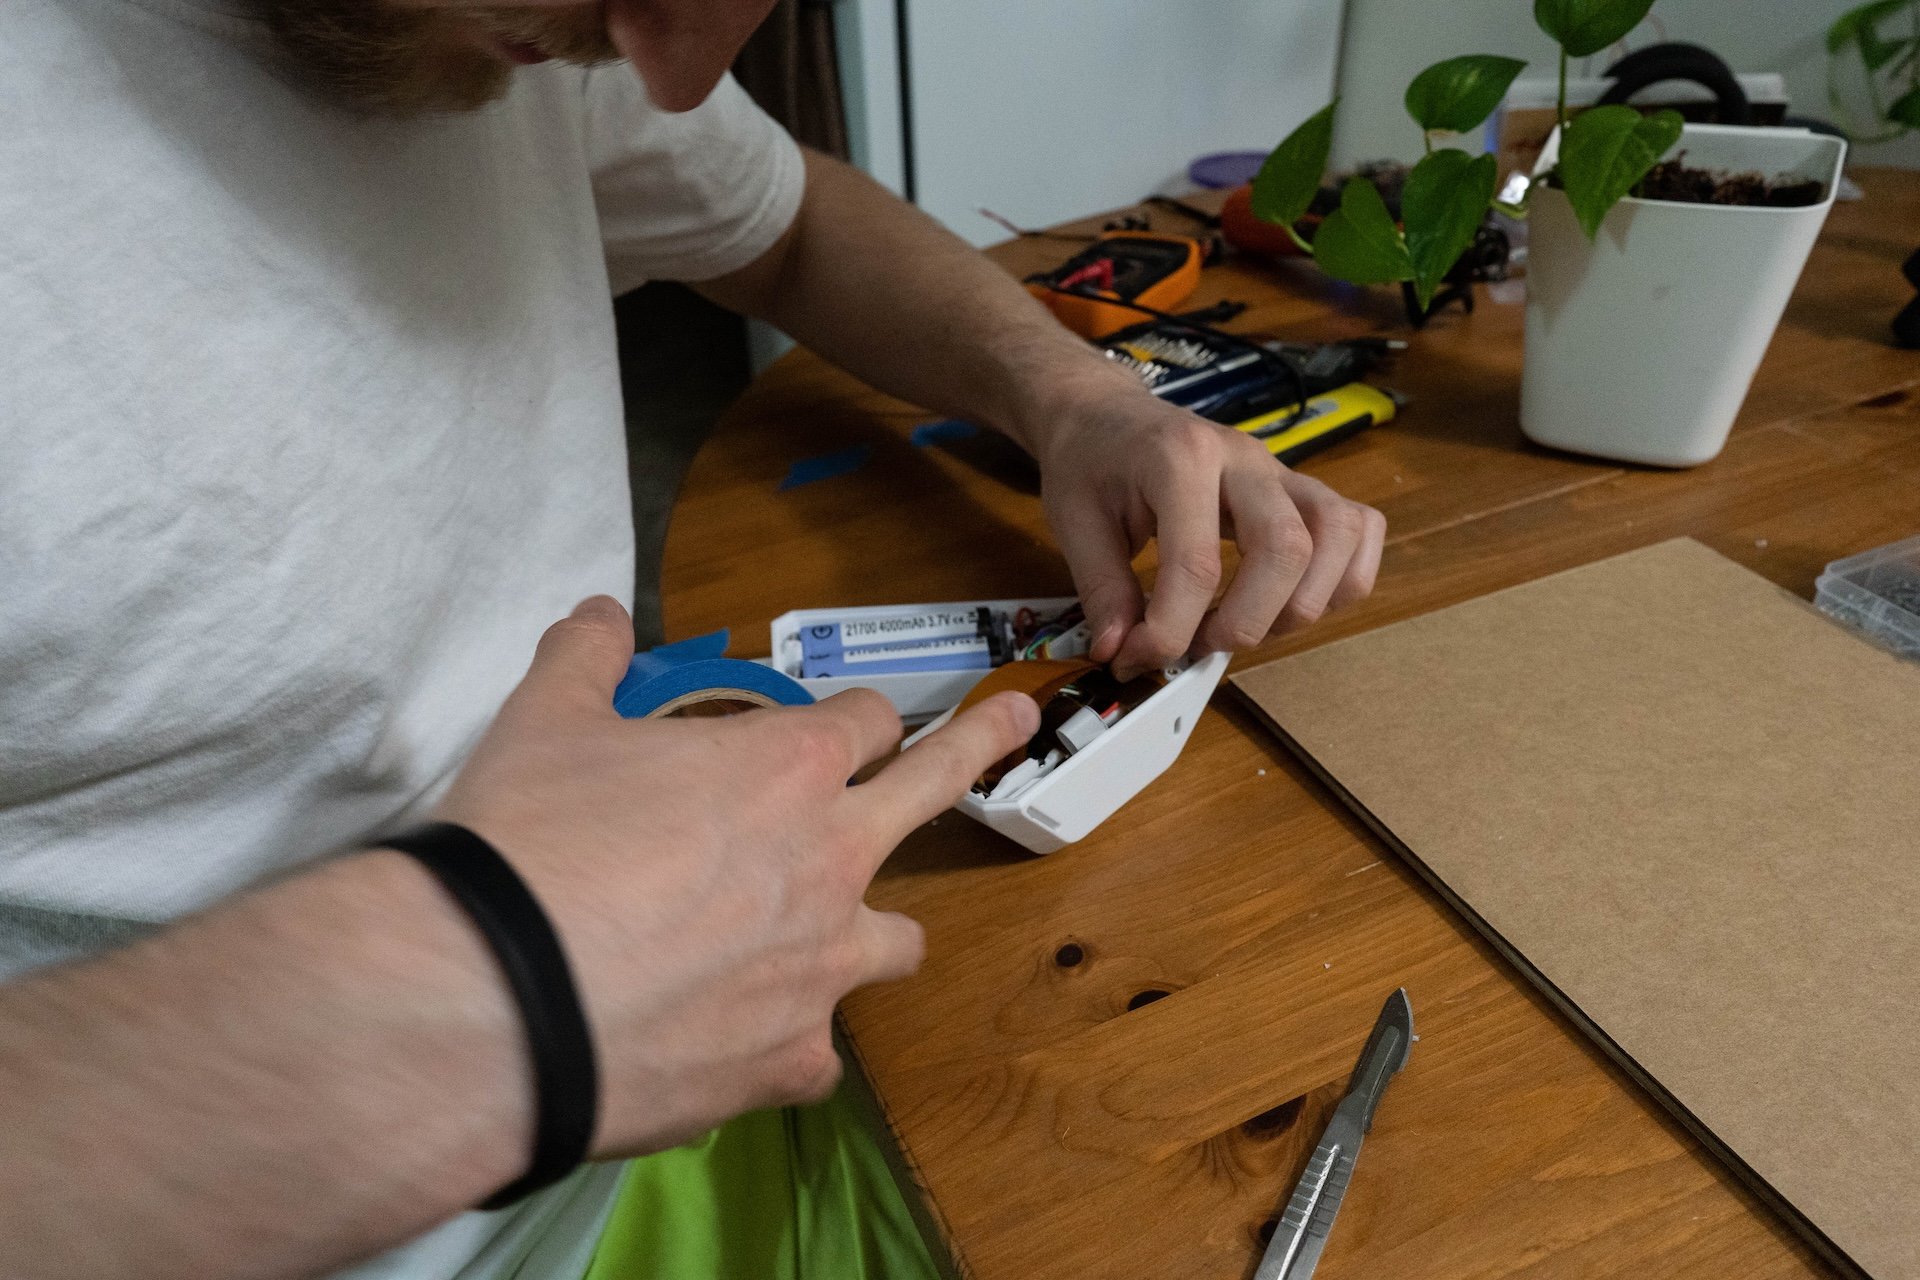
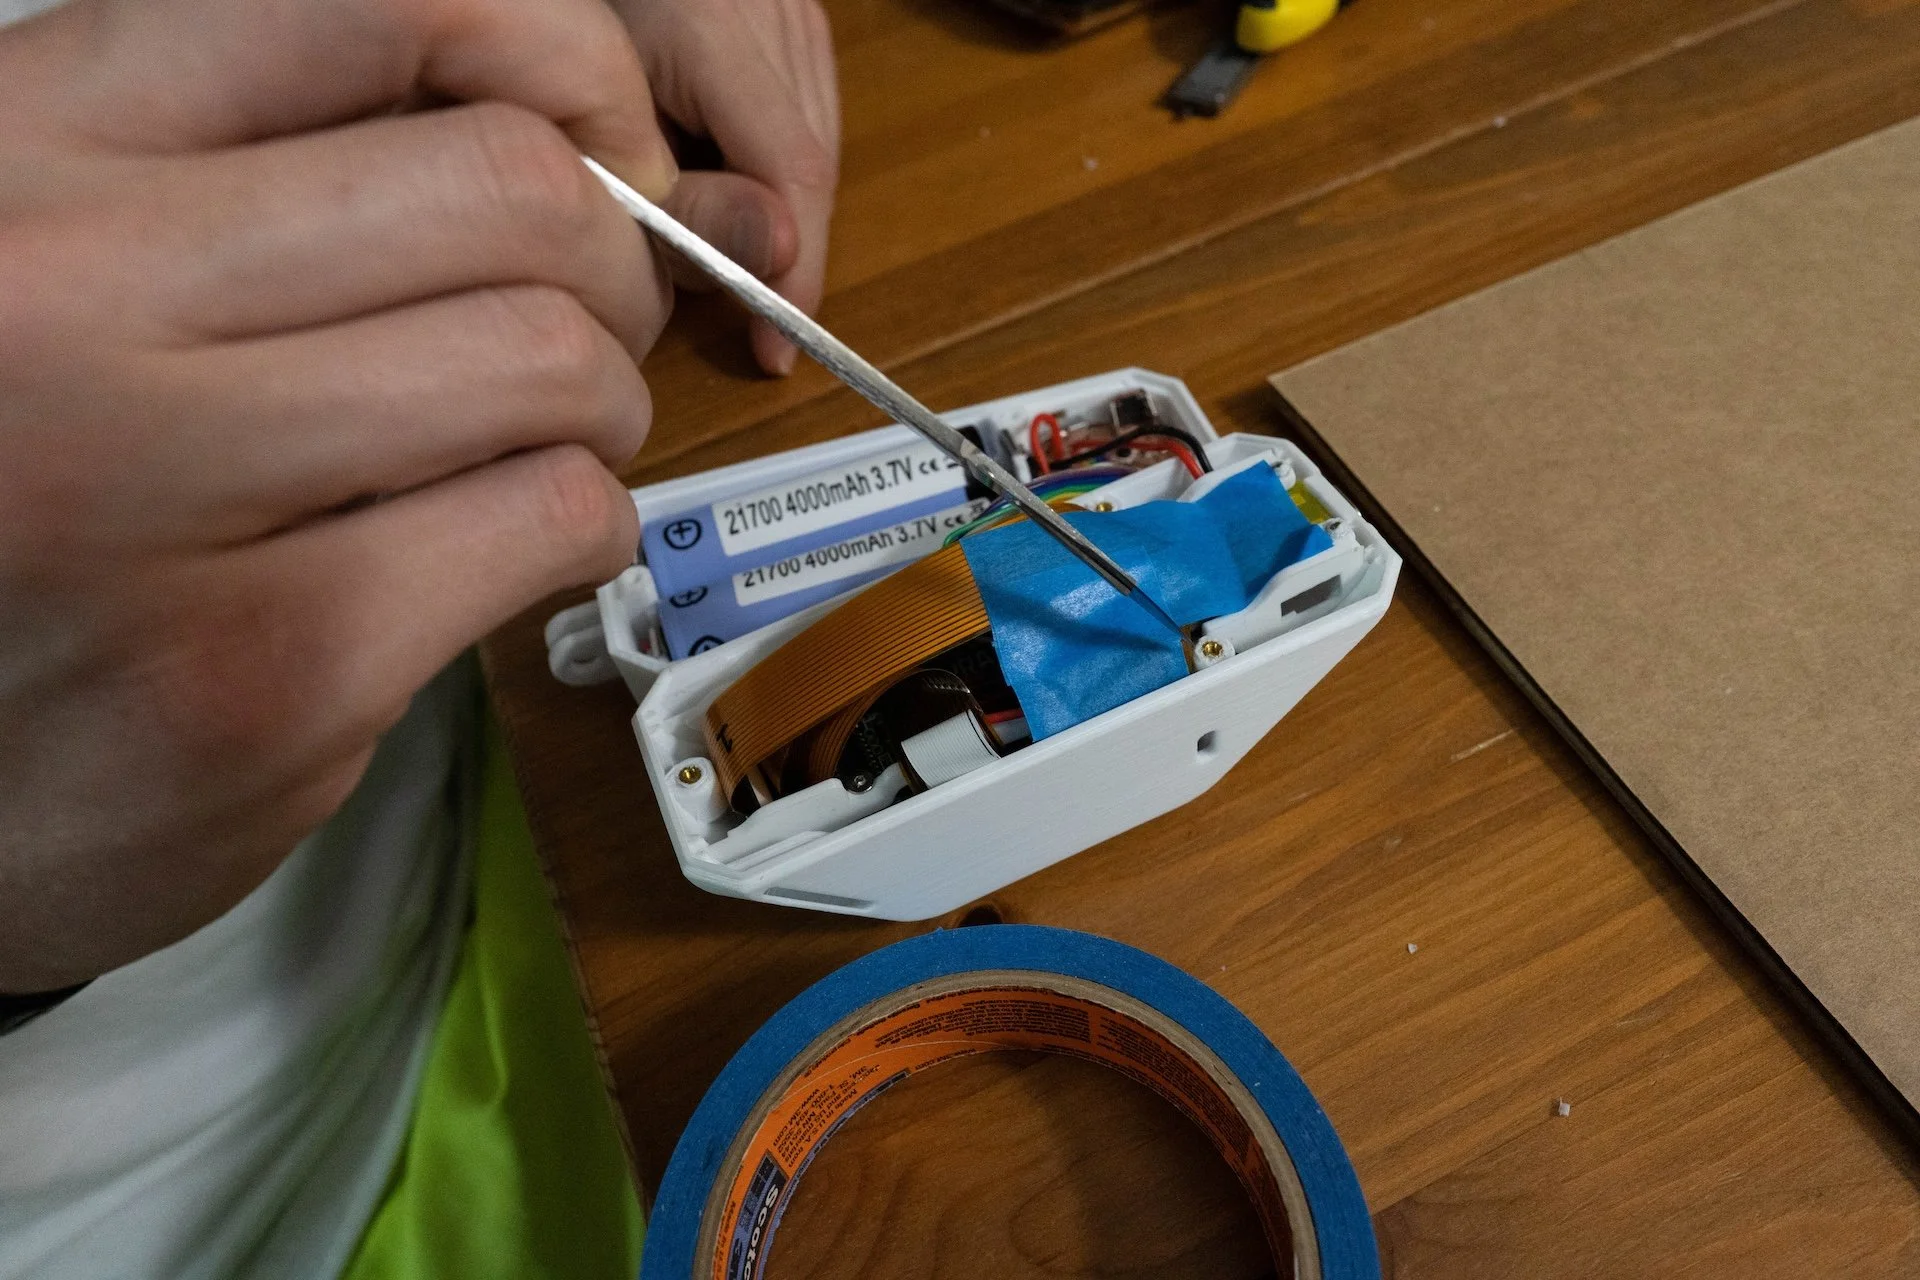
Assembling the batch of 3 Collectors


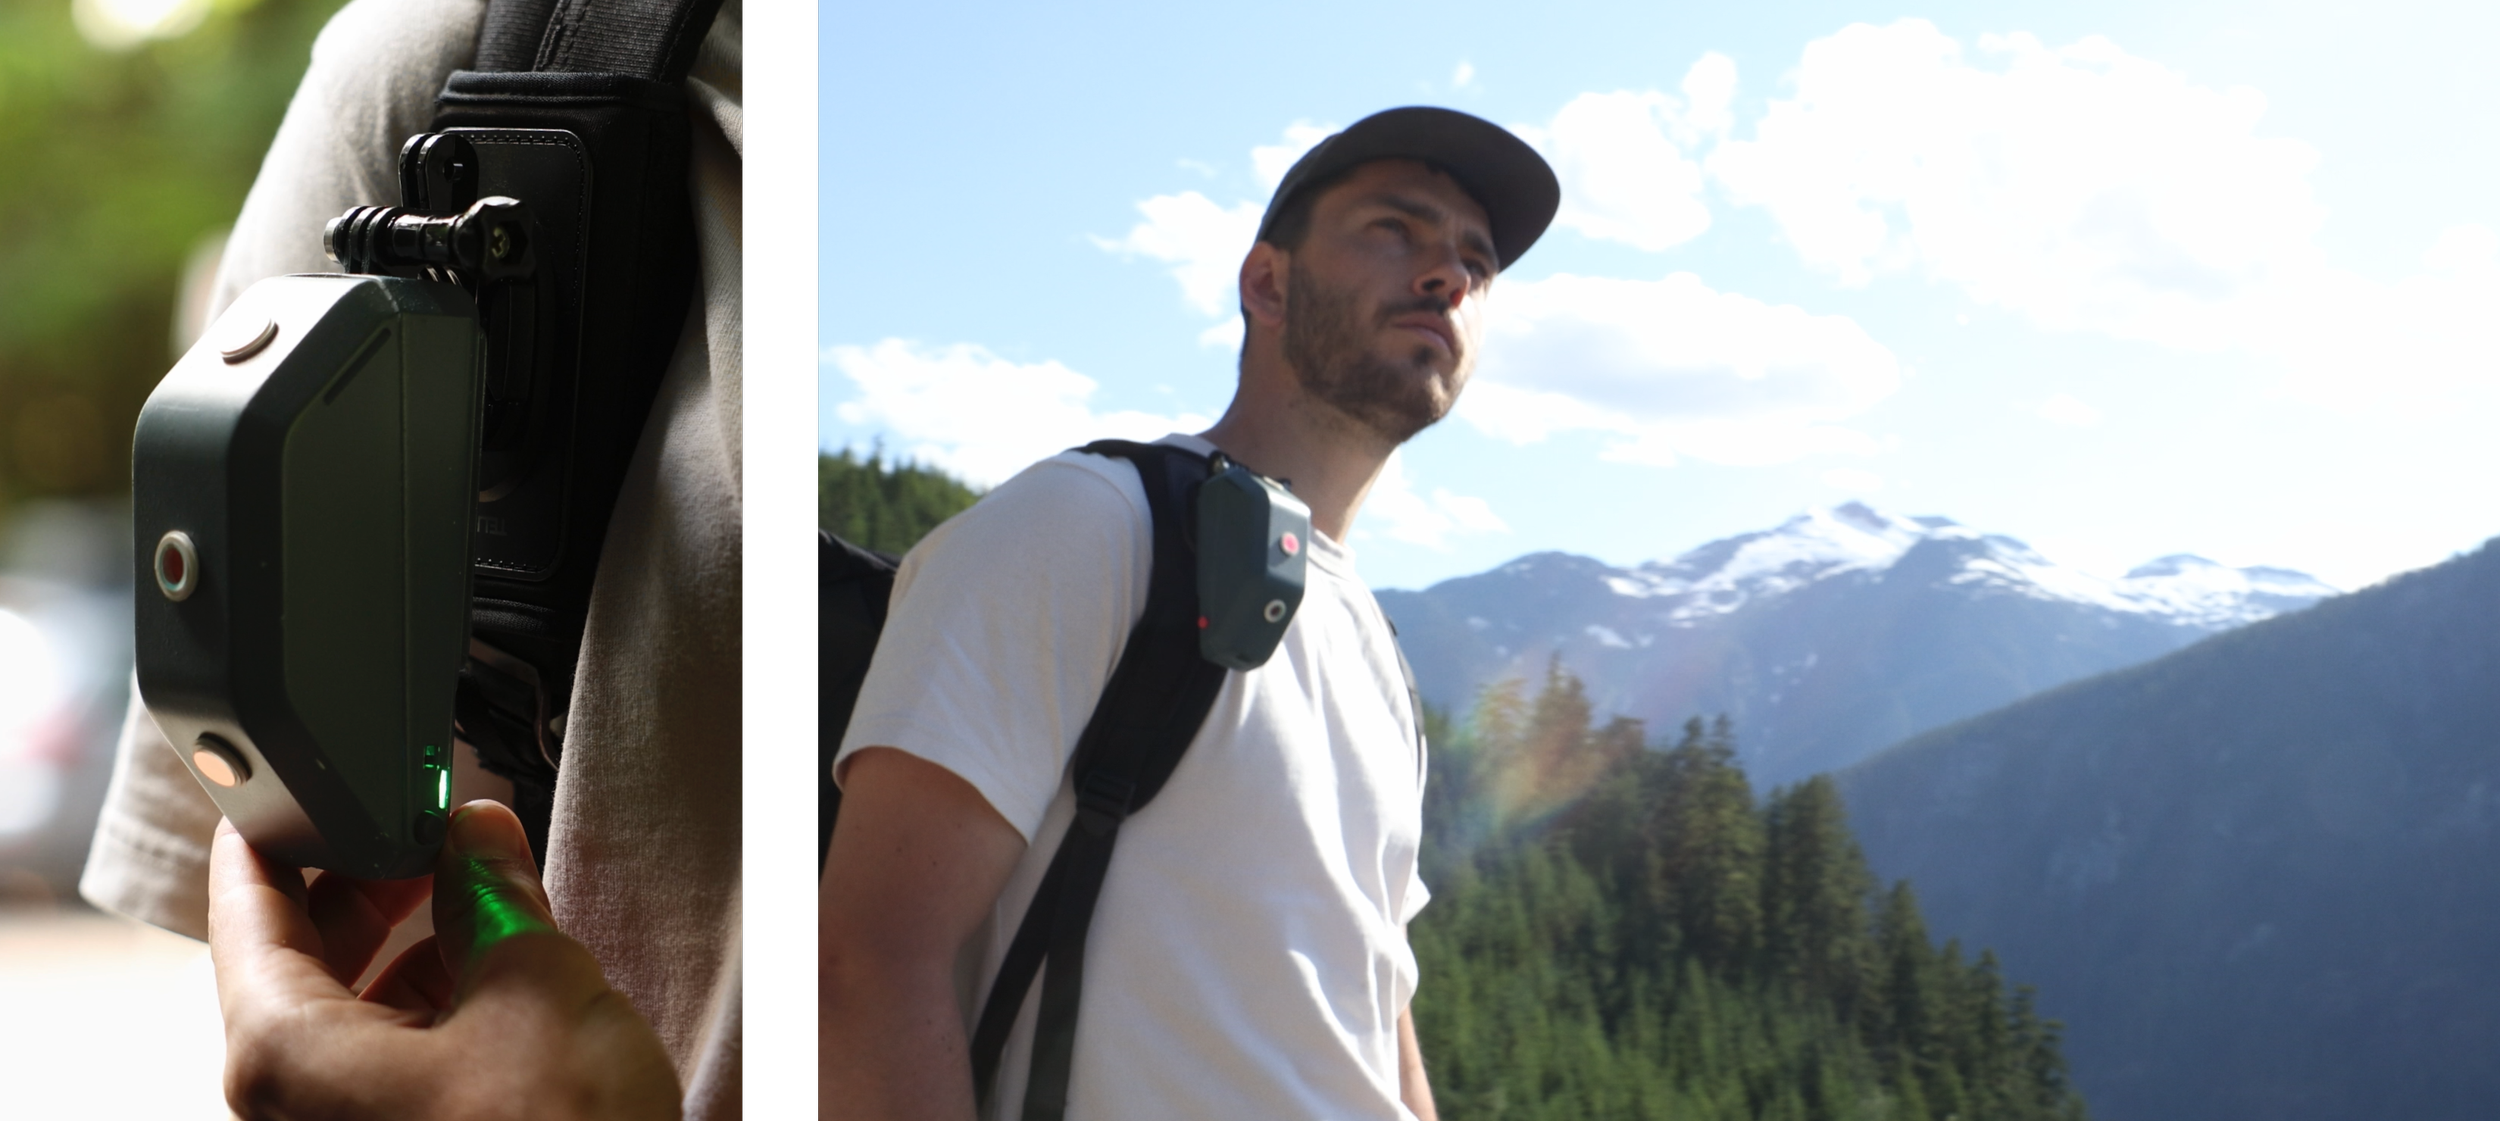
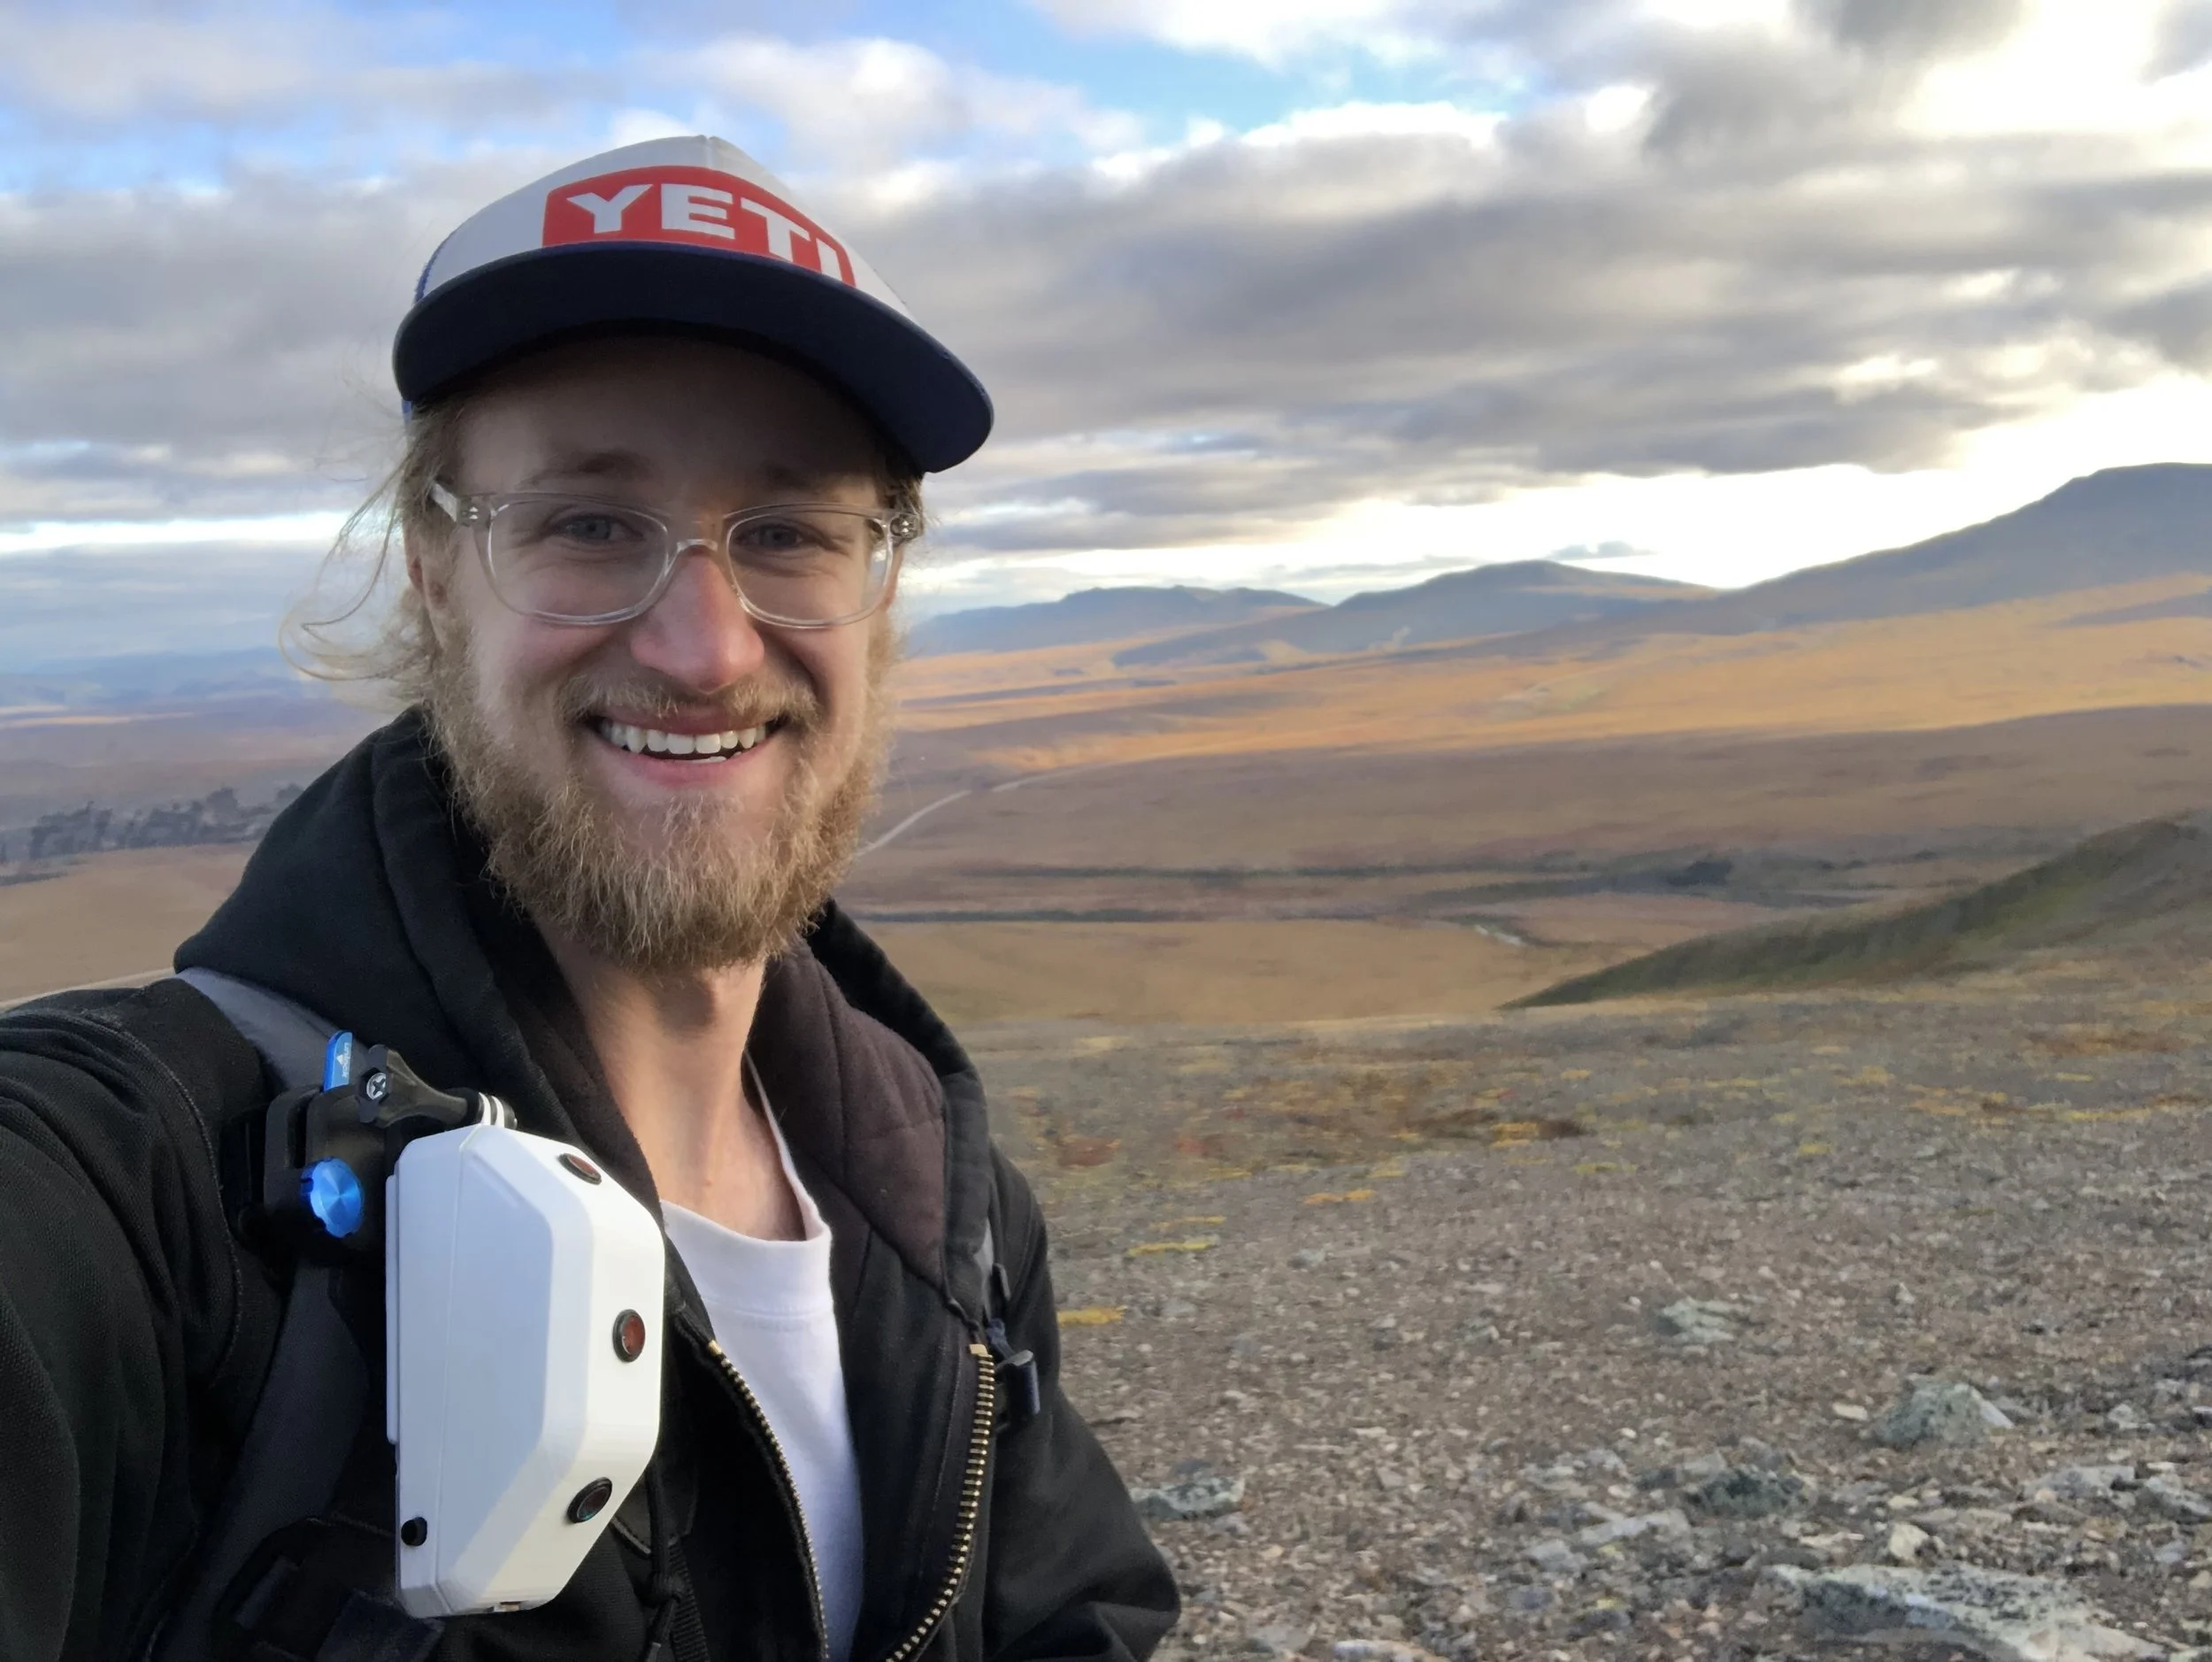
Hiking with the Collector
One of the coolest parts of this project was being able to user test Capra while hiking in Canada and the Pacific Northwest over a 2 year period.
This particular hike was just off the Dempster Highway in northern Canada.
Capra Explorer
Design Goals
Create a physical device which allows us to store and explore our hikes as we record them over time, providing ways to navigate the archive based on time, color, or altitude.
Building UI on a Raspberry Pi
I started working on building a simple slideshow program. I had only ever developed UI on iOS, Android, and web. It was a struggle finding a good UI library for the Raspberry Pi.
→ Initially considered using a web framework for the UI, however I realized that the GPIO support between web and hardware components wasn’t good enough.
→ Started building using Tkinter (built in Python UI library). But it was way too limited to make any custom UI components.
→ Eventually shifted to PyQt (a Python port of Qt) a much more advanced UI library which also had a good Threading framework (which ended up being crucial).
Fading Between Images
While figuring out how to fade from one image to another, I accidentally made this really dreamy fade effect. We ended up liking the visual style and stuck with it for the final design.
Implemented with Pillow image library
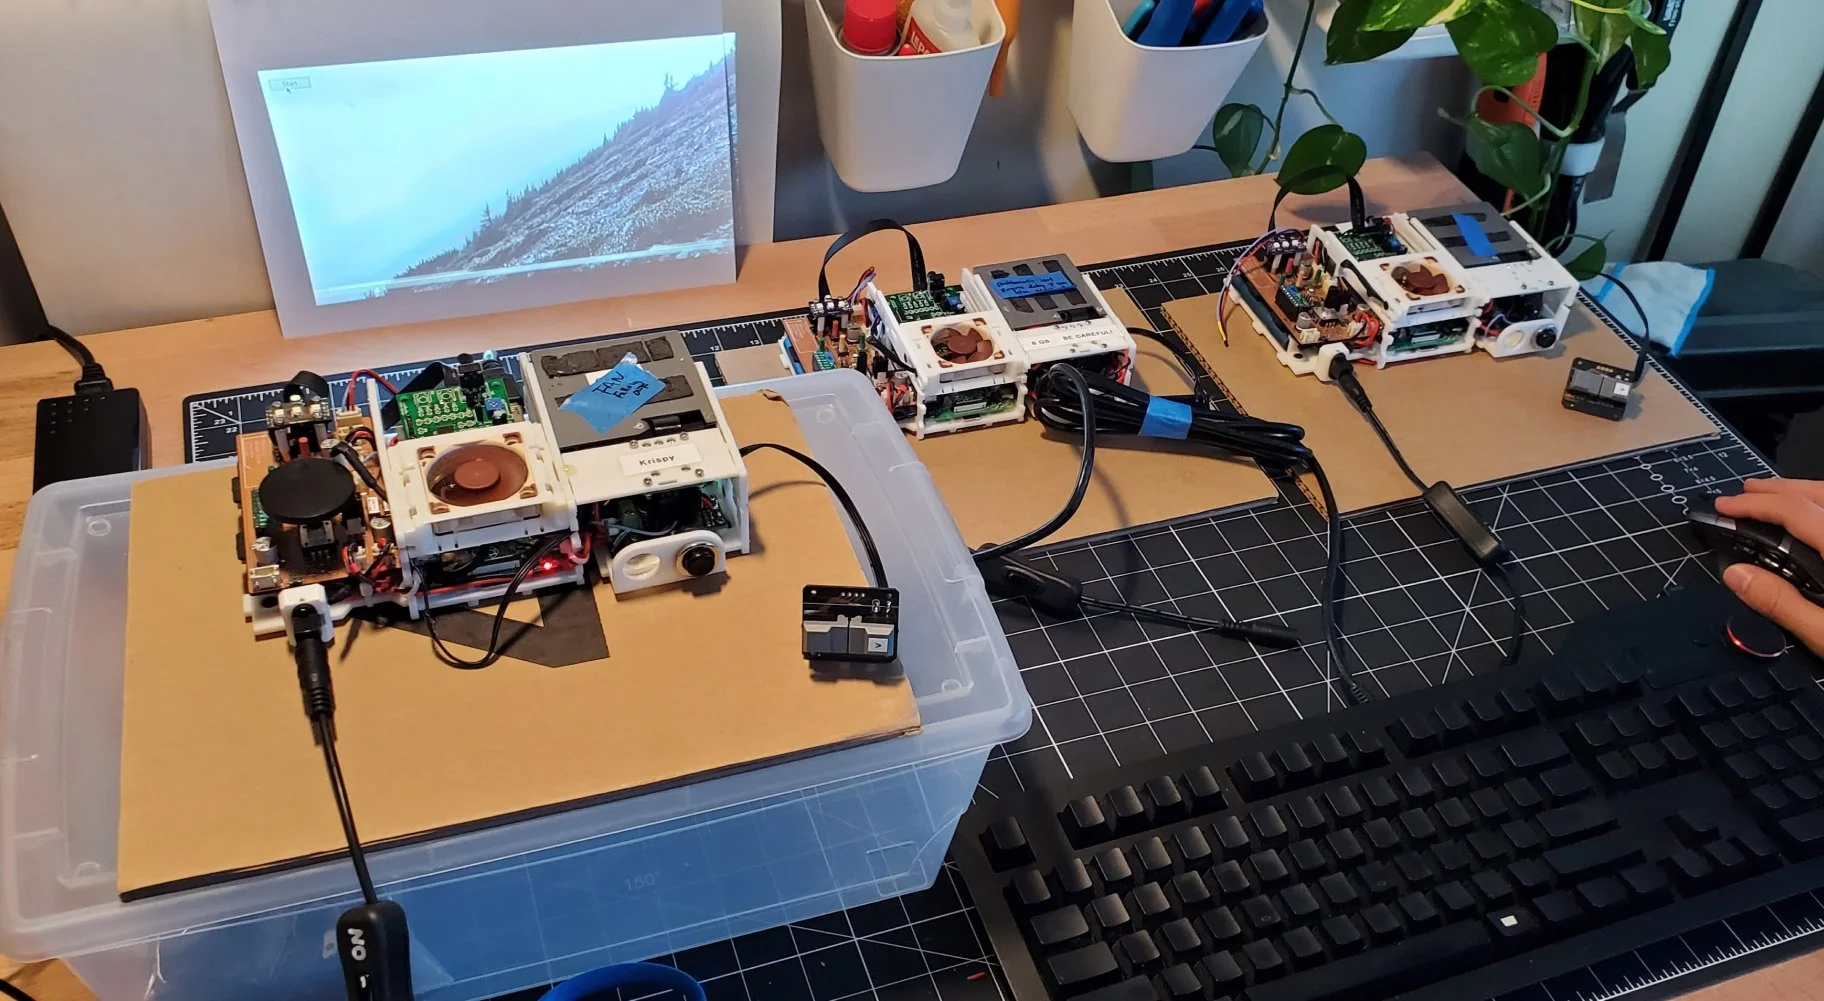
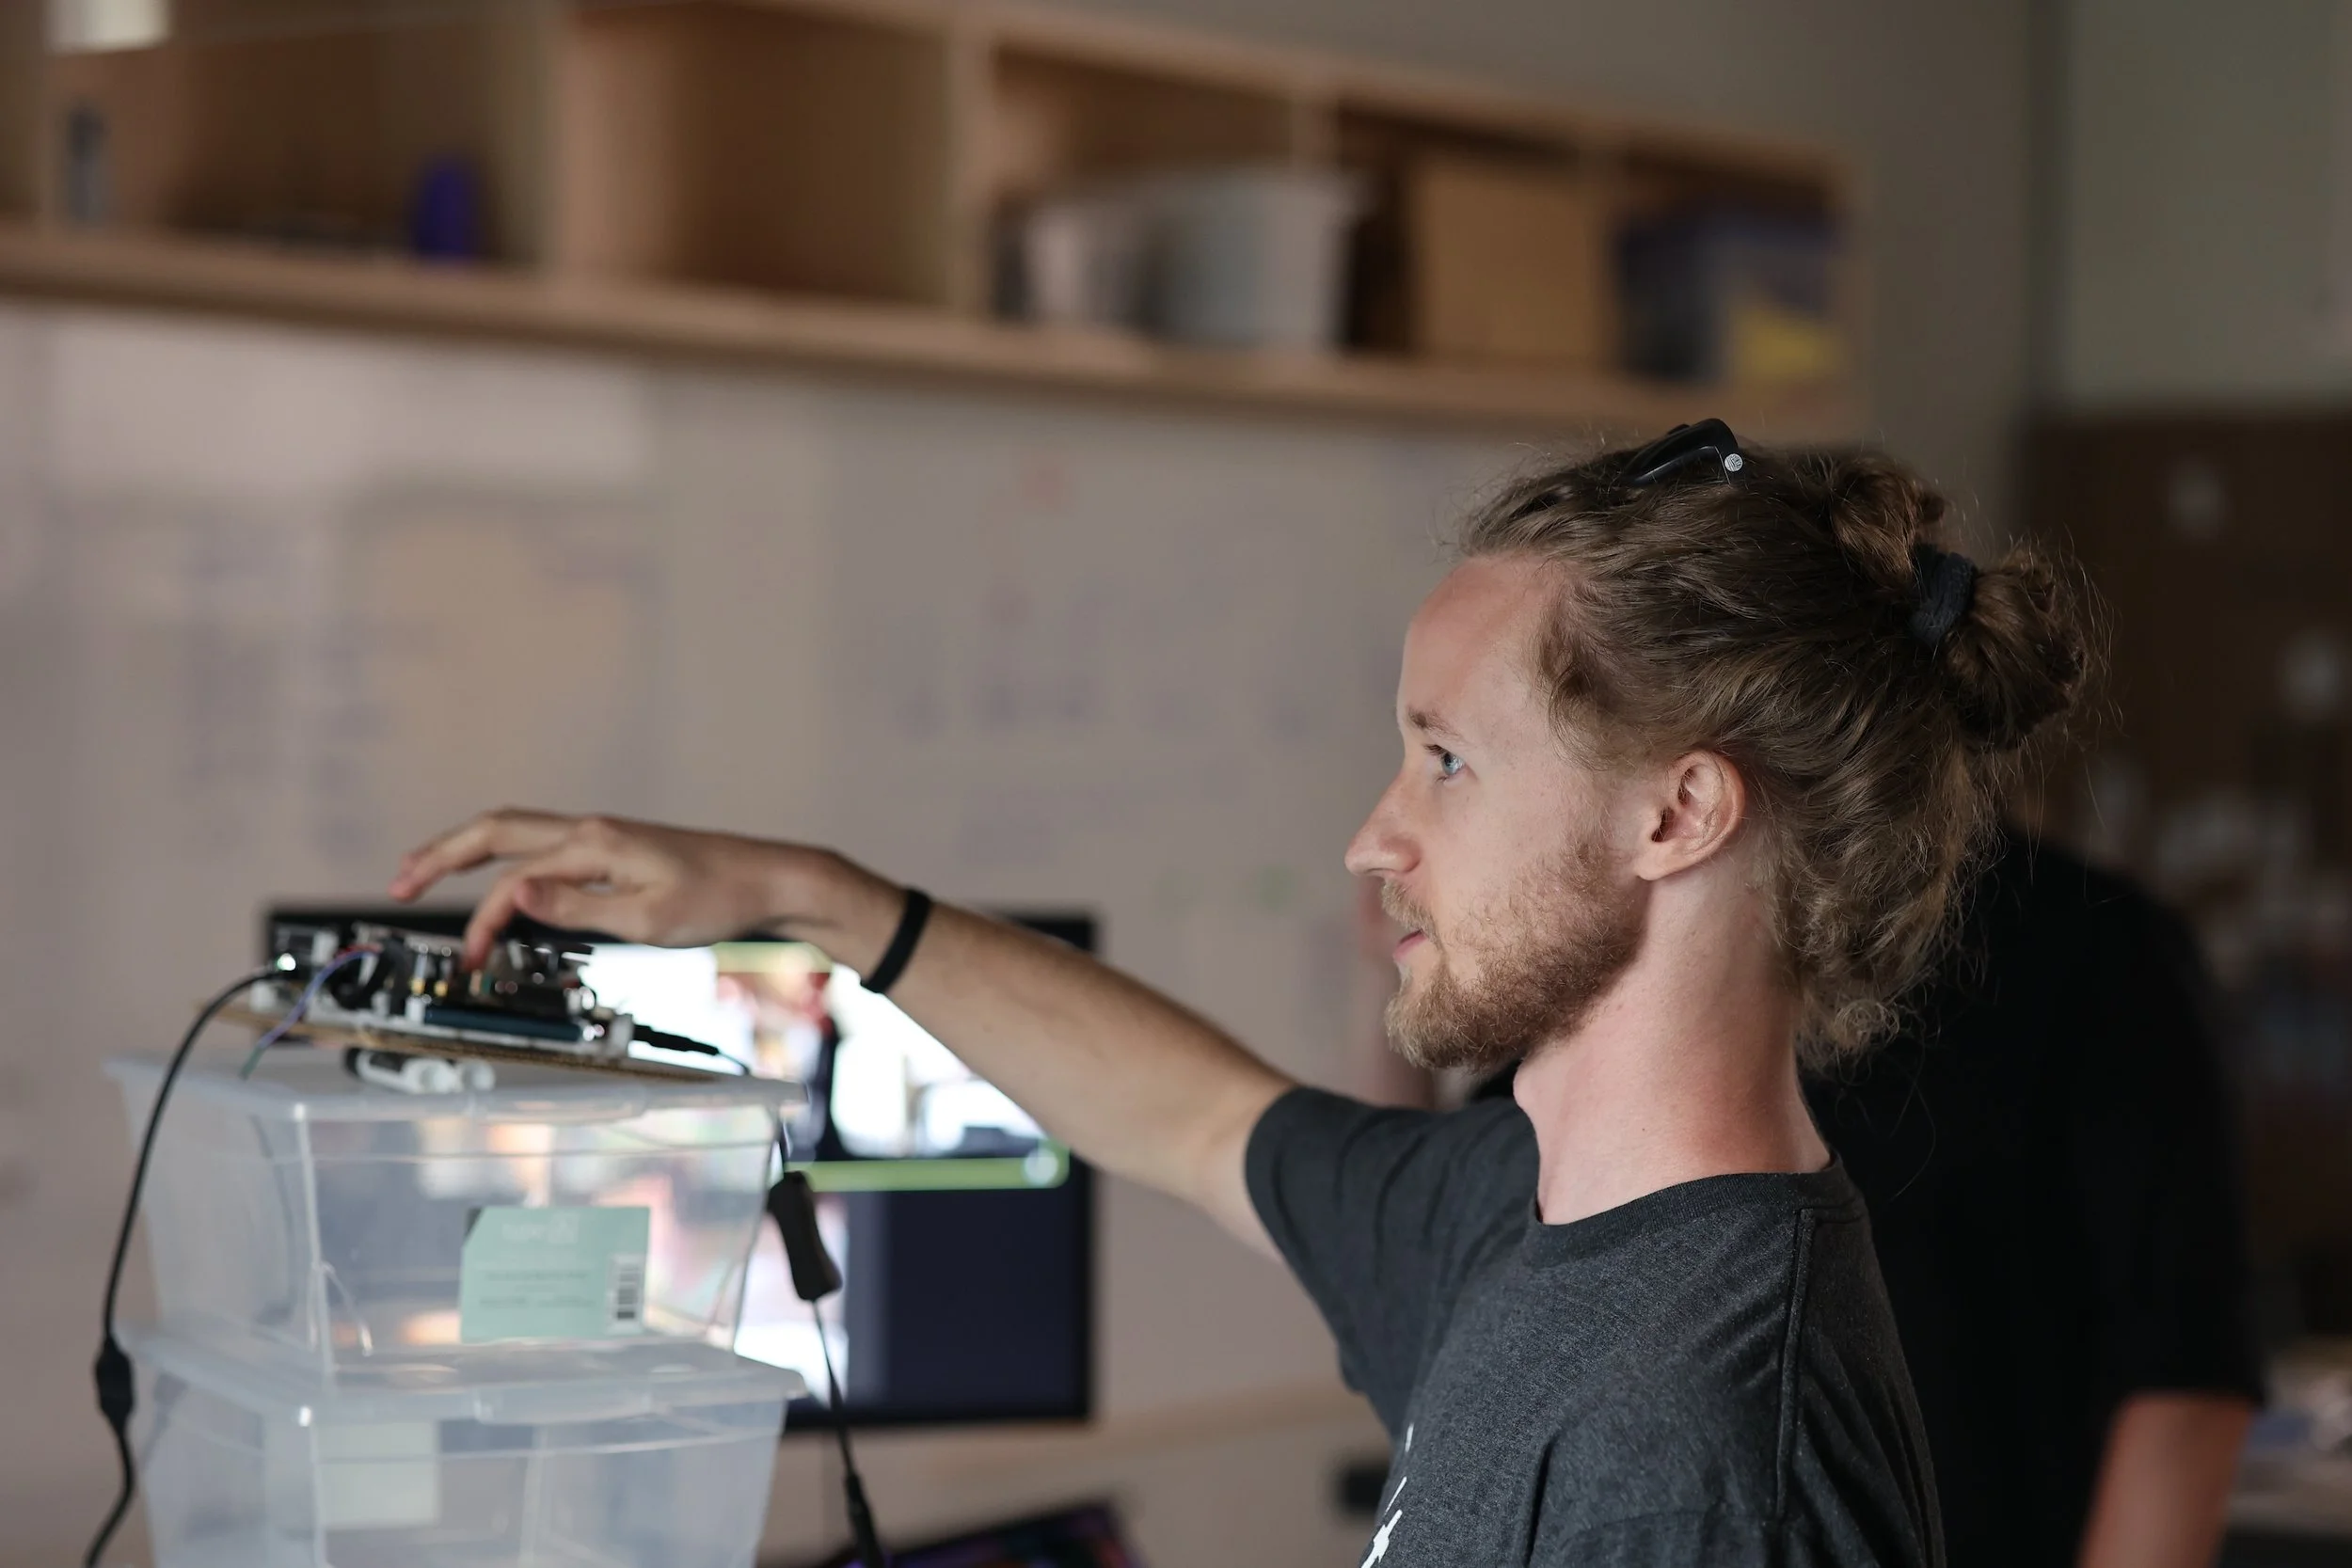
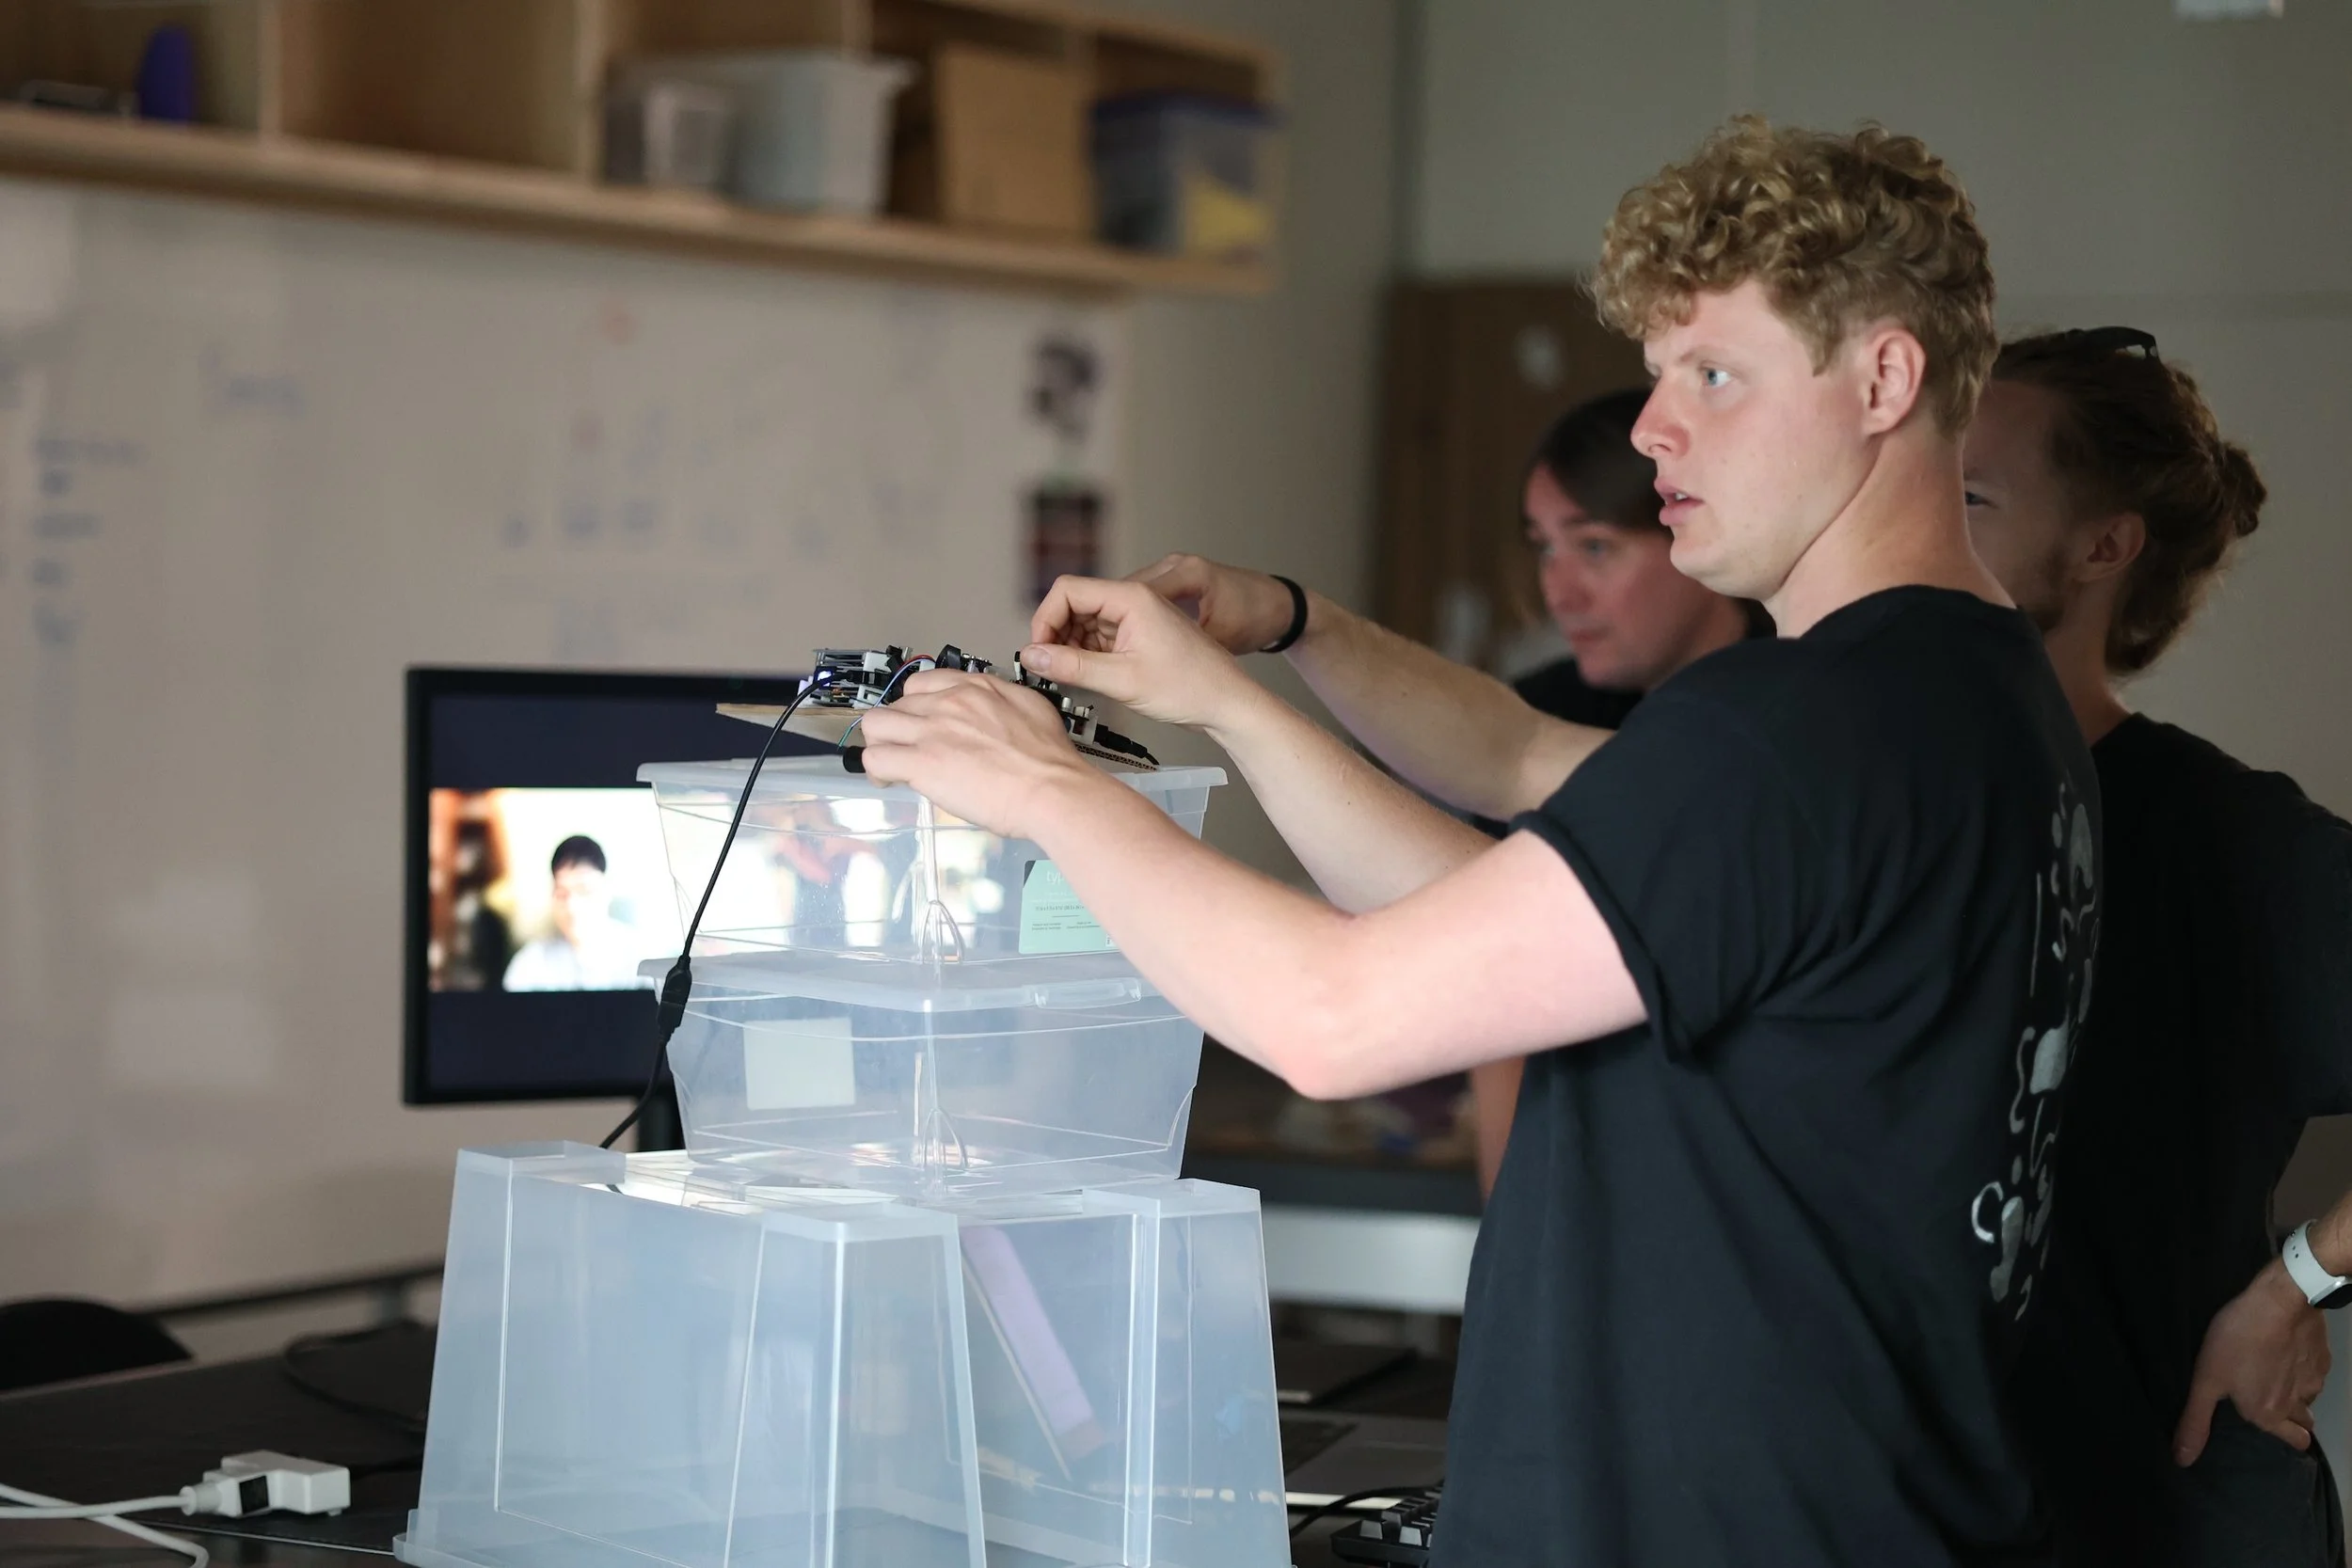
Early Hardware Prototyping / Interaction Design
Hardware inputs connected to a Raspberry Pi, which was connected to a mini projector, alongside a 3D printed enclosure, beside my laptop showing more advanced visuals.
This makeshift setup lets us get a feel for the overall experience very early on without my just development cost.

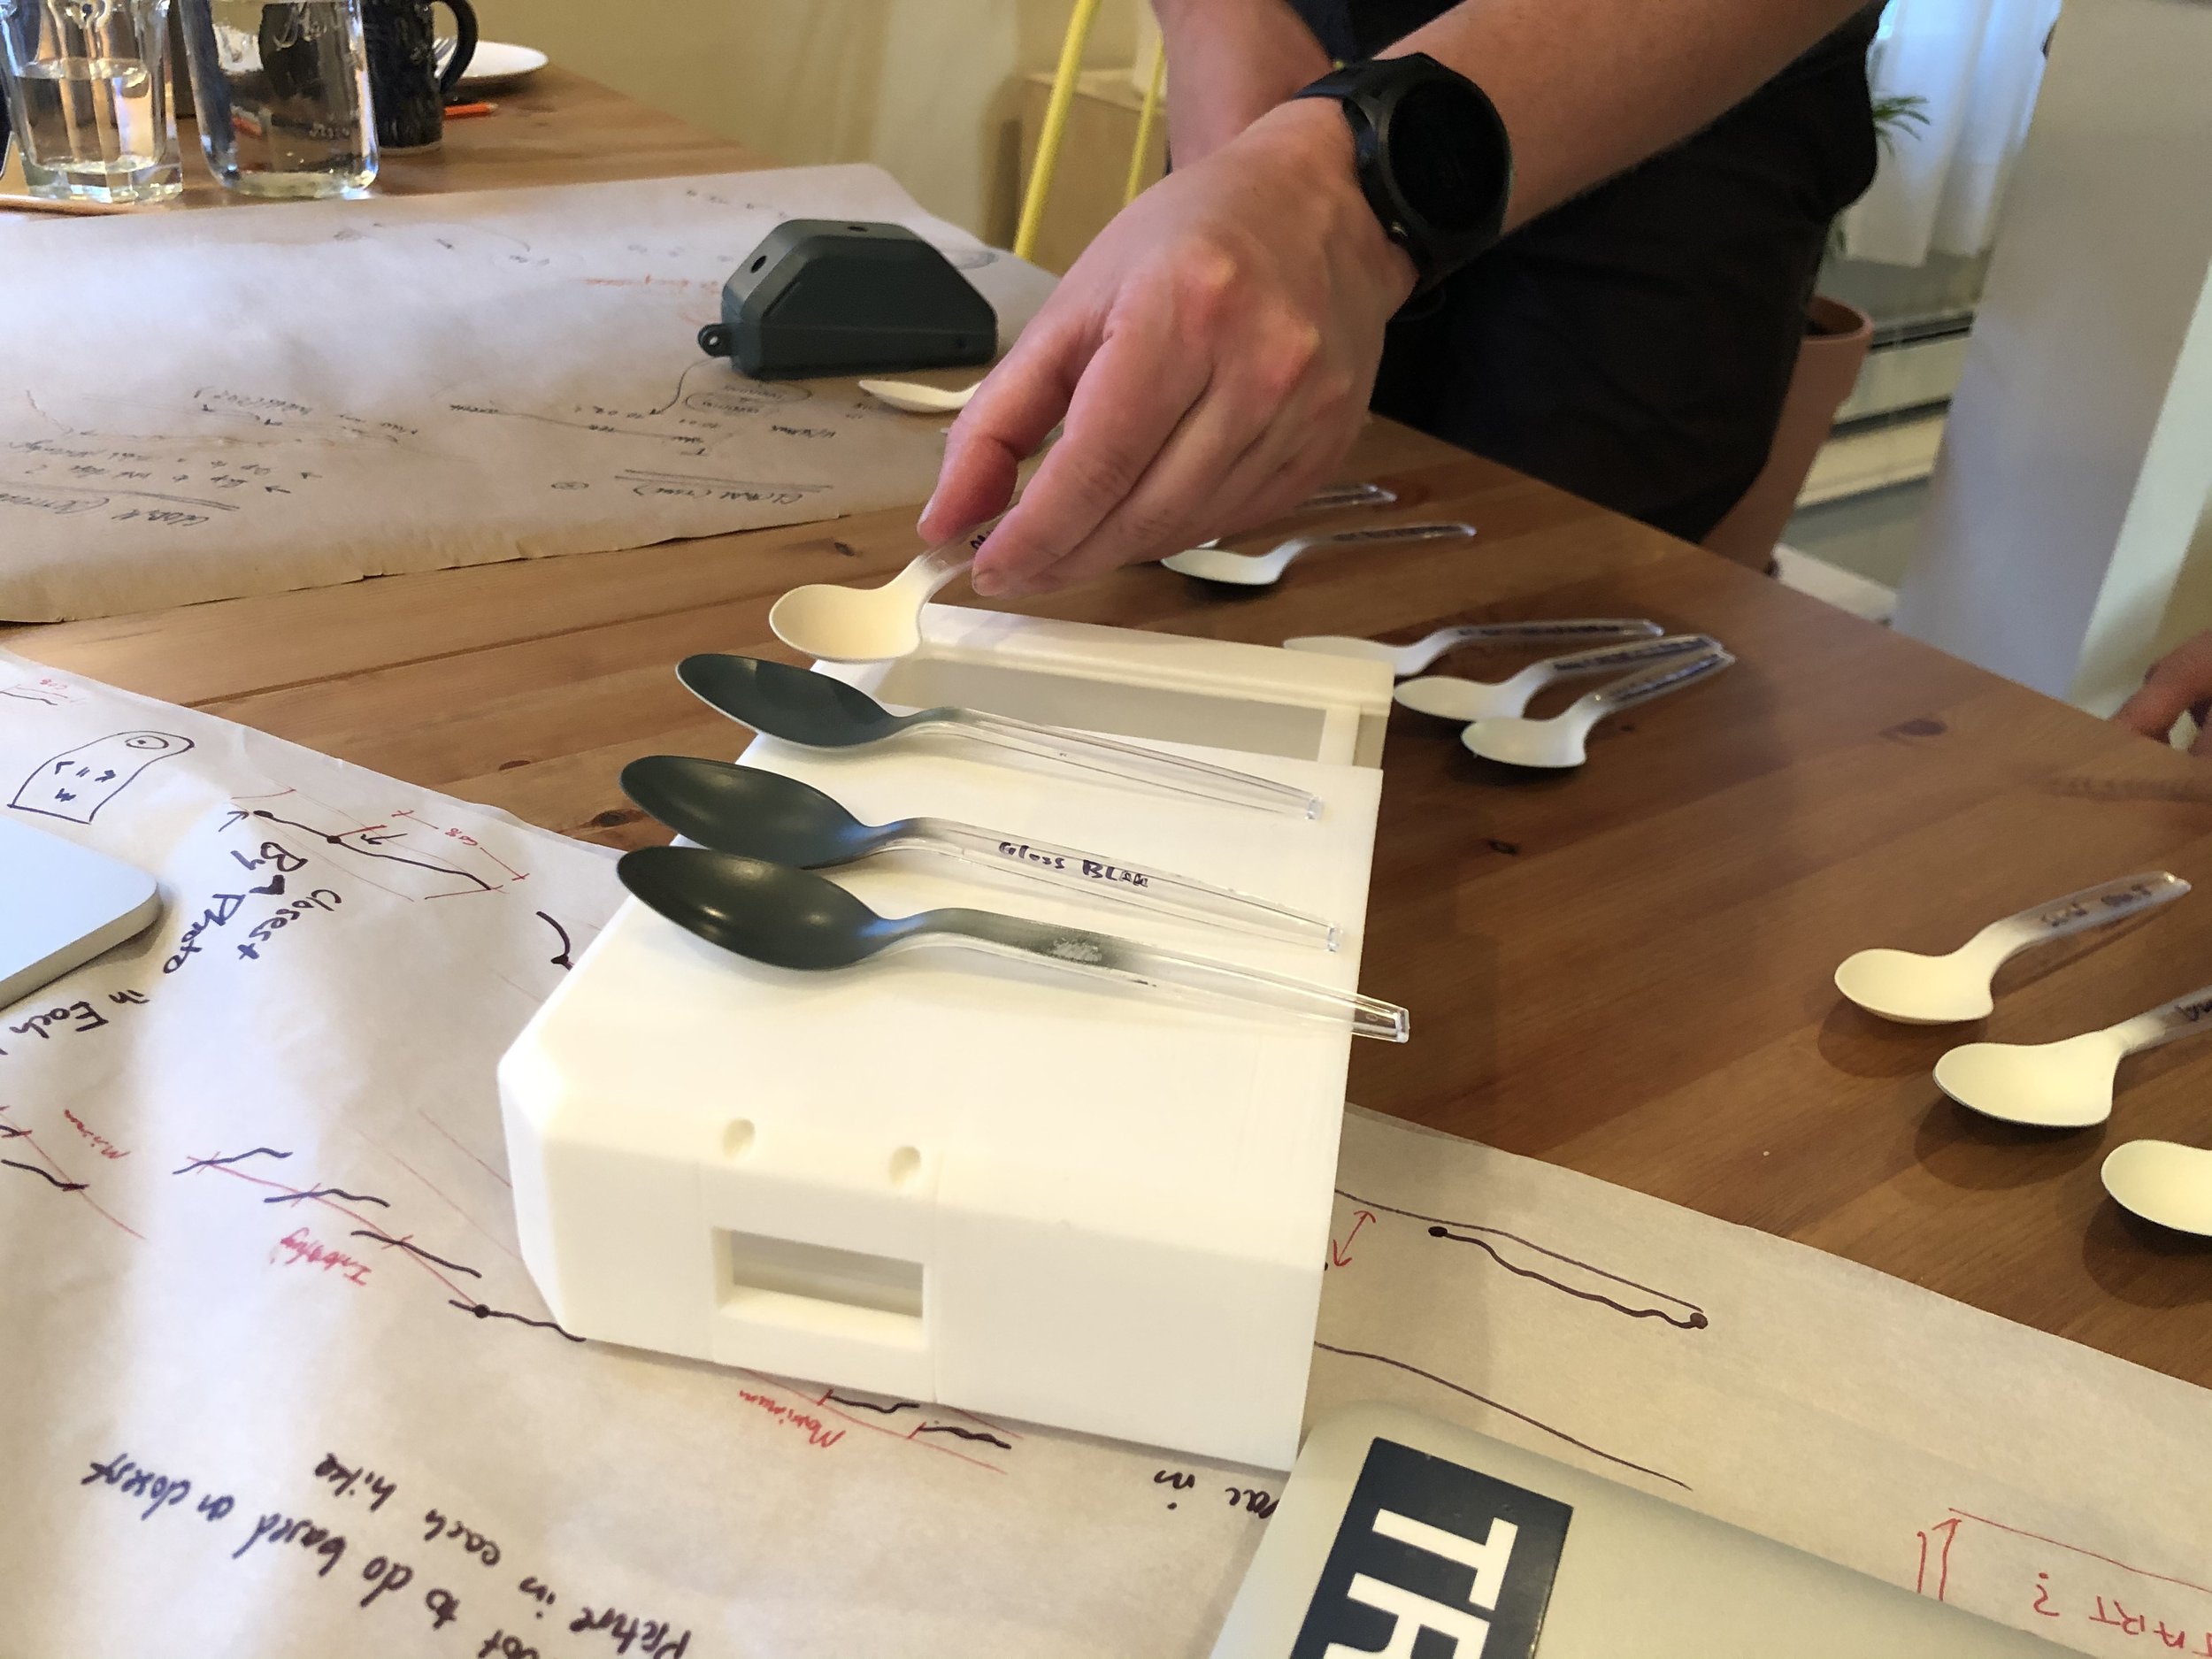
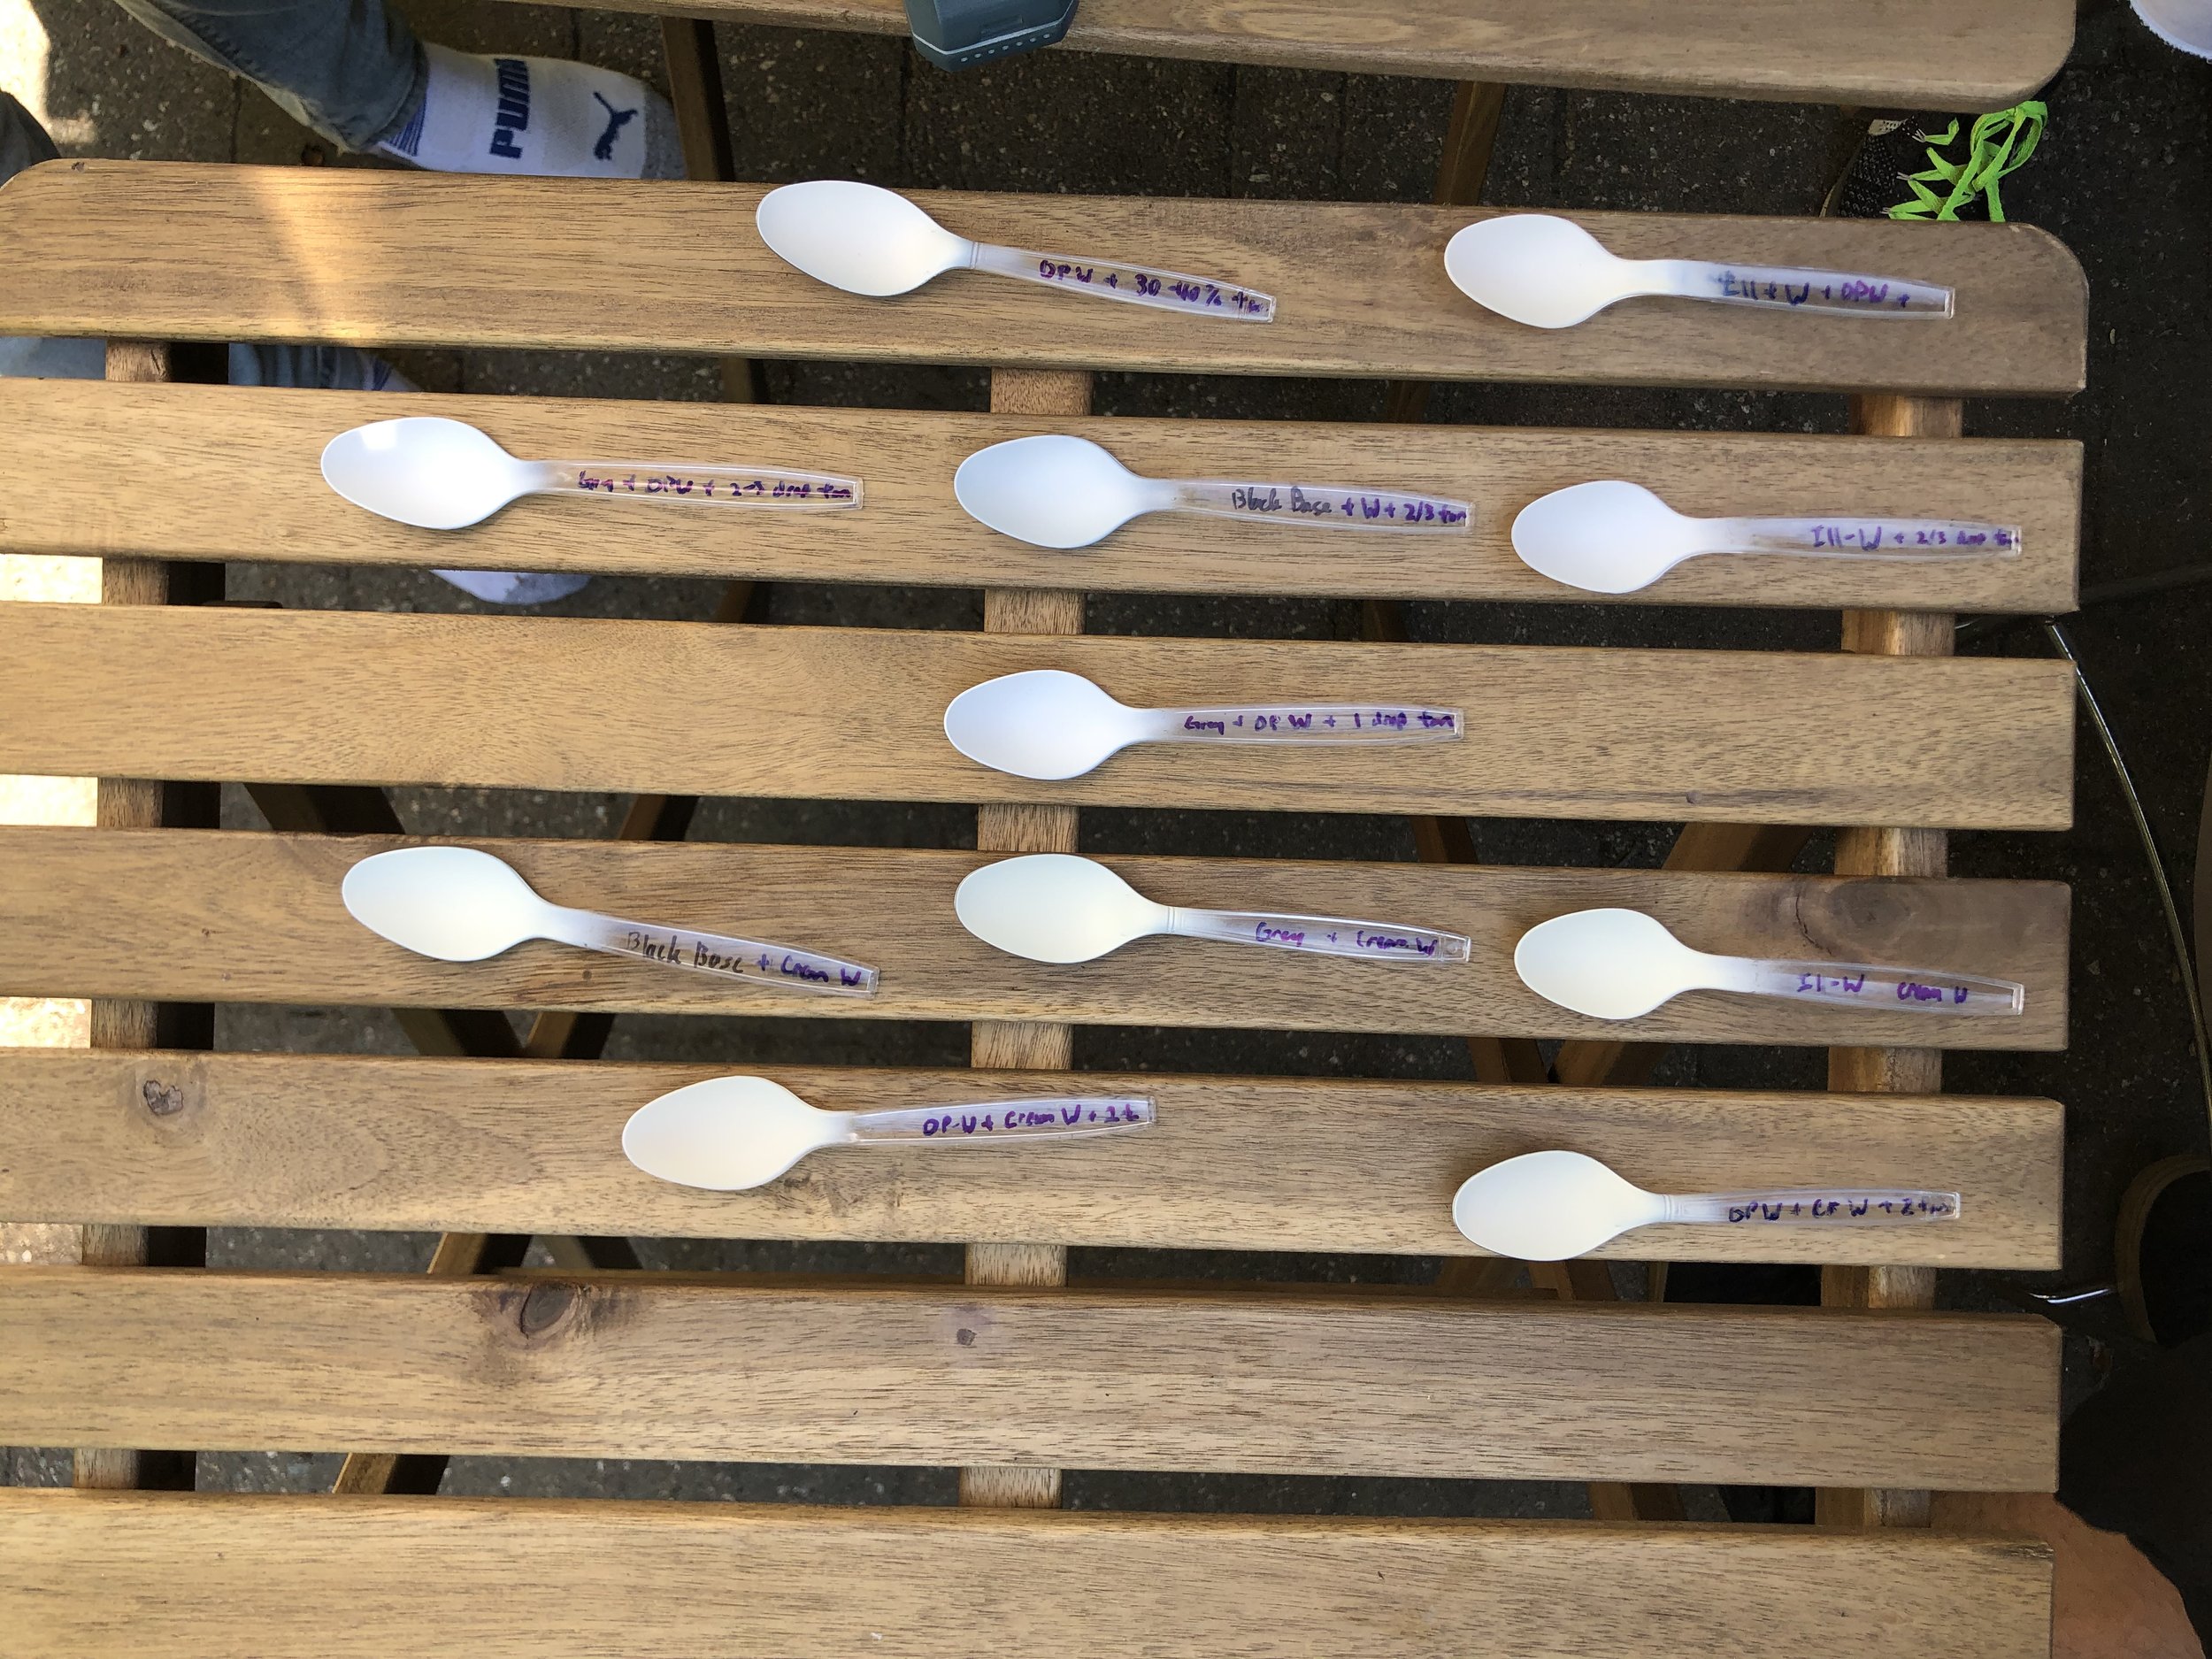
Dominant Color Explorations
I found that Google Cloud AI worked extremely well for finding dominant color. However, we wanted the system to not need the internet, and it wasn't practical to have to upload thousands of images just to access dominant color.
My collaborator Min wrote a script that used OpenCV and K-means clustering to find dominant colors locally on the Raspberry Pi.
The article: The incredibly challenging task of sorting colours by Alan Zucconi was very helpful in our process.

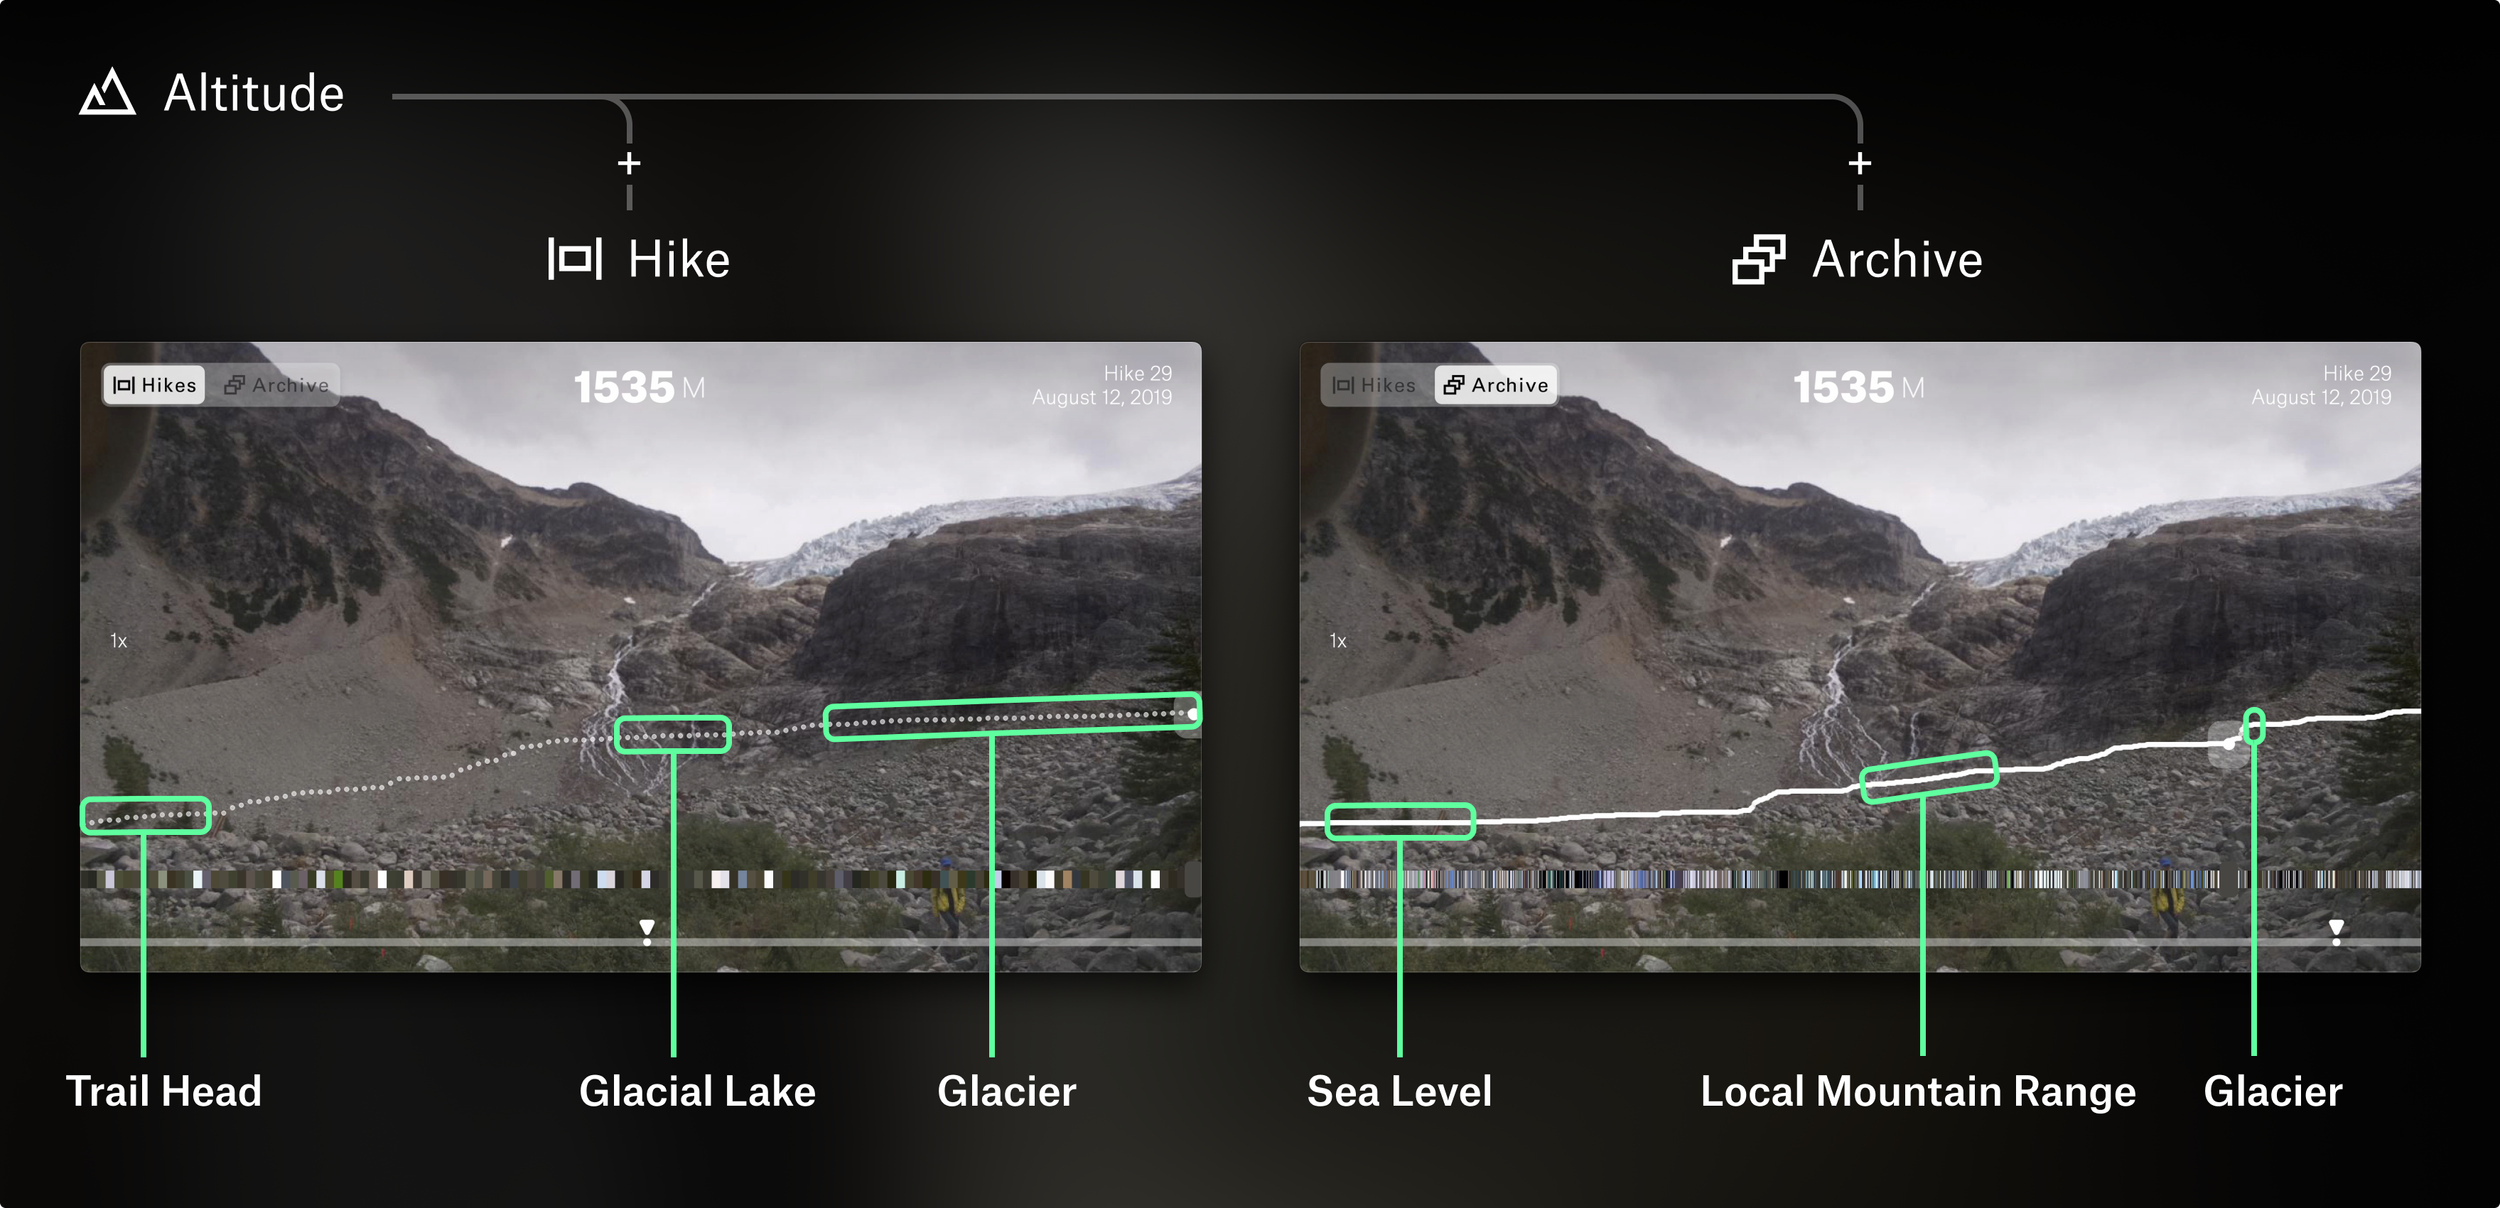
Unique Hardware Interactions
Moving from landscape to vertical panorama by changing orientation of the Explorer
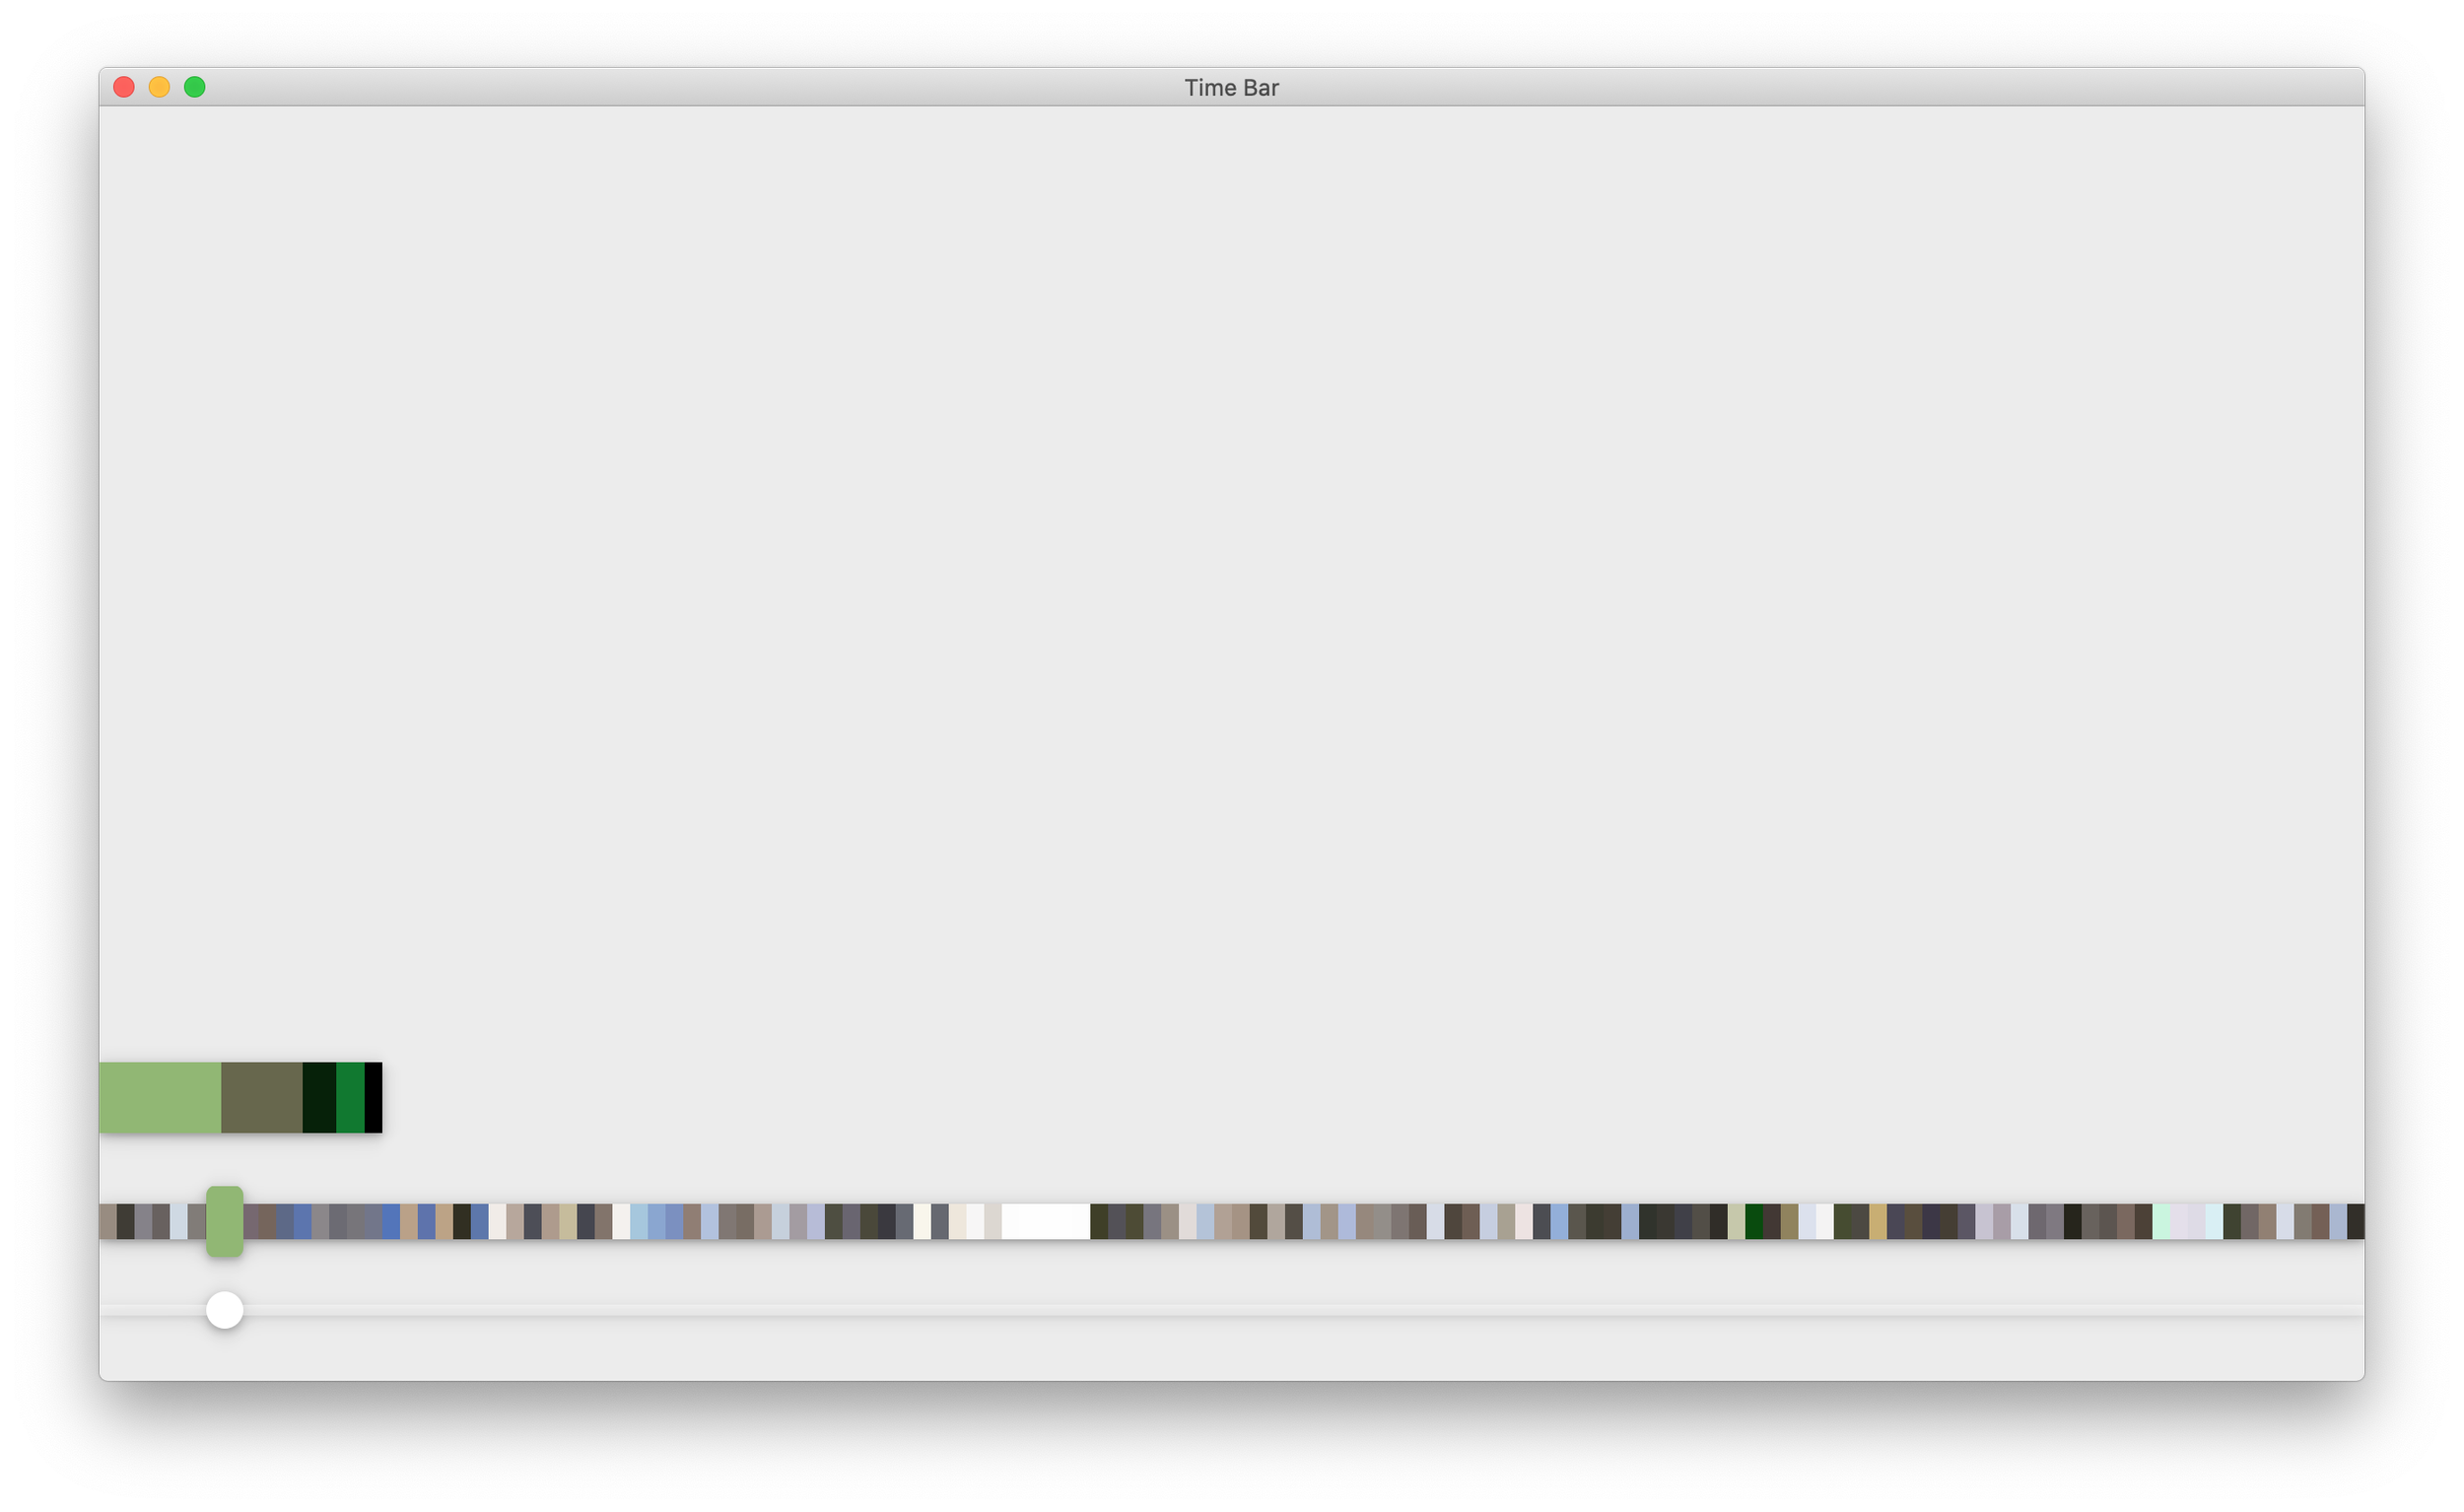
Scroll wheel detects velocity of user’s scrolling
Due to the amount of data that the Explorer would accumulate over time, we needed a way to scroll through the archive without “getting stuck” in certain parts.
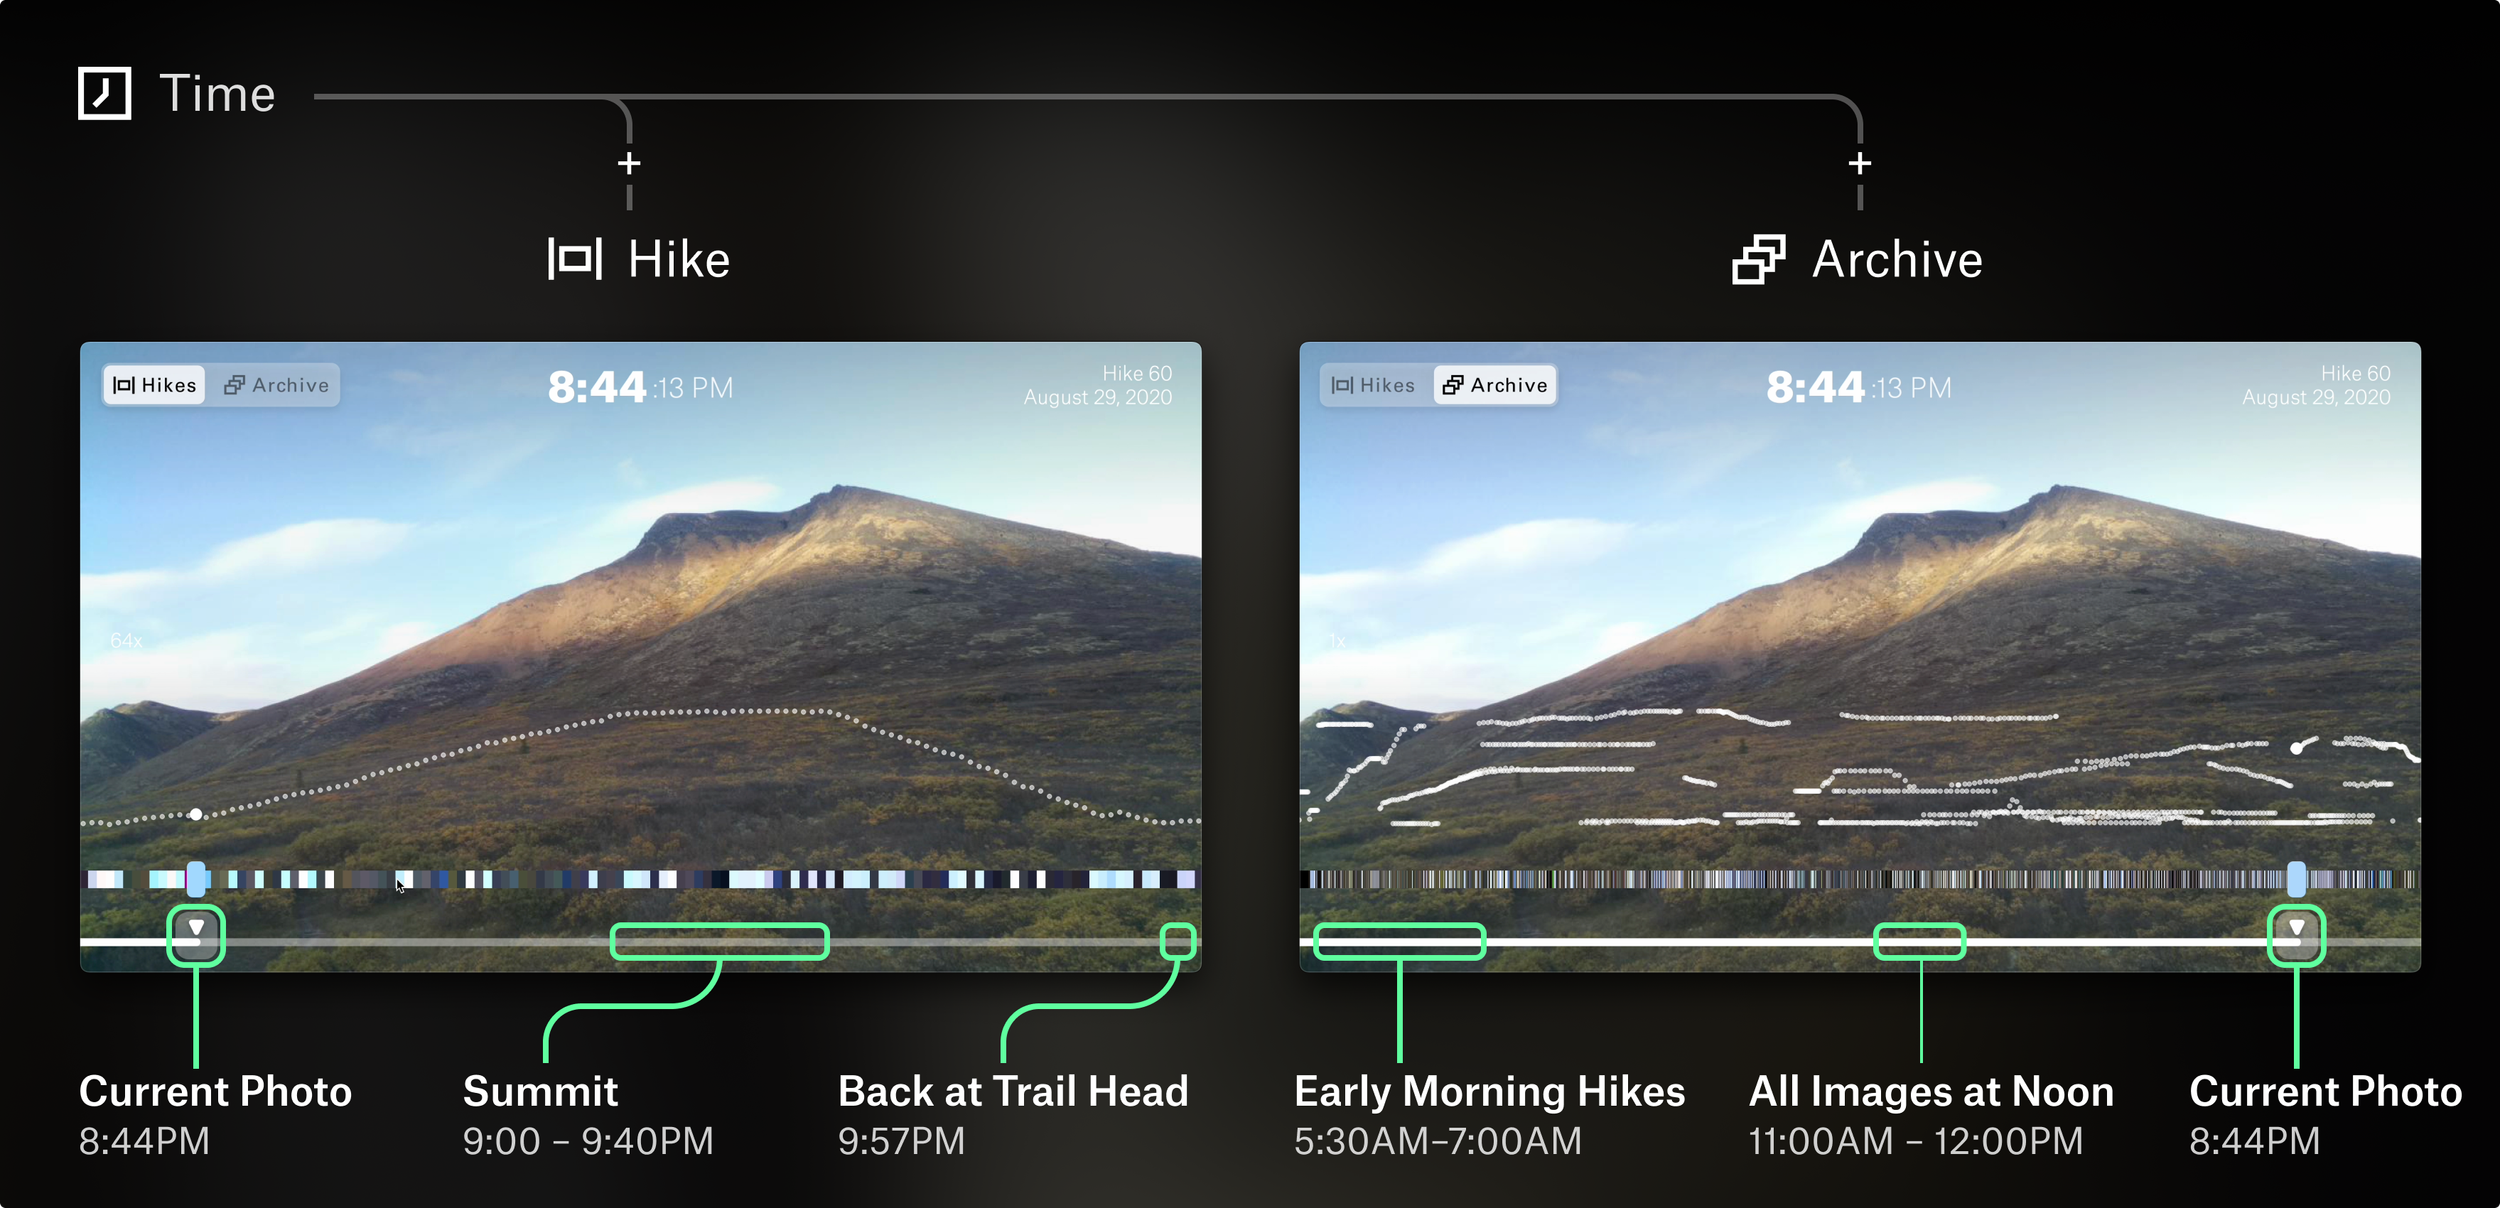
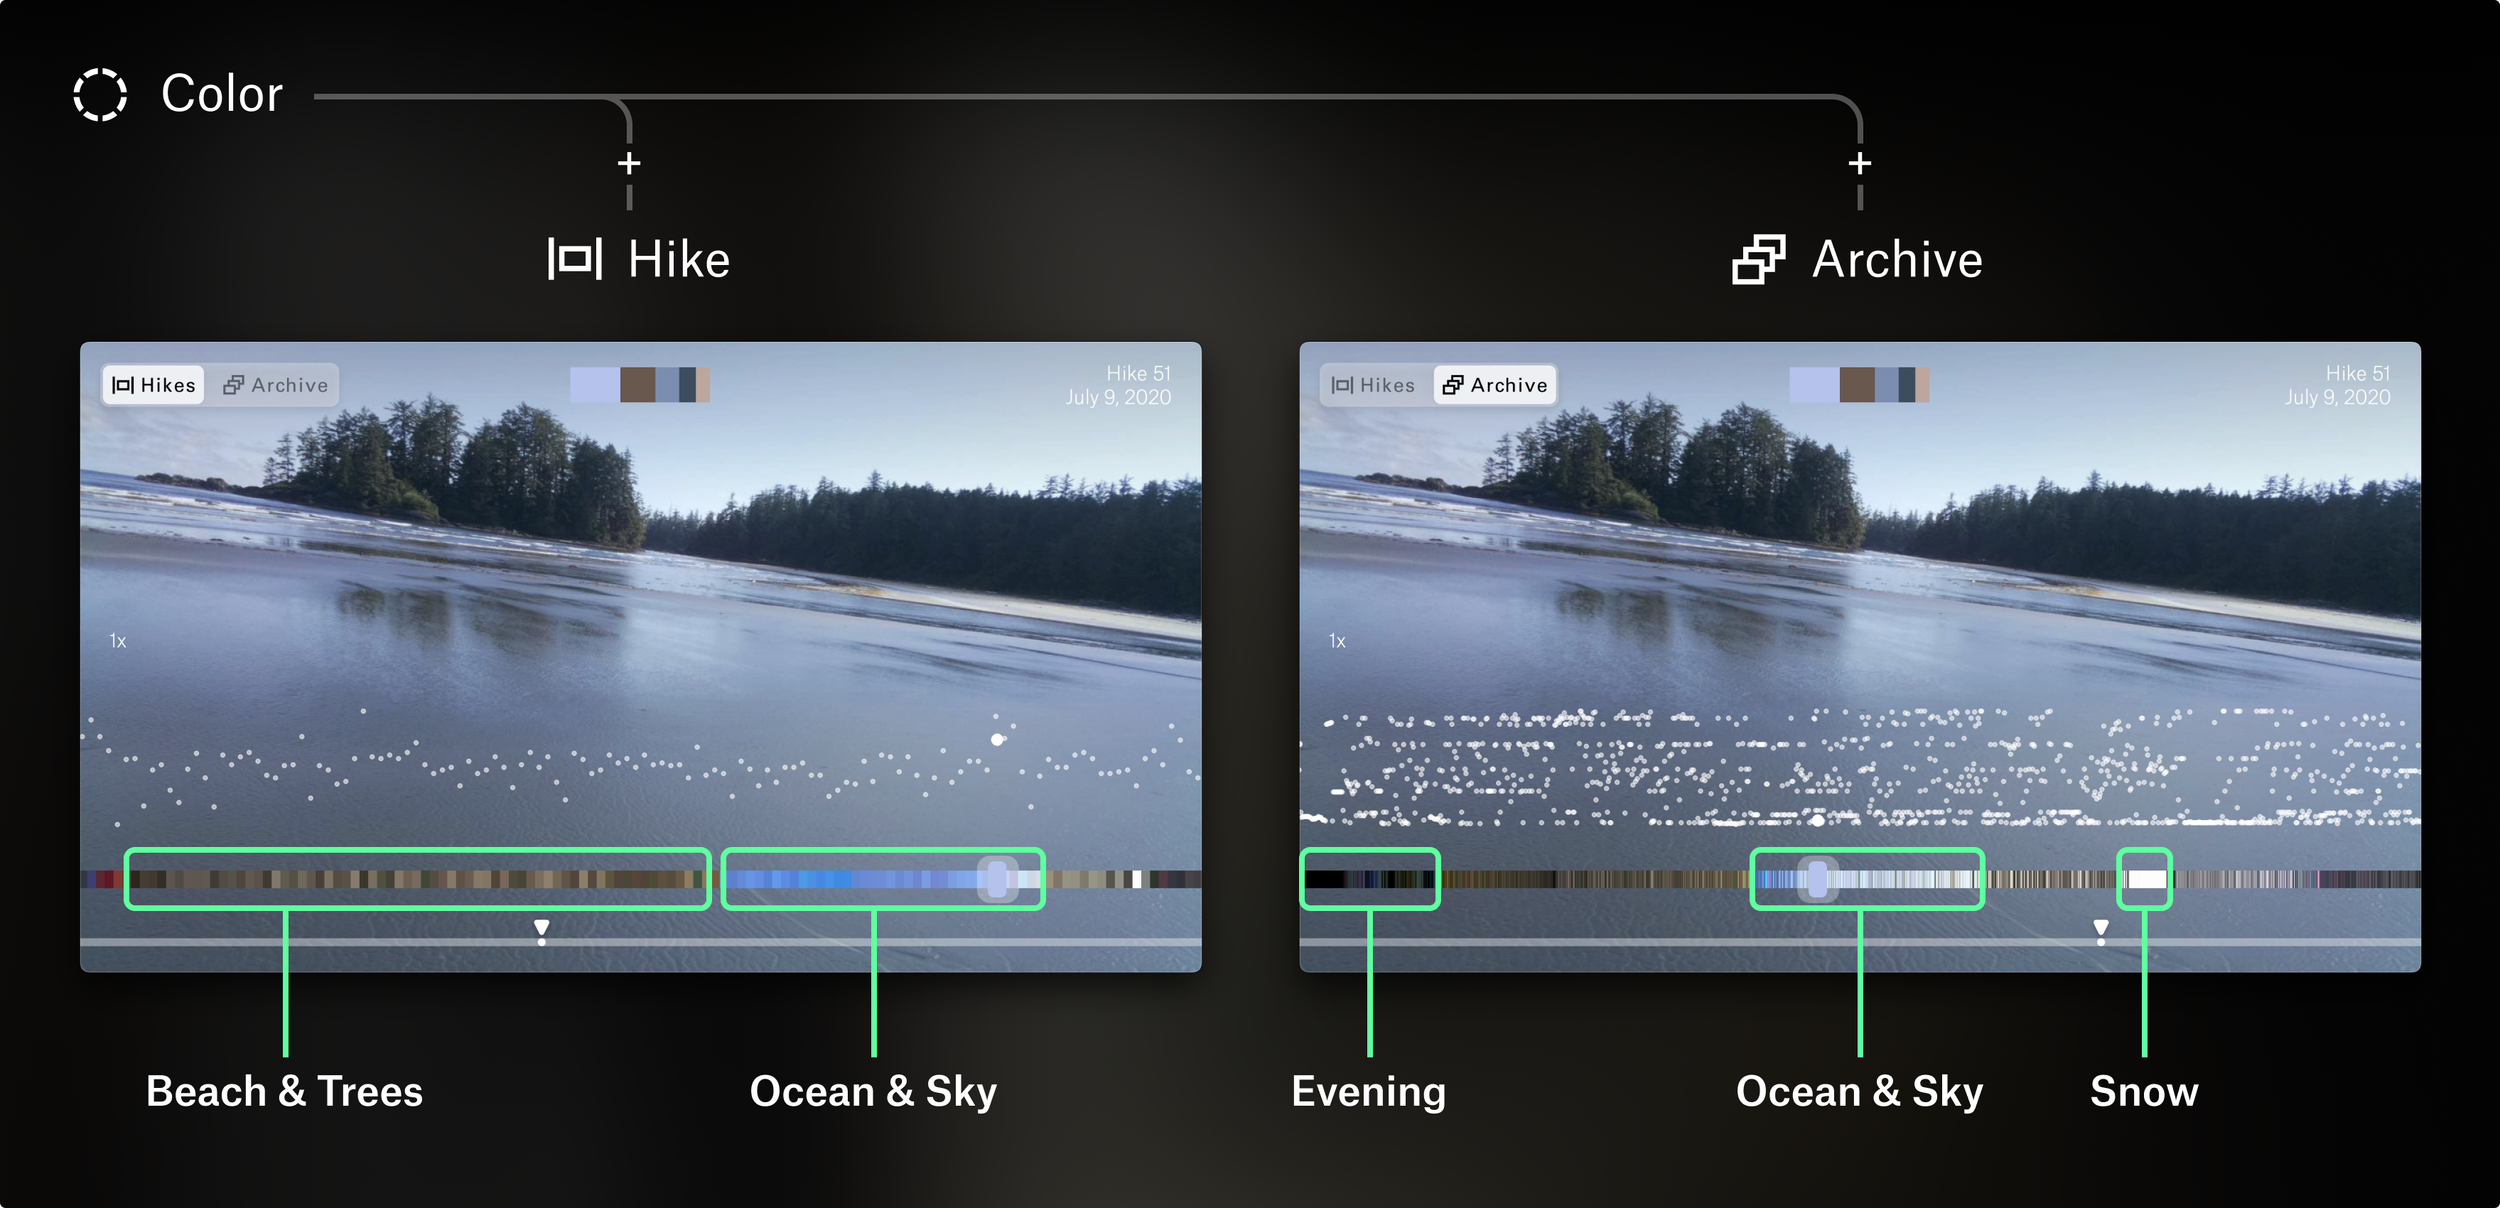
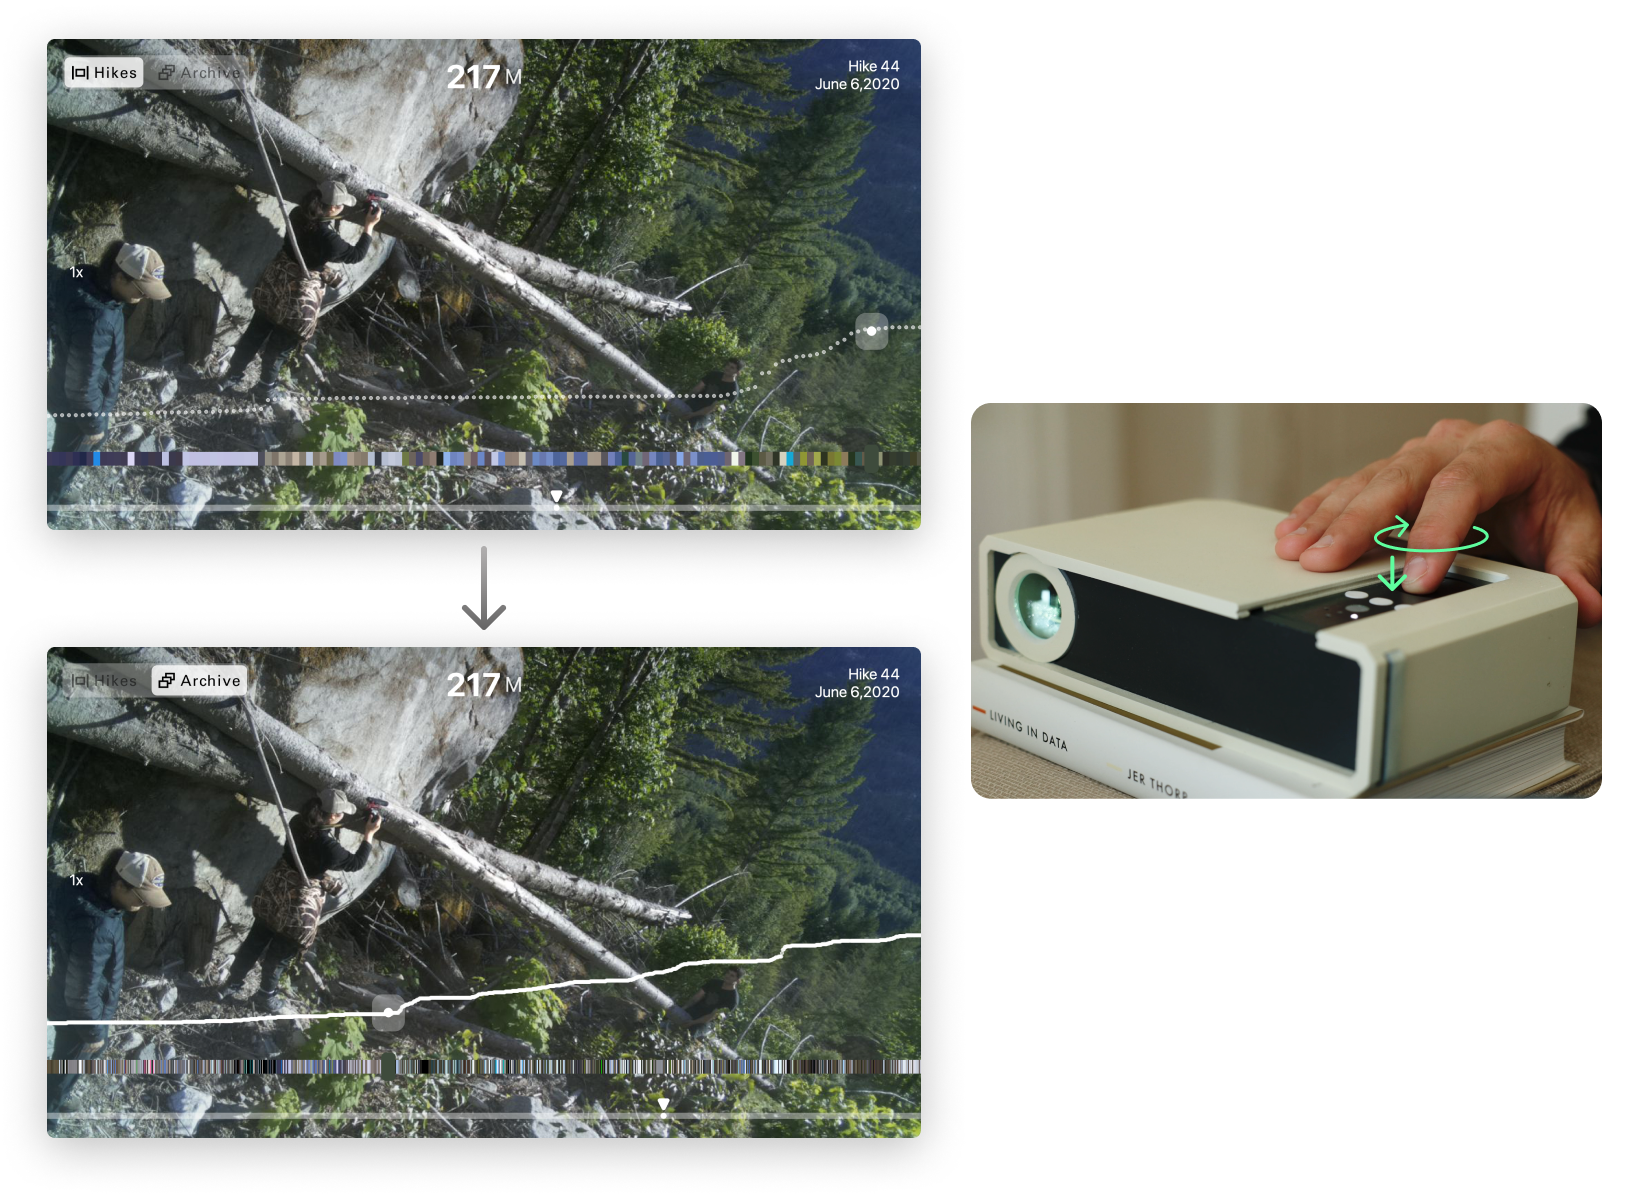
Pressing down on the scroll wheel switches from Hikes to Archive
This enables a really nice way to “pop” in and out of and between hikes.
→ You could be viewing the summit of a hike with the Altitude filter, then press down and turn to see photos from similar altitudes across all your hikes.
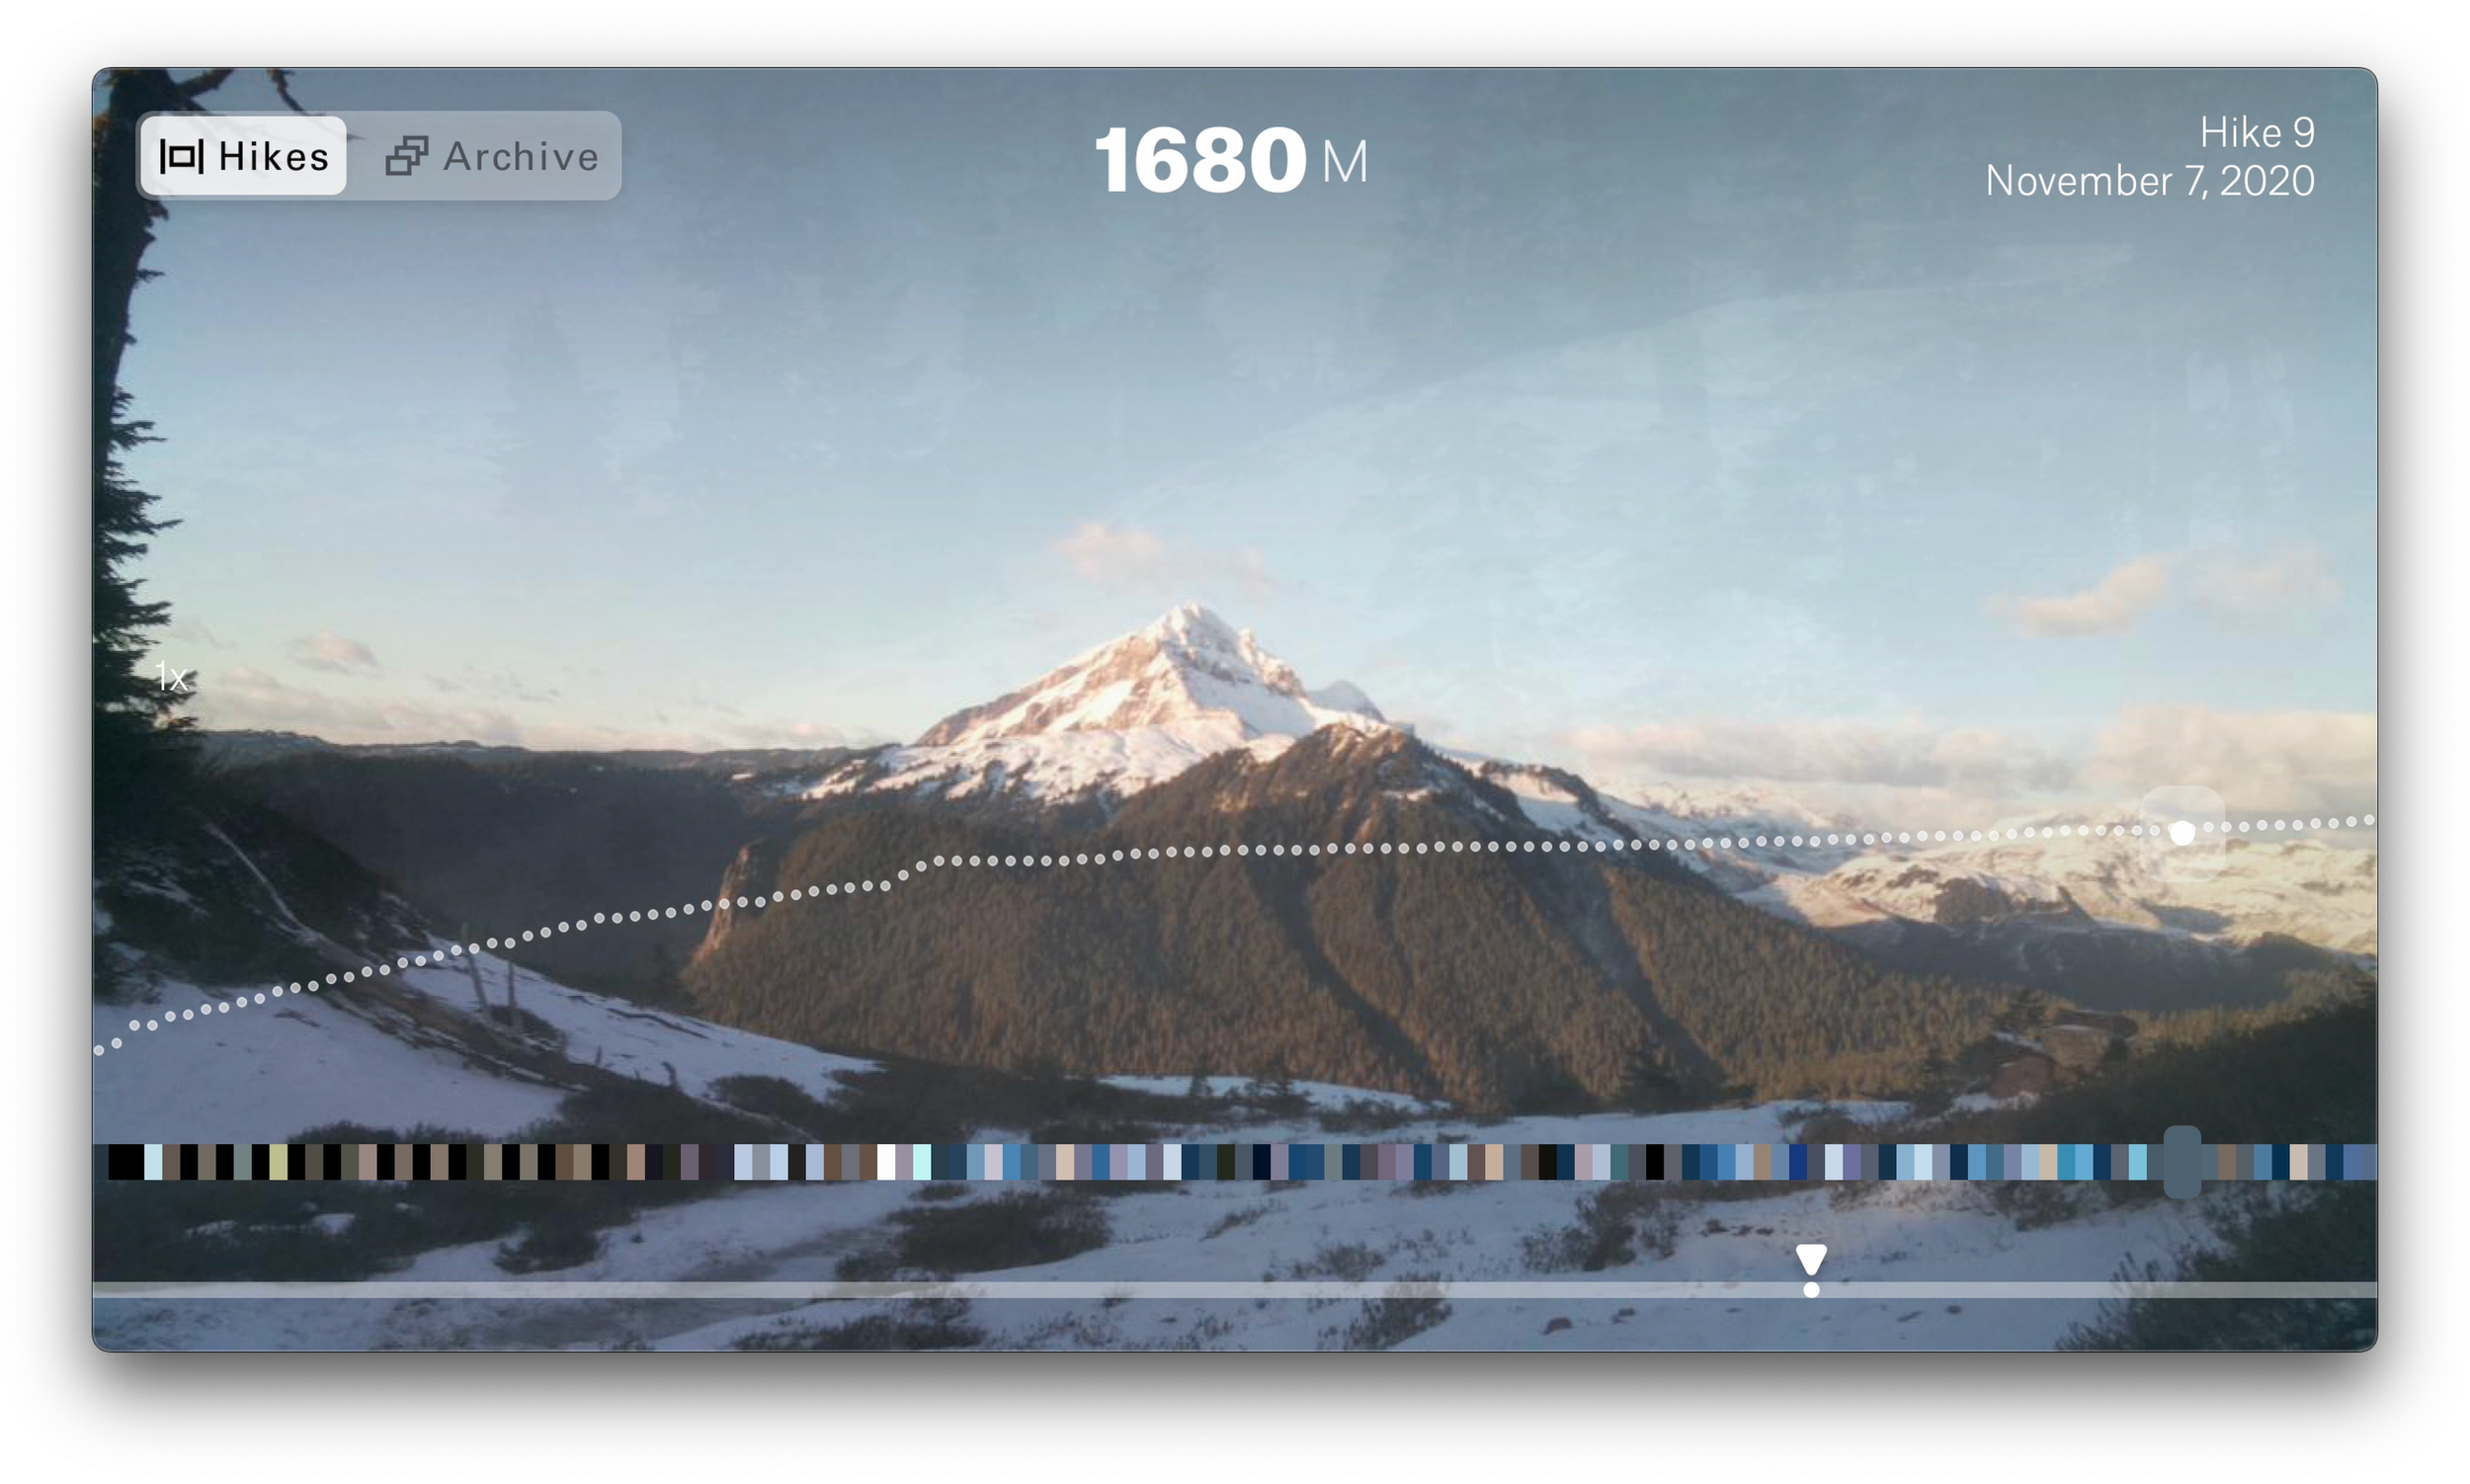
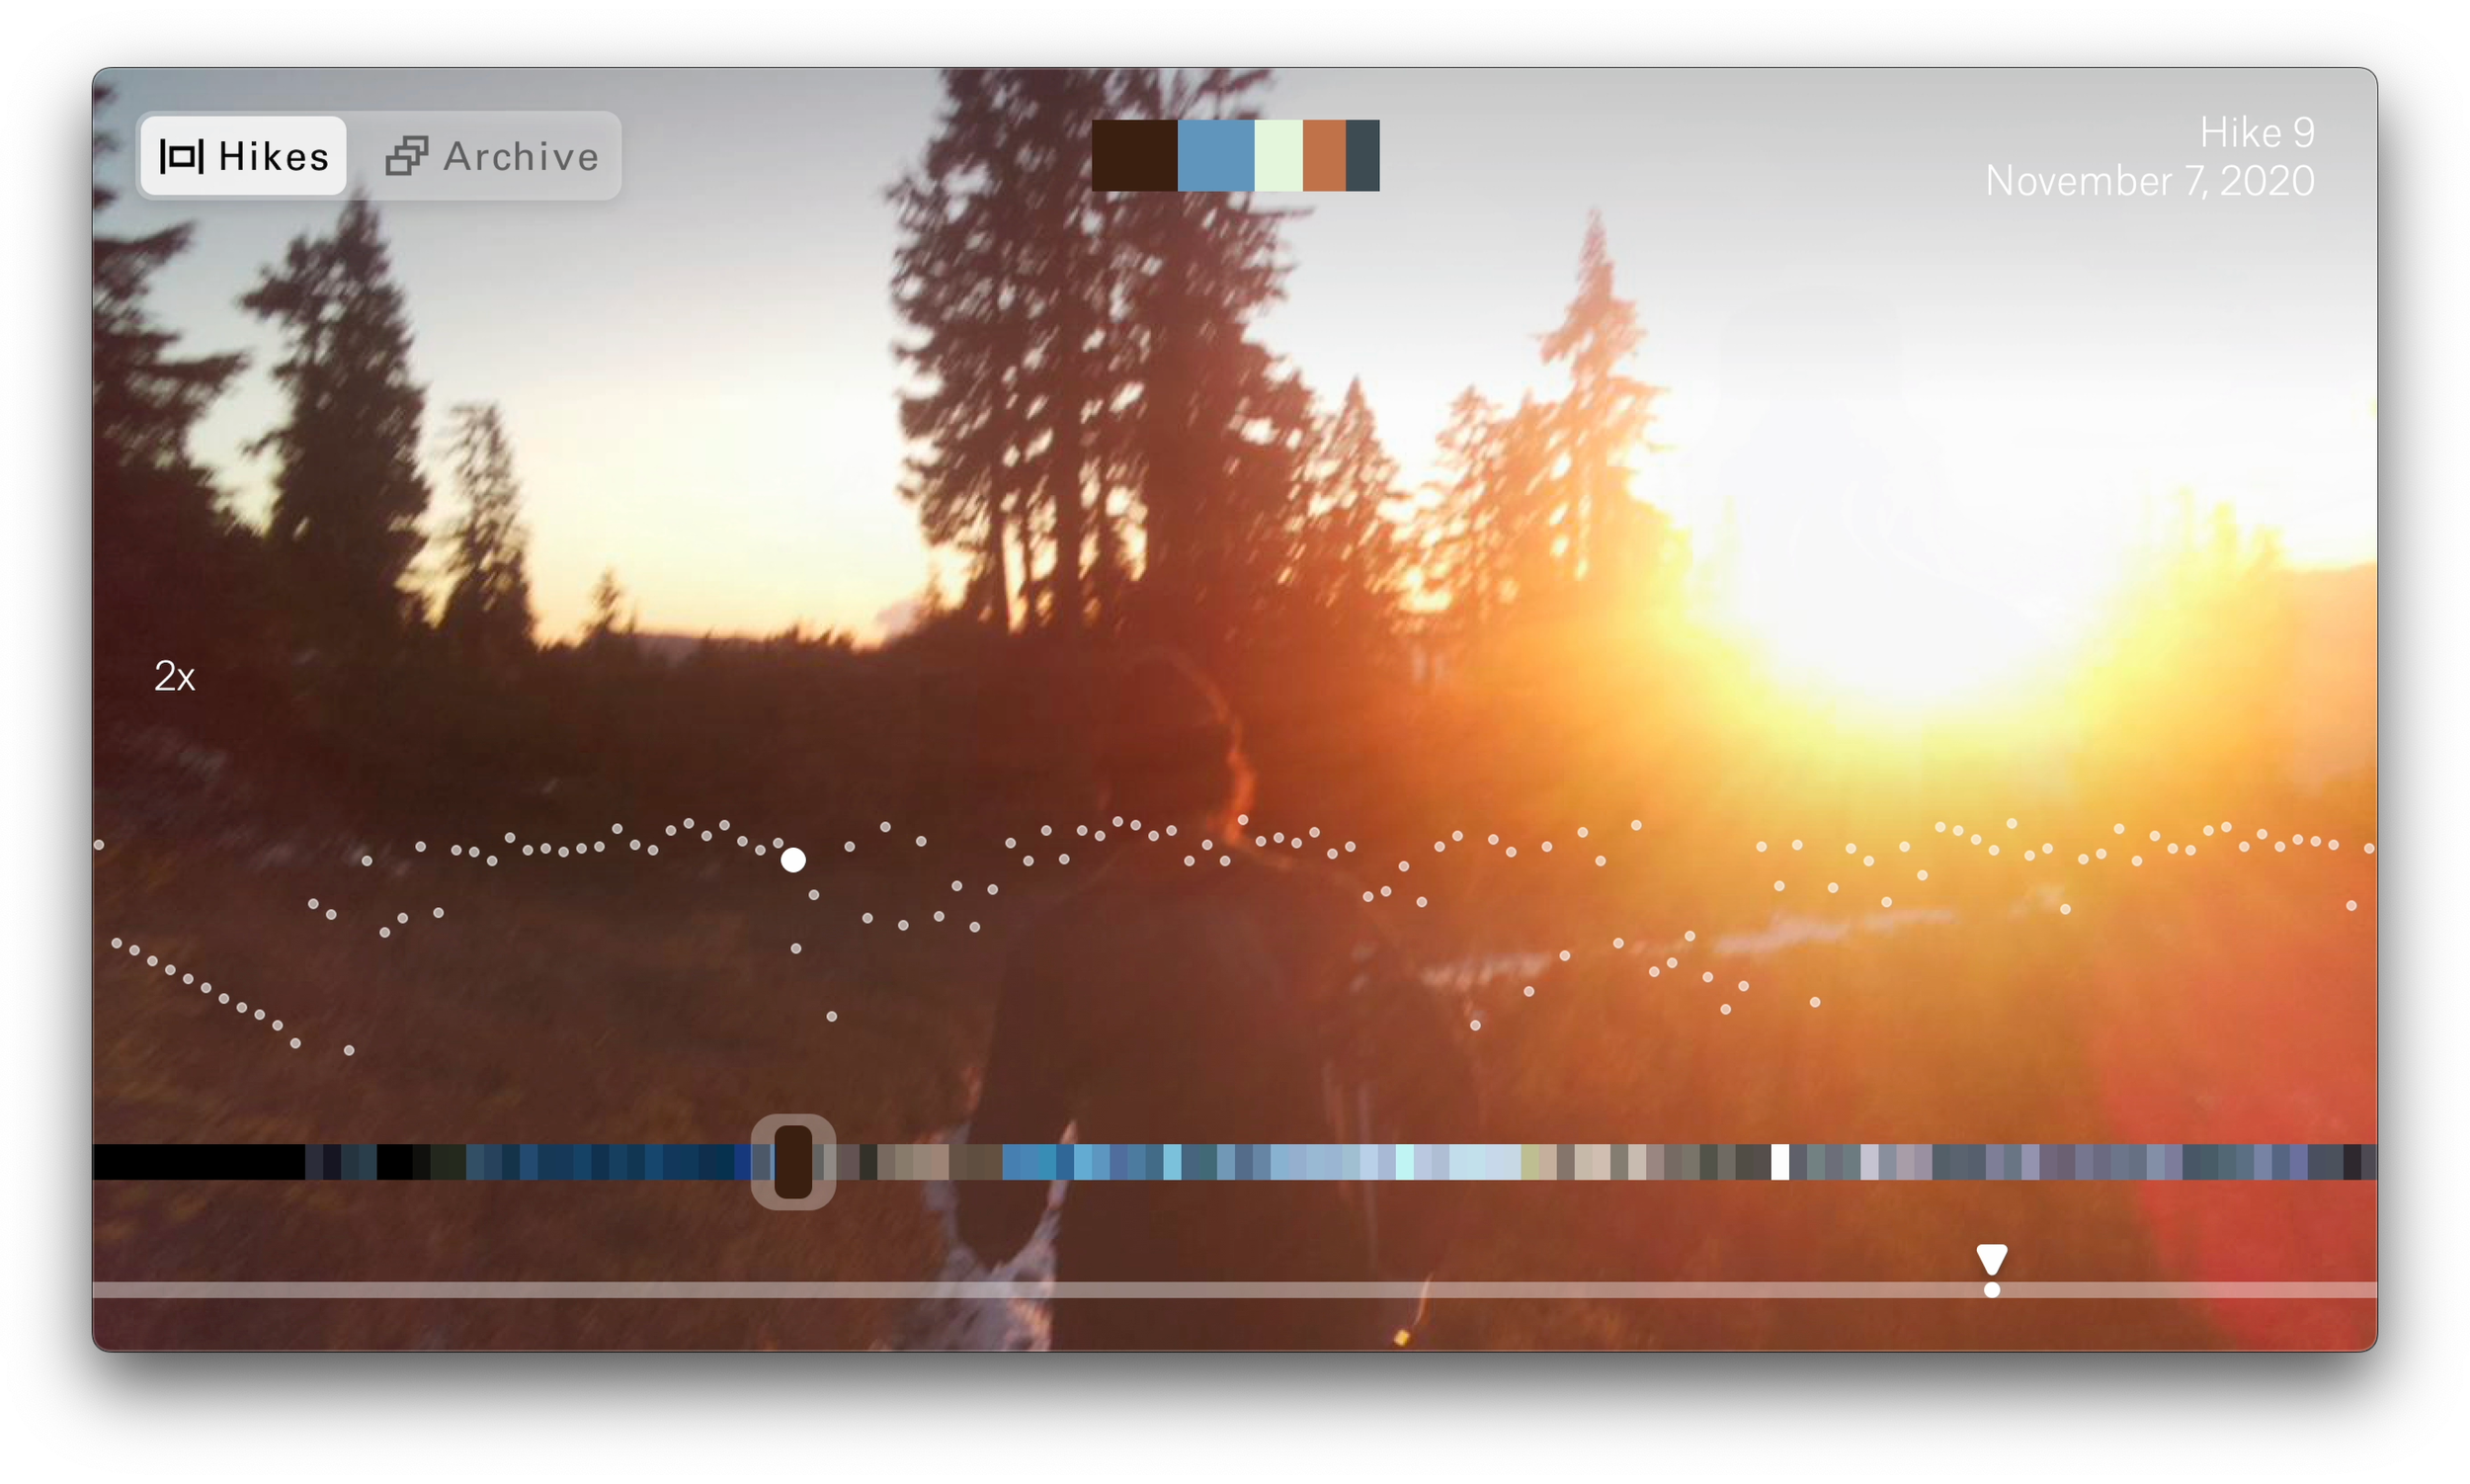
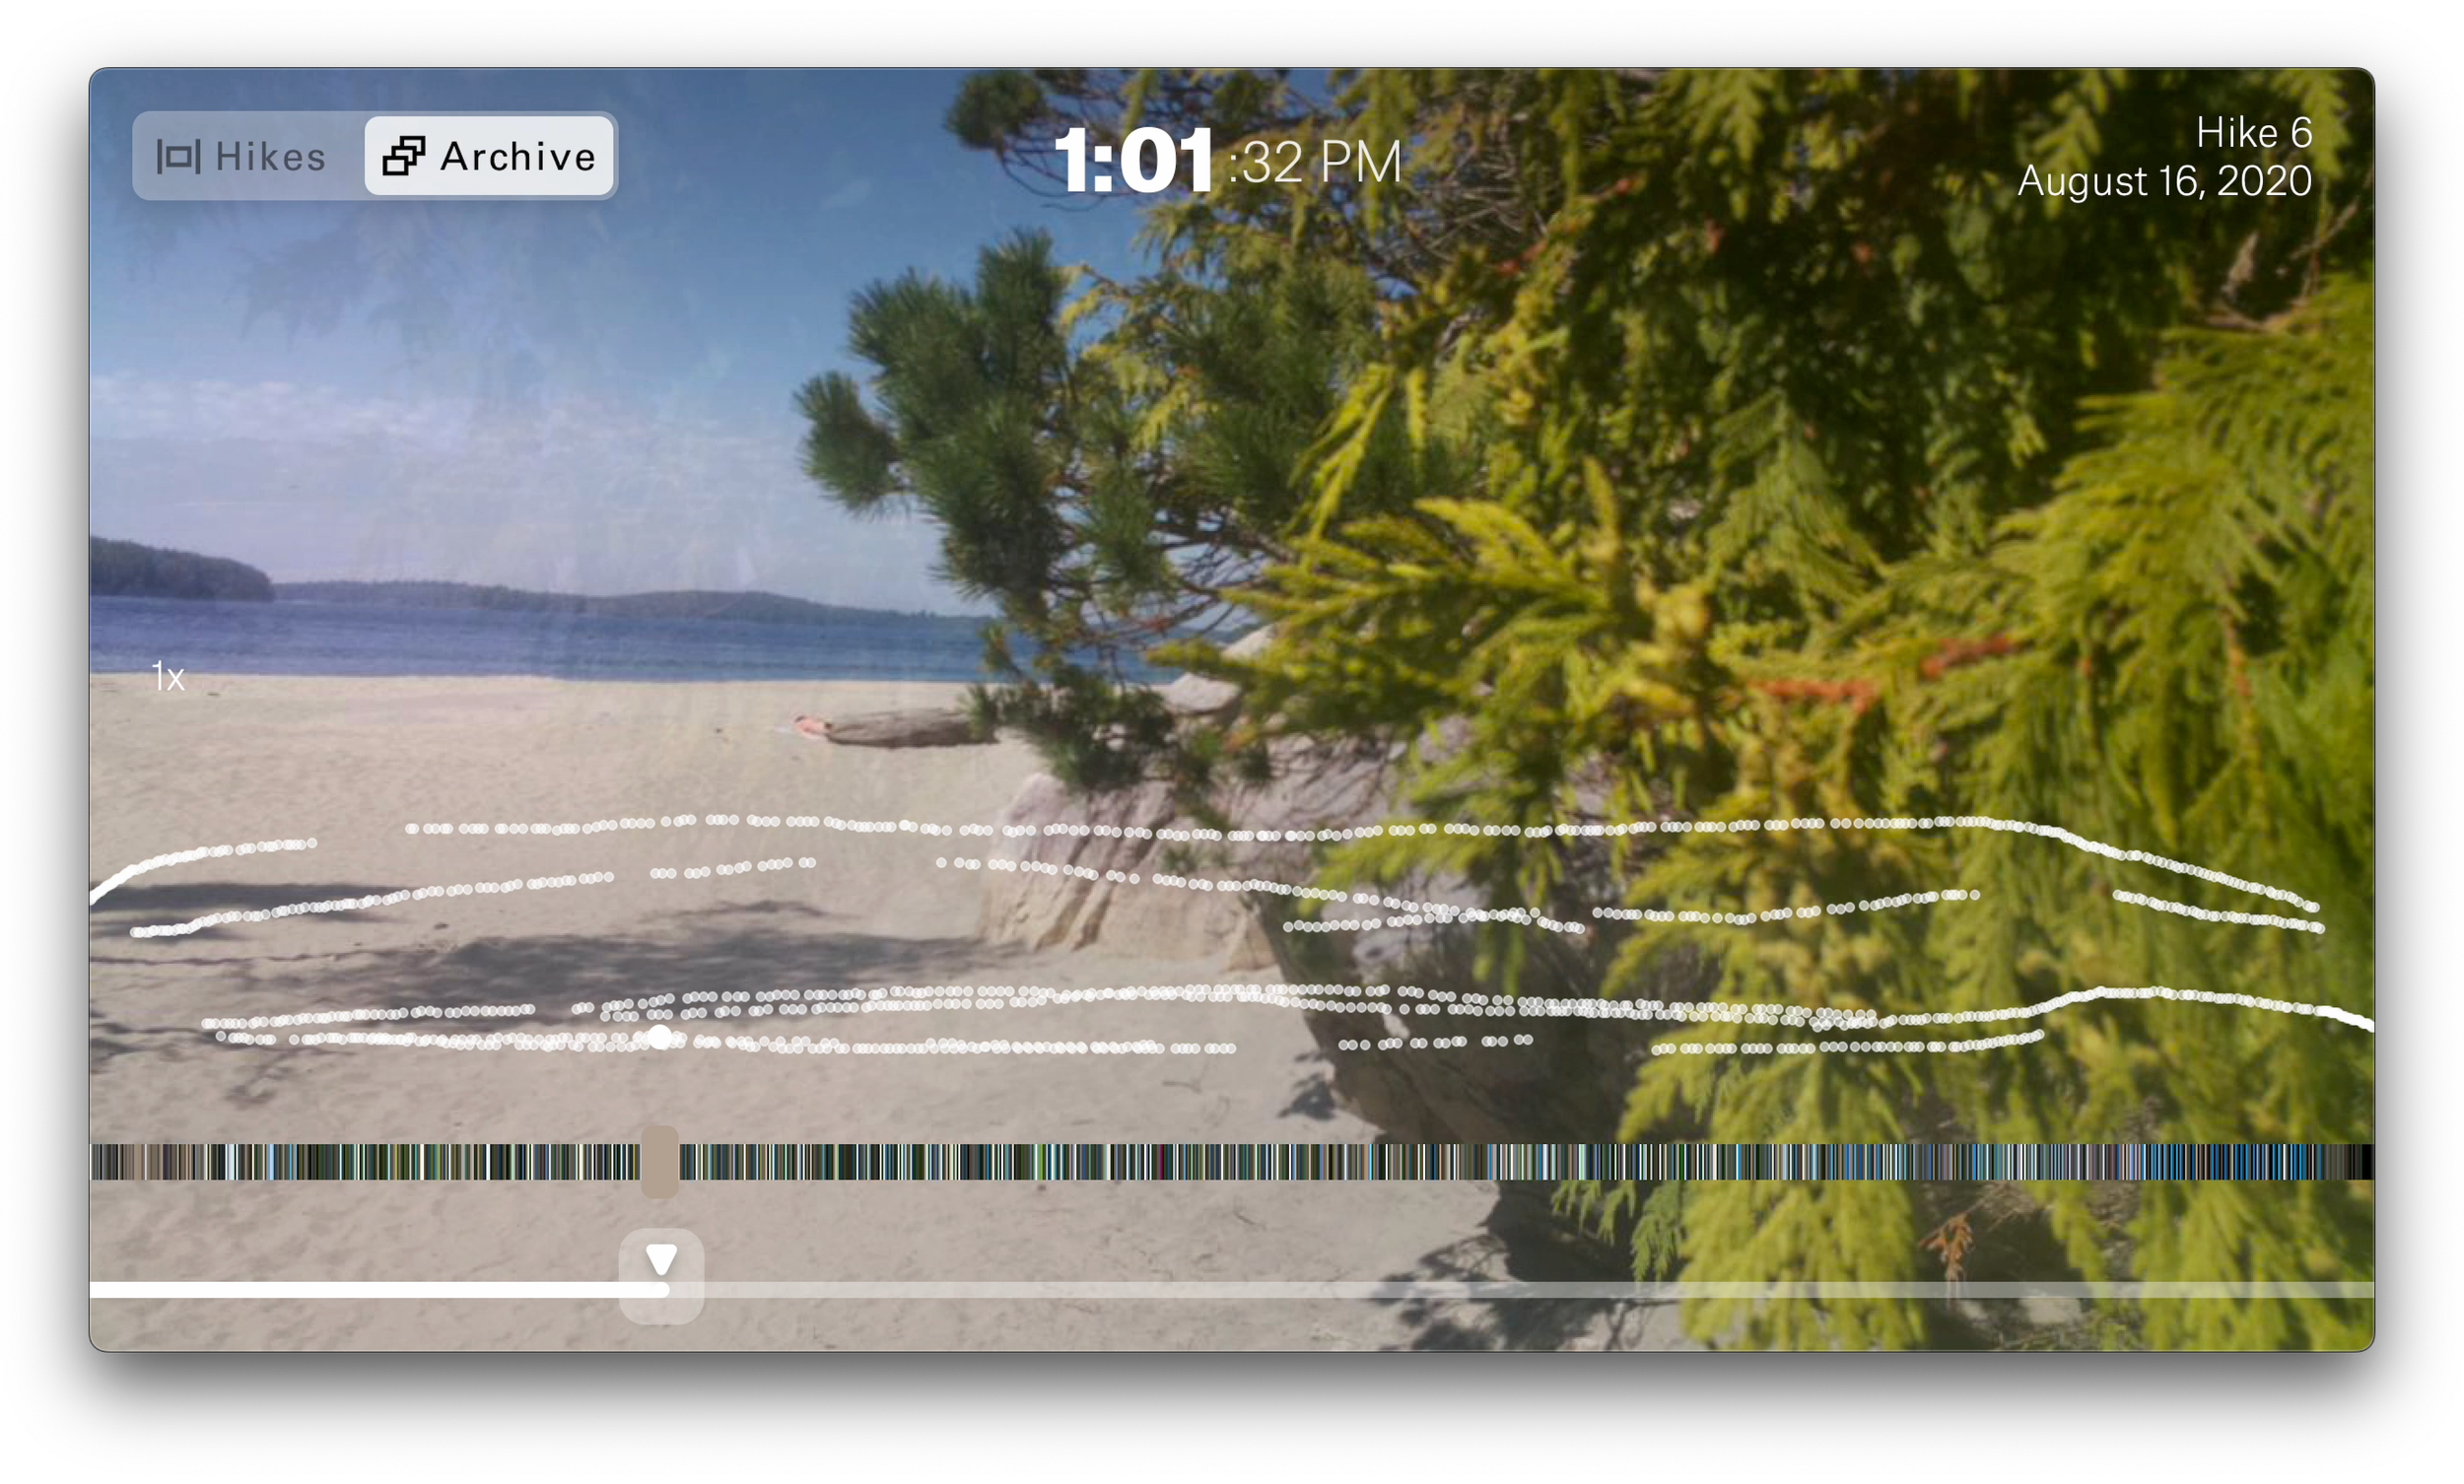
Explorer's Interaction Design
The process of deciding the modes and filters and how they worked was a continual process that evolved throughout the project. Eventually we arrived at this finished design.
Writing the SQL Queries to Enable our Design
The way the algorithm works is each photo can act as a "pivot" to take a new path through your photos based on the mode and filters. In total there are 24 potential paths from any photo.
(Hikes, Archive) x (Time, Color, Altitude) x (prev hike, next hike) x (prev photo, next photo) = 24
Writing these queries was challenging. I had never written anything beyond a very simple SQL query. Due to limited power of the Pi, I didn’t want multiple queries per interaction. So I figured out how to write the entire logic in 1 query per interaction, which was tricky due to the limitations of SQLite (no stored procedures, limited Math functions).
You can see the full code on
GitHub
→ Upside was all logic per interaction was encapsulated in a single query.
→ Downside was the complexity of the code and trying to debug or modify once out of the head space.
→ Due to this, I wrote robust test cases for every query testing every edge case I could think of. Thankfully the queries held up and I didn’t have to go back to fix anything once I finished development.
→ What I'd do differently: To make the code more readable, I could have saved out parts of the queries as separate strings, then combine them together before making the call to the database.
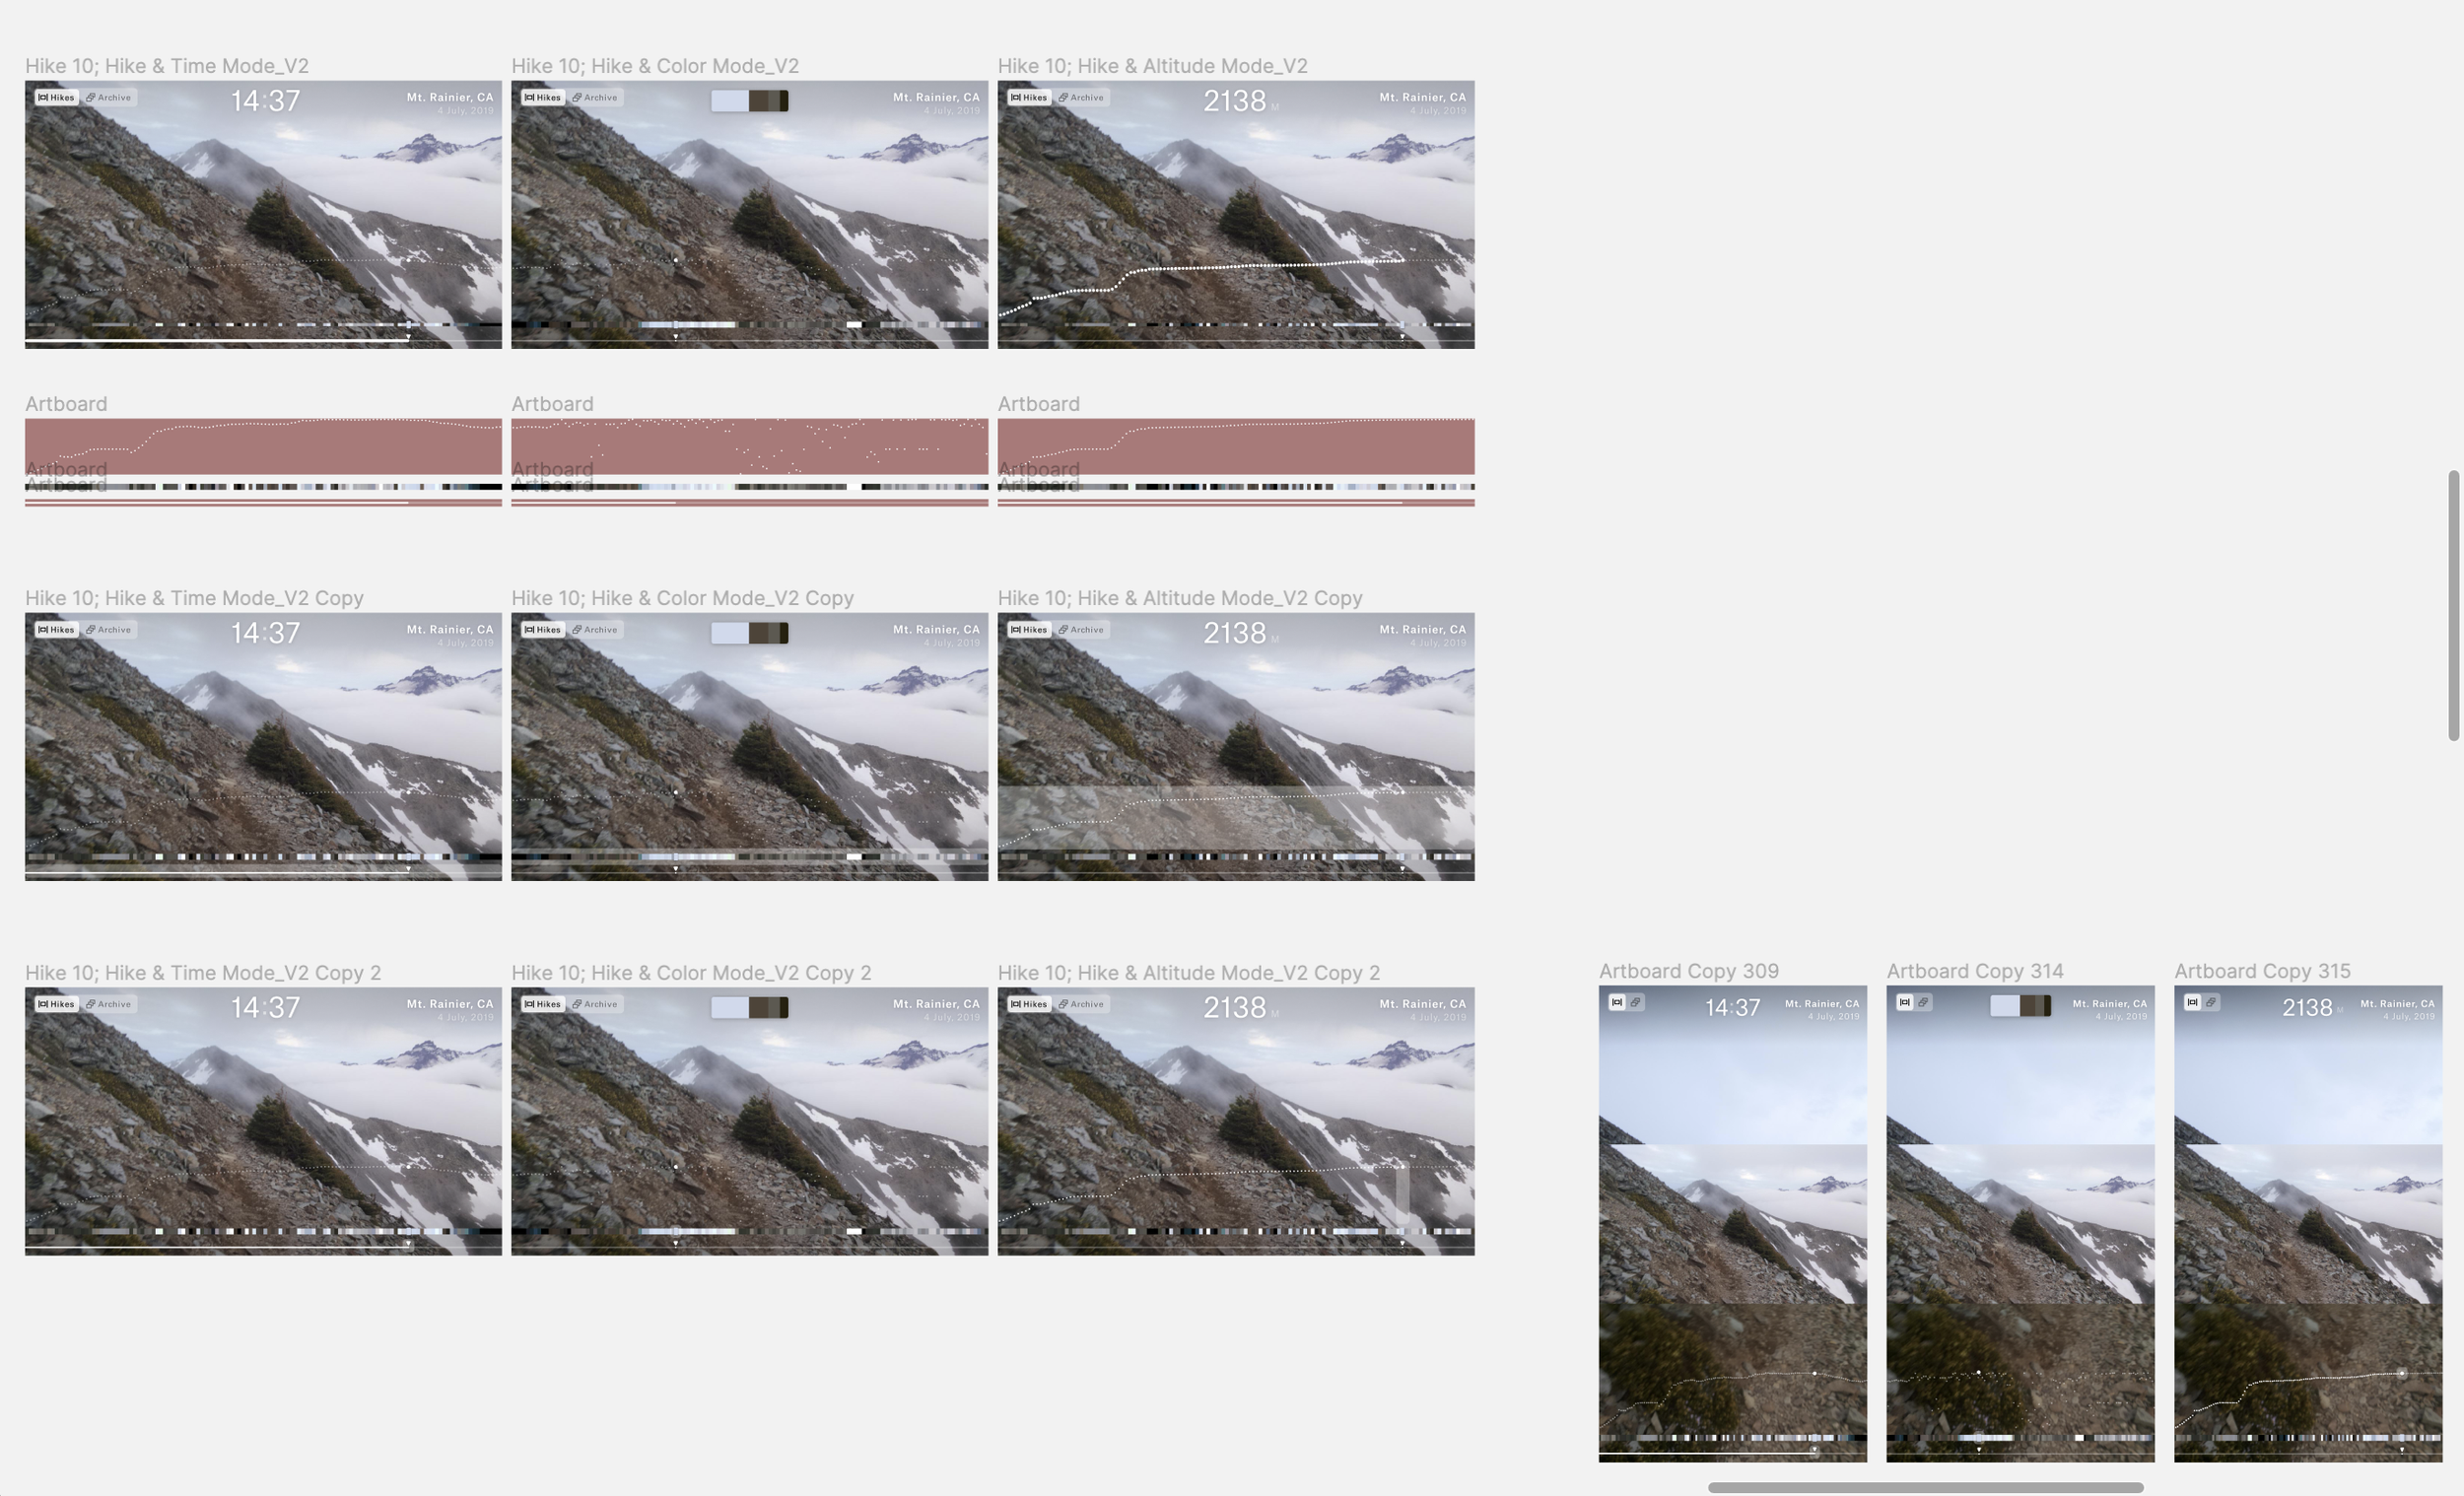
Sketch Plugin to support UI design
We began designing higher fidelity UI in Sketch; however, we needed a way to quickly draw the real data inside Sketch to explore how to style it.
I solved this problem by developing a custom Sketch plugin. We could run a color or altitude query in SQLite, copy the results, then paste that into the Sketch plugin. The plugin instantly built the color bar, color collage, or altitude graph with up to 1280 data points from the database.
You can see the full code on
GitHub
UI Design & Development
Initially we designed the UI to be super minimal, almost non-existent. We didn’t want it to feel like a data visualization program. However we realized that we needed a bit more context otherwise navigating through the archive was confusing.
Nico and I worked closely on various UI options and what was possible with PyQt and the Raspberry Pi. He cooked up a lot of great options and we eventually settled on this design style. I built a small collection of custom UI components which we were able to reuse for the Transfer Animation.
You can see the full code on
GitHub
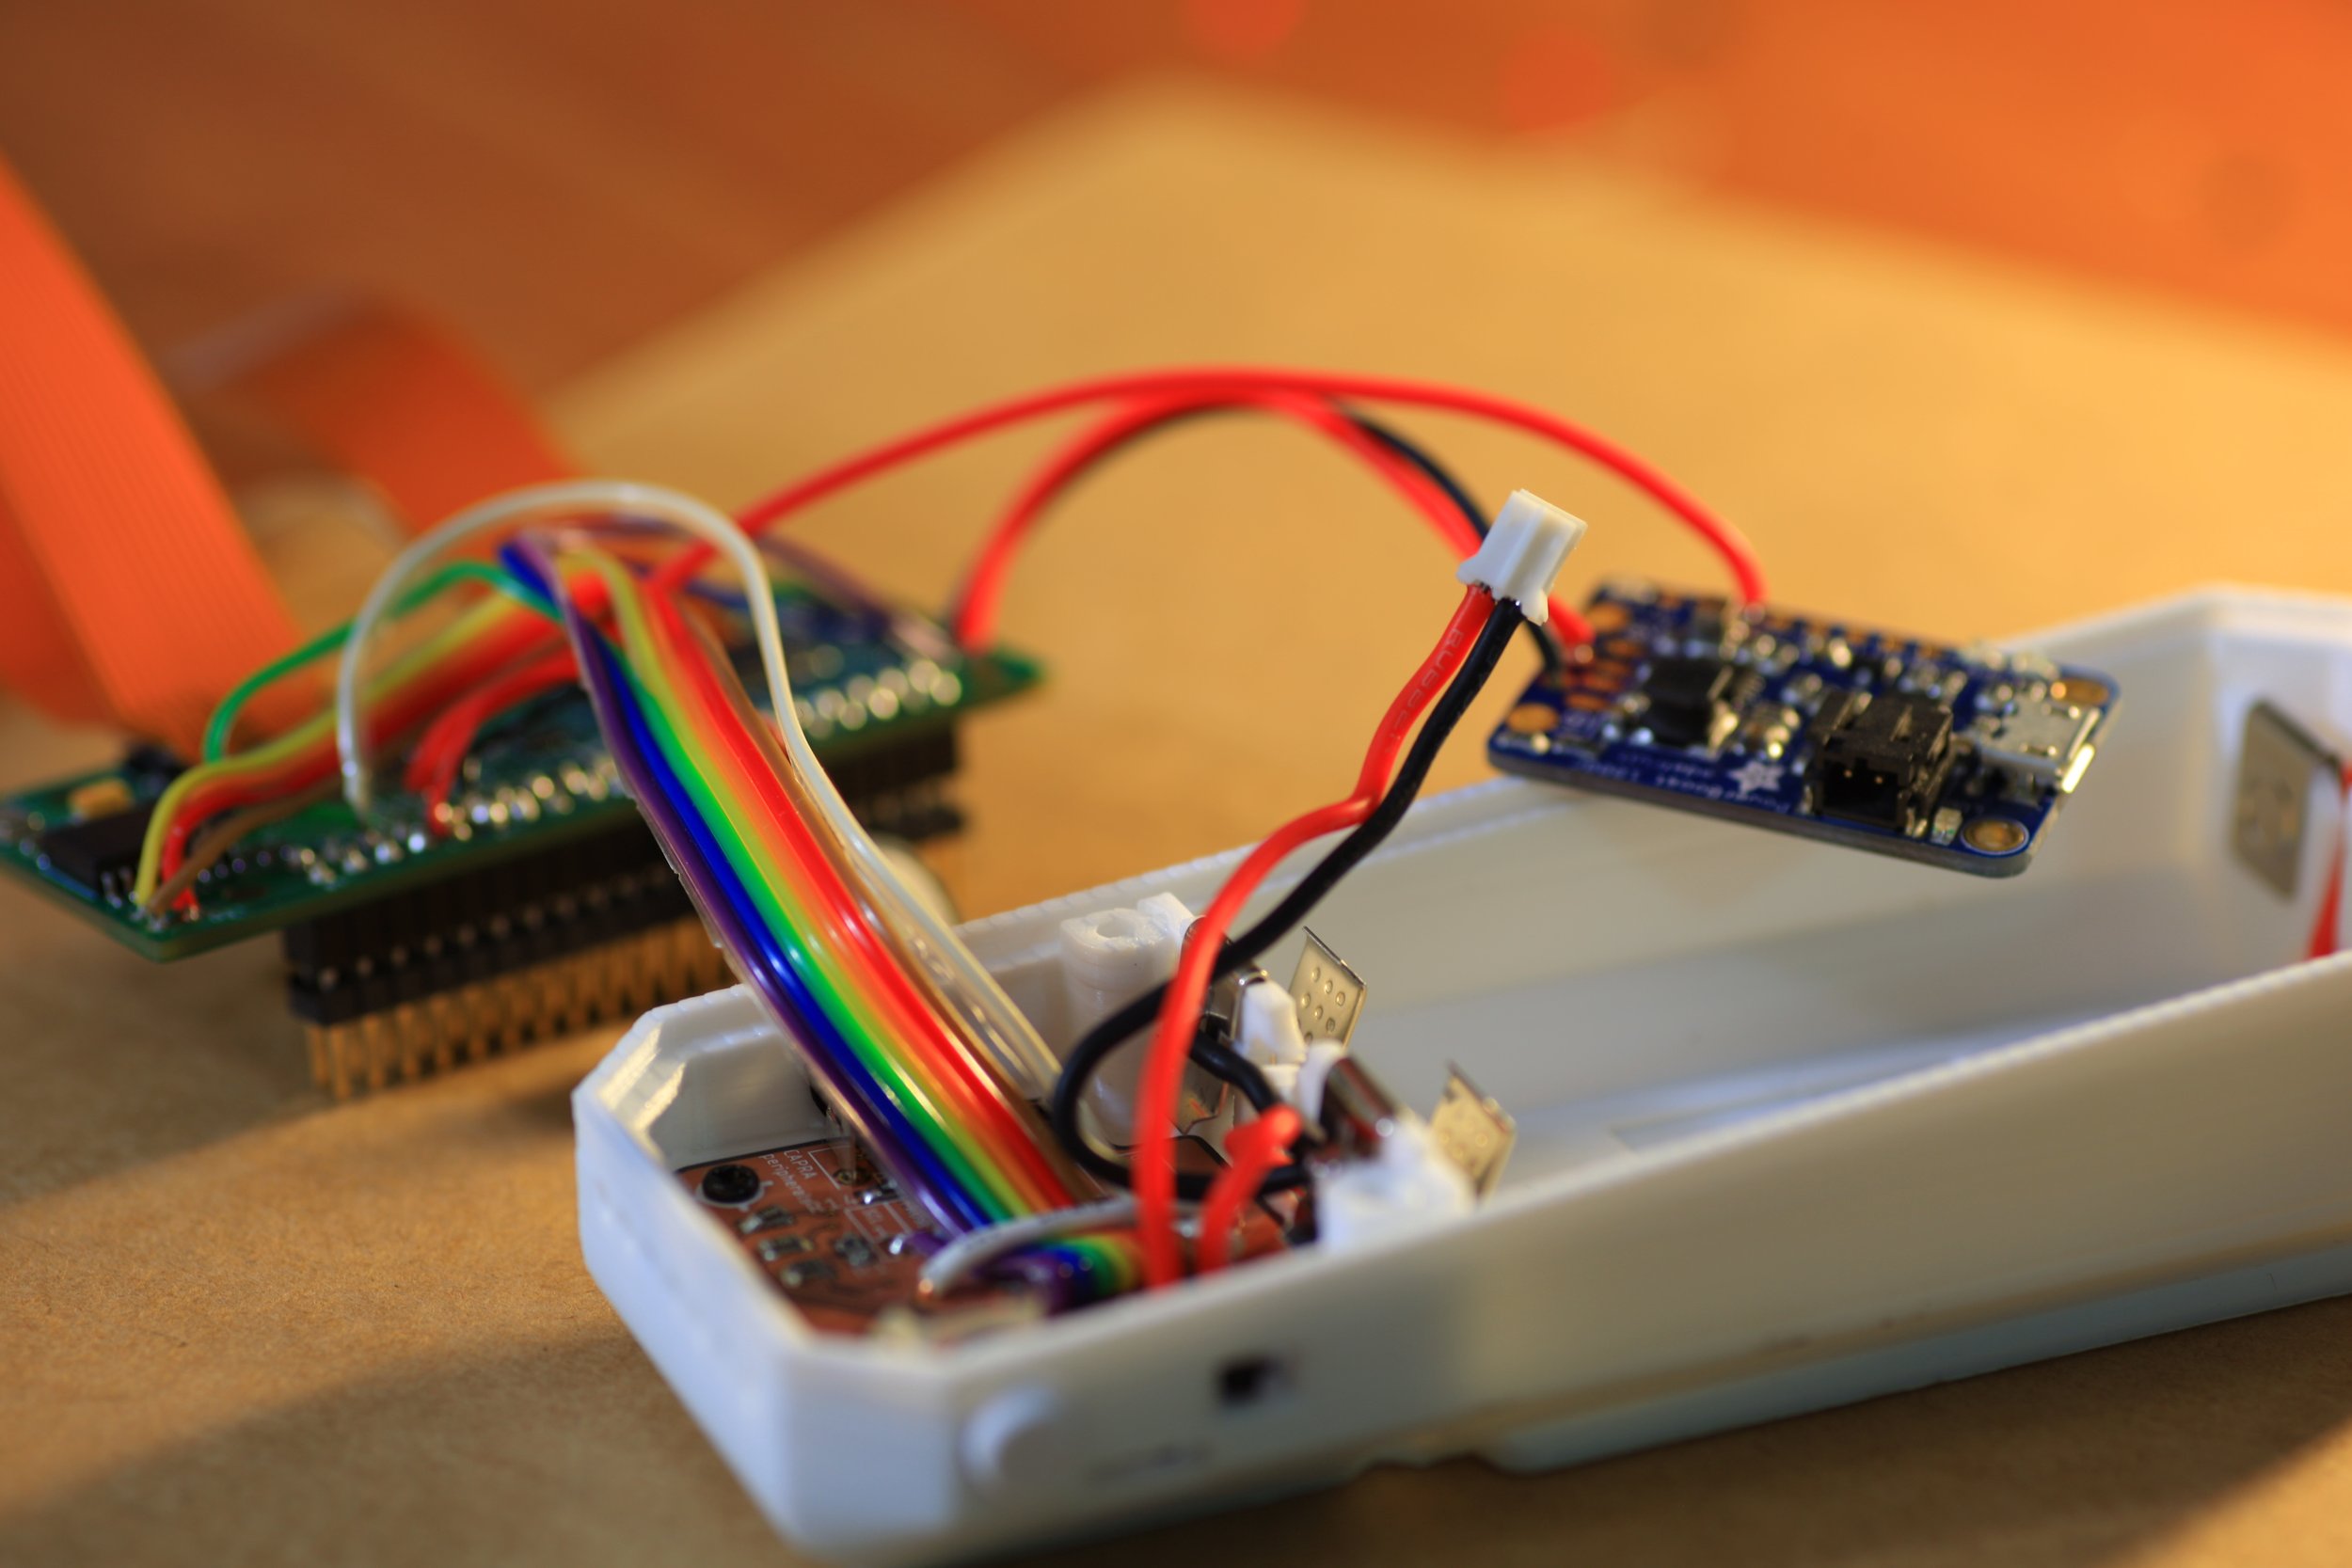
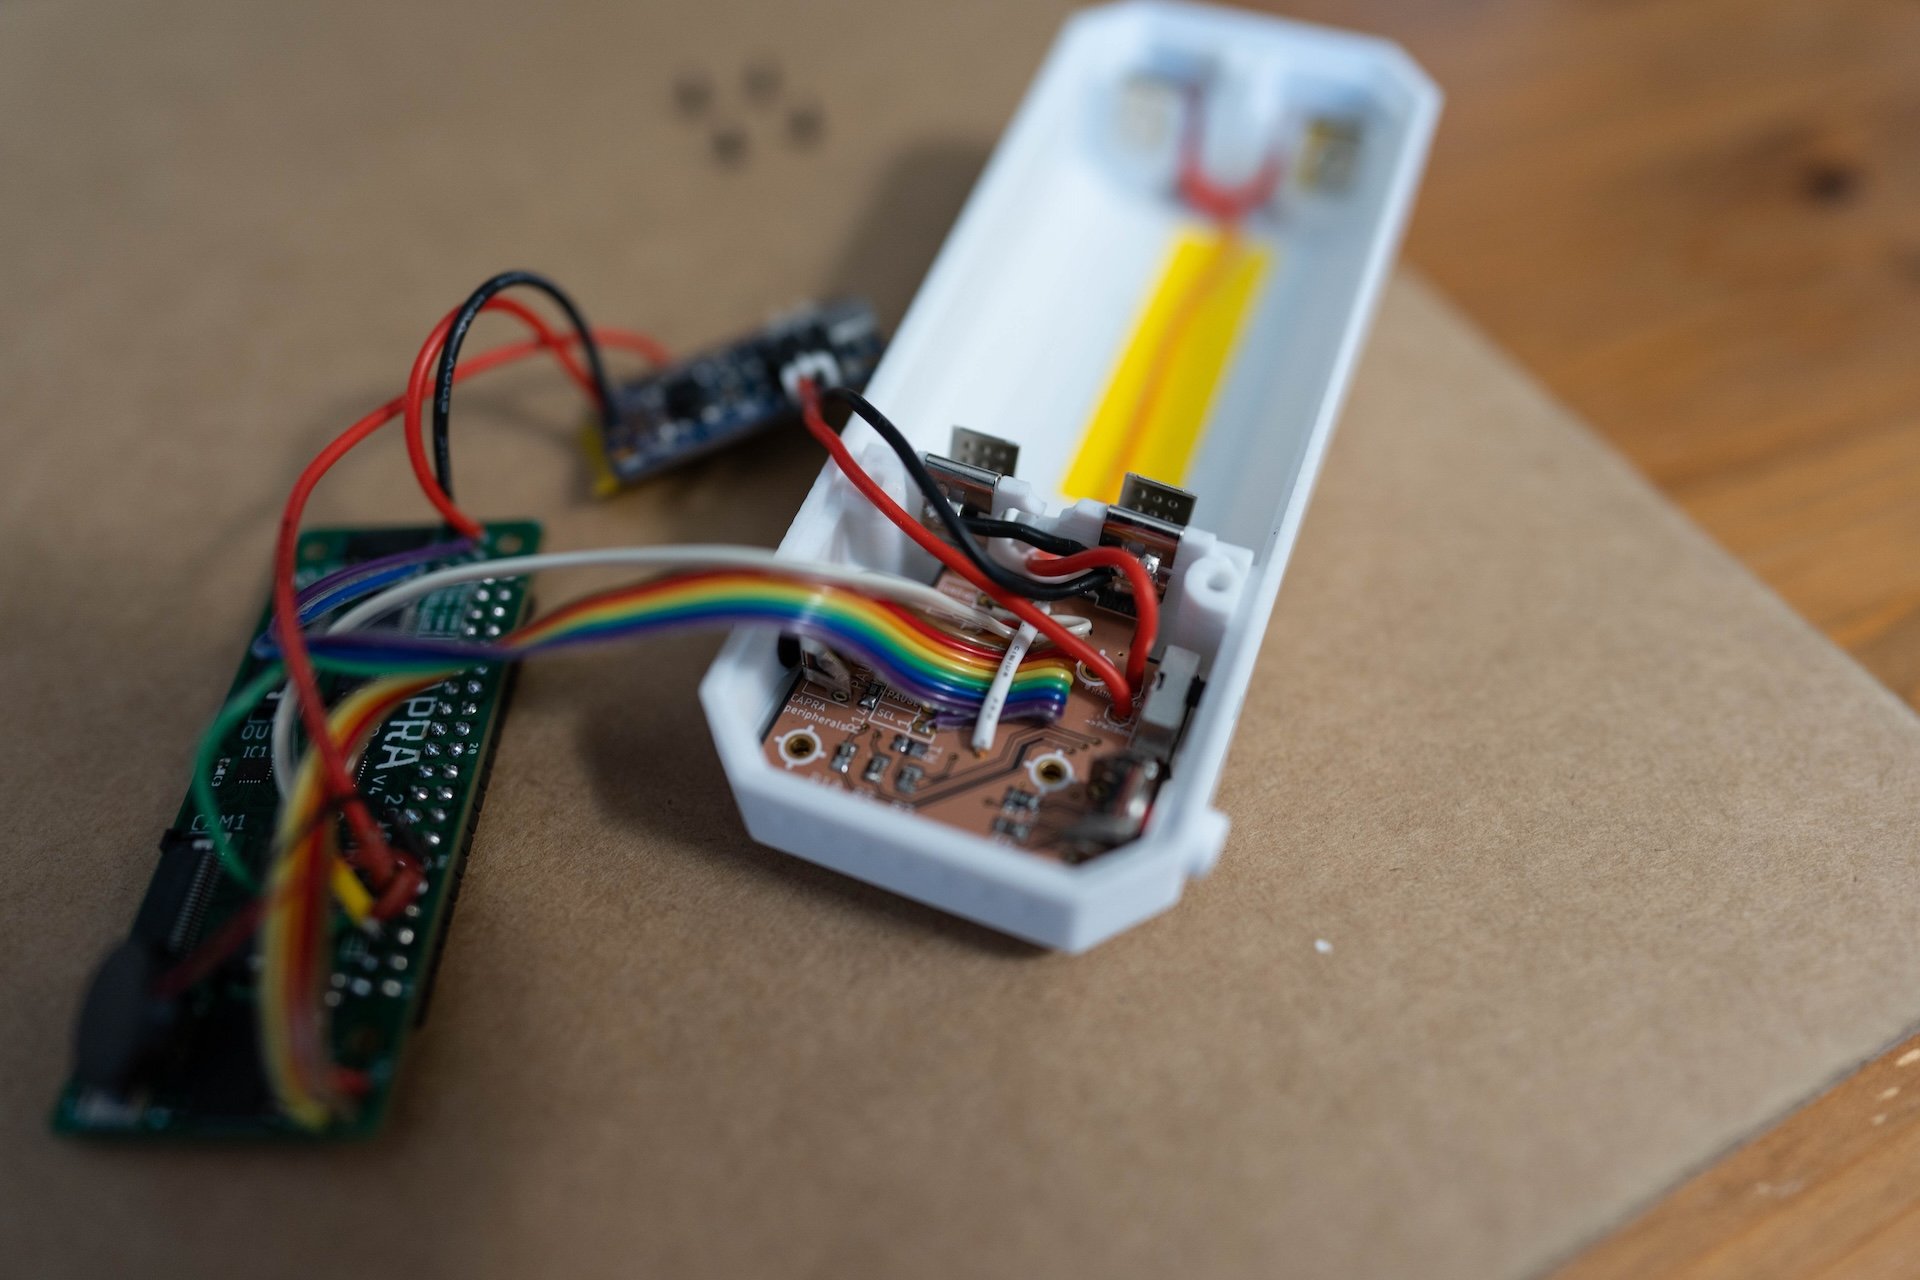
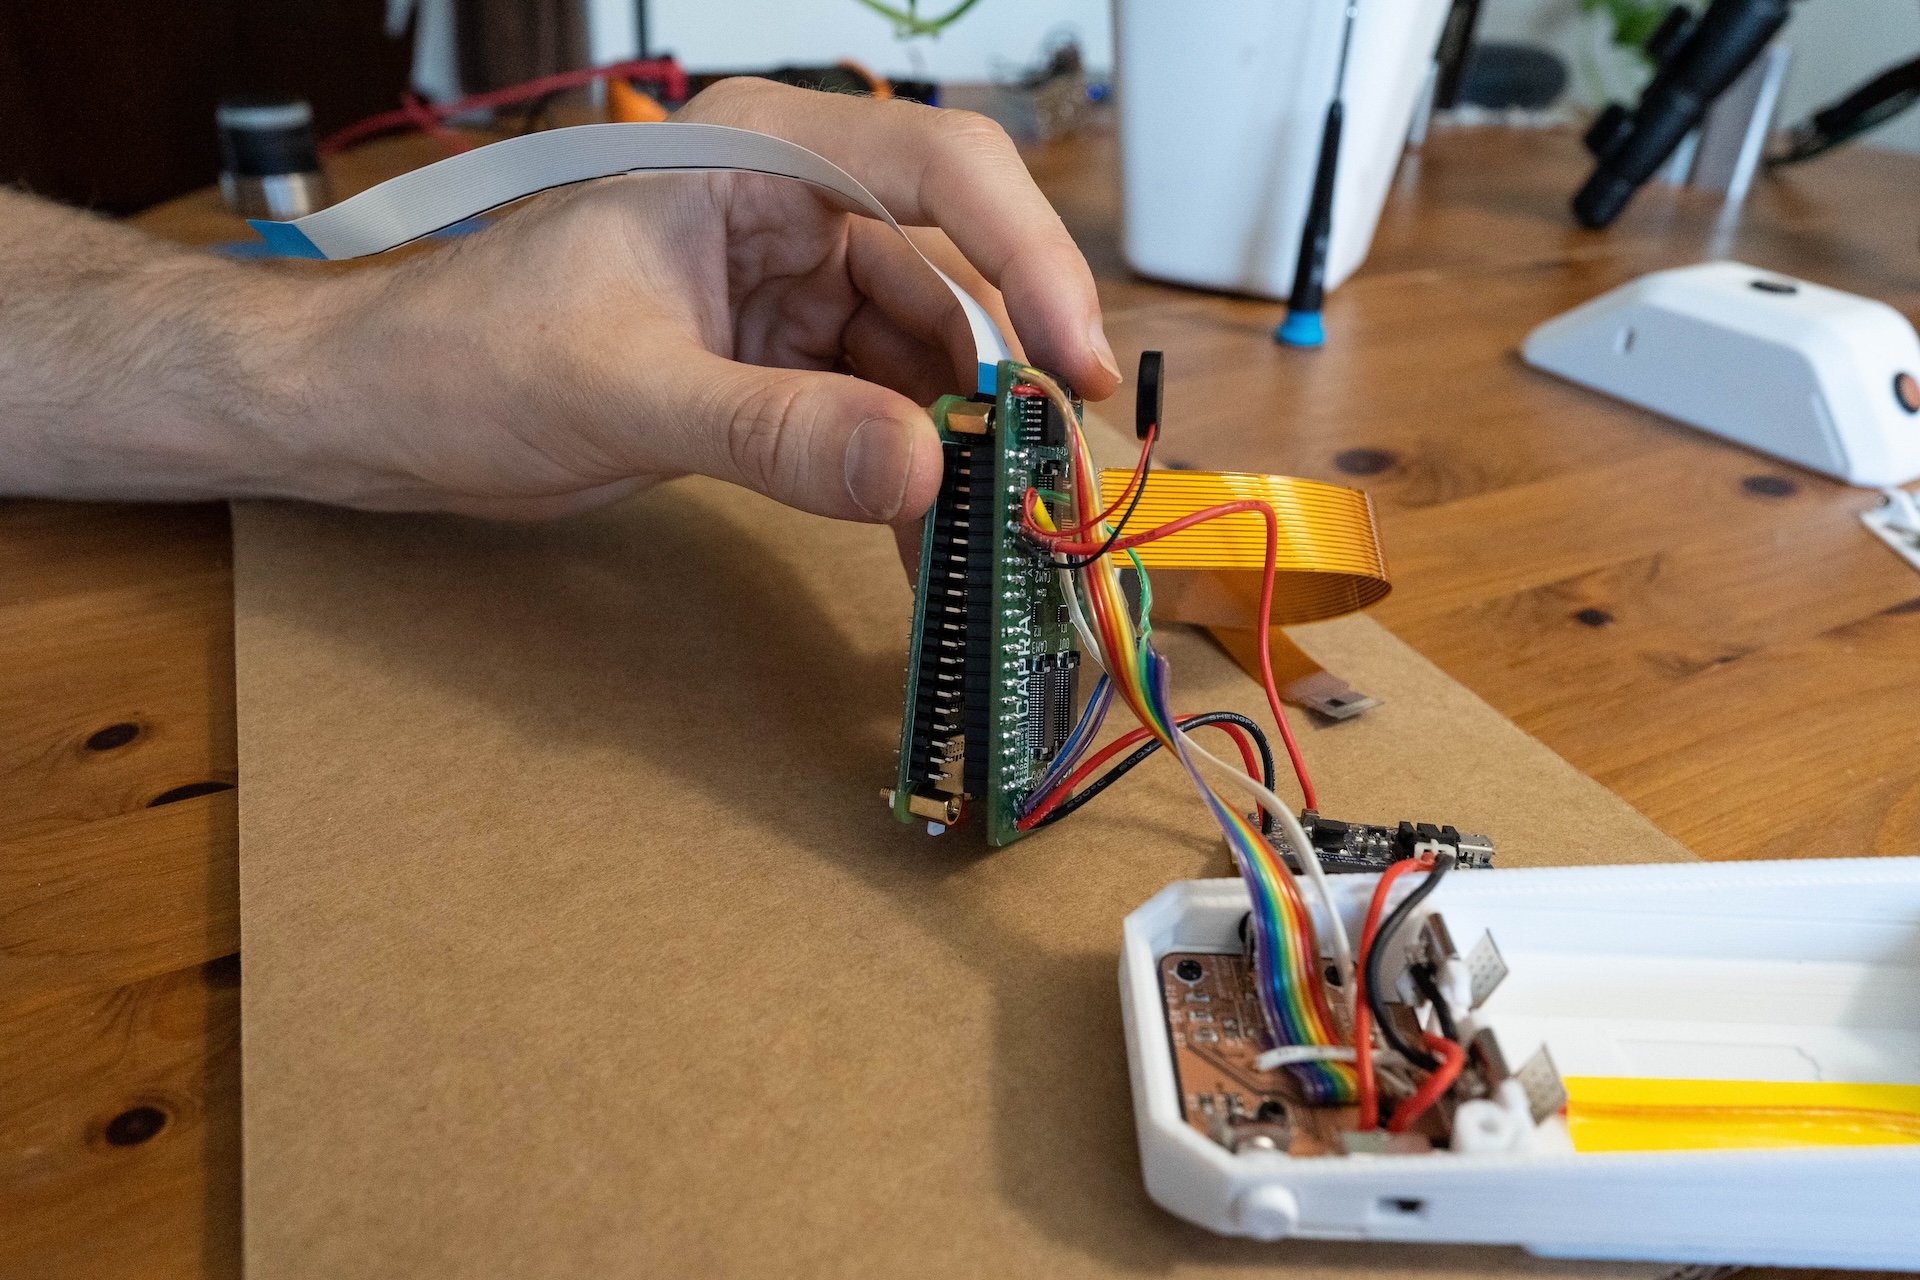
Hardware Development
Henry and I spent a lot of long hours integrating the Raspberry Pi 4, custom control board, mini projector, fan, and power management.
Huge props to Henry! This was by no means a simple project. I learned a lot about electronics and hardware debugging through working with him on this project.
Software Development
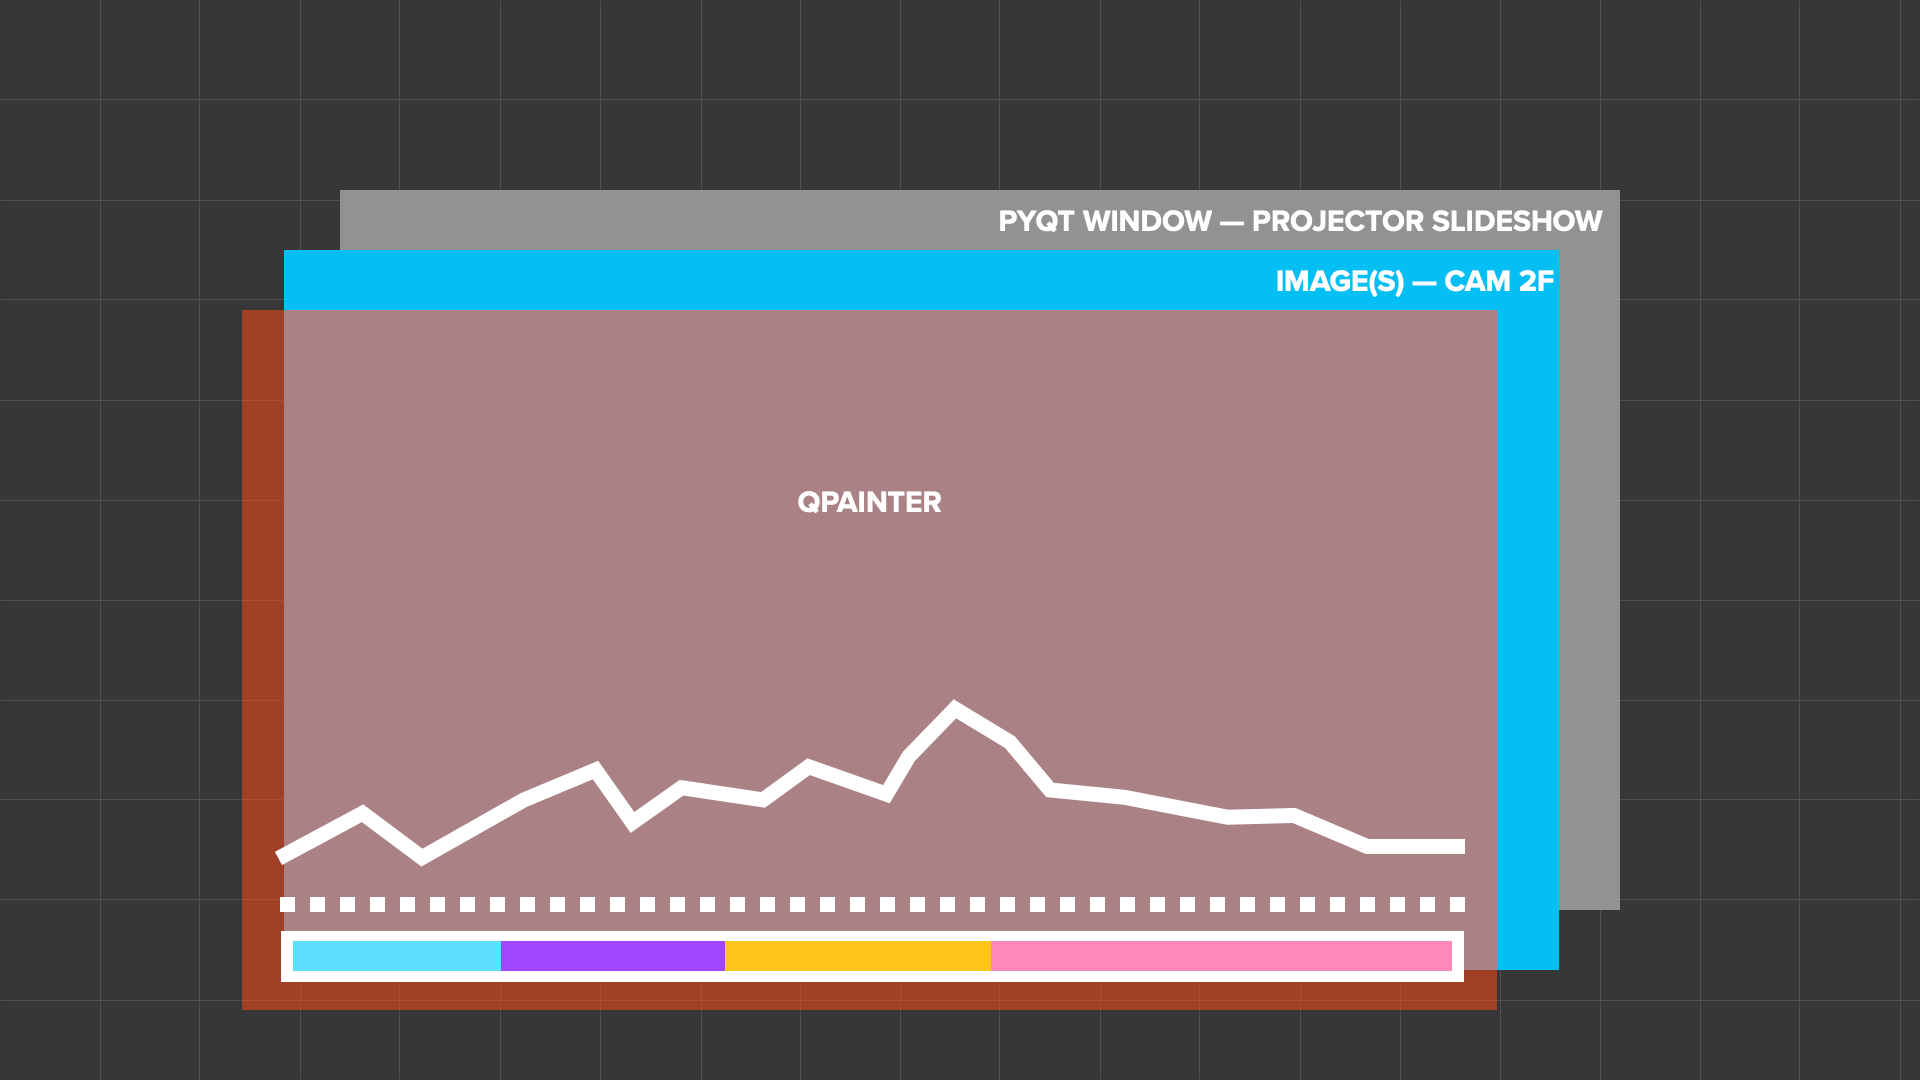
To get the application to run smoothly, I had to multithread it so that the UI was on 1 thread, the image blending on another, and every single hardware input had its own thread.
Thankfully PyQt5 has a good thread framework that made all of this possible.
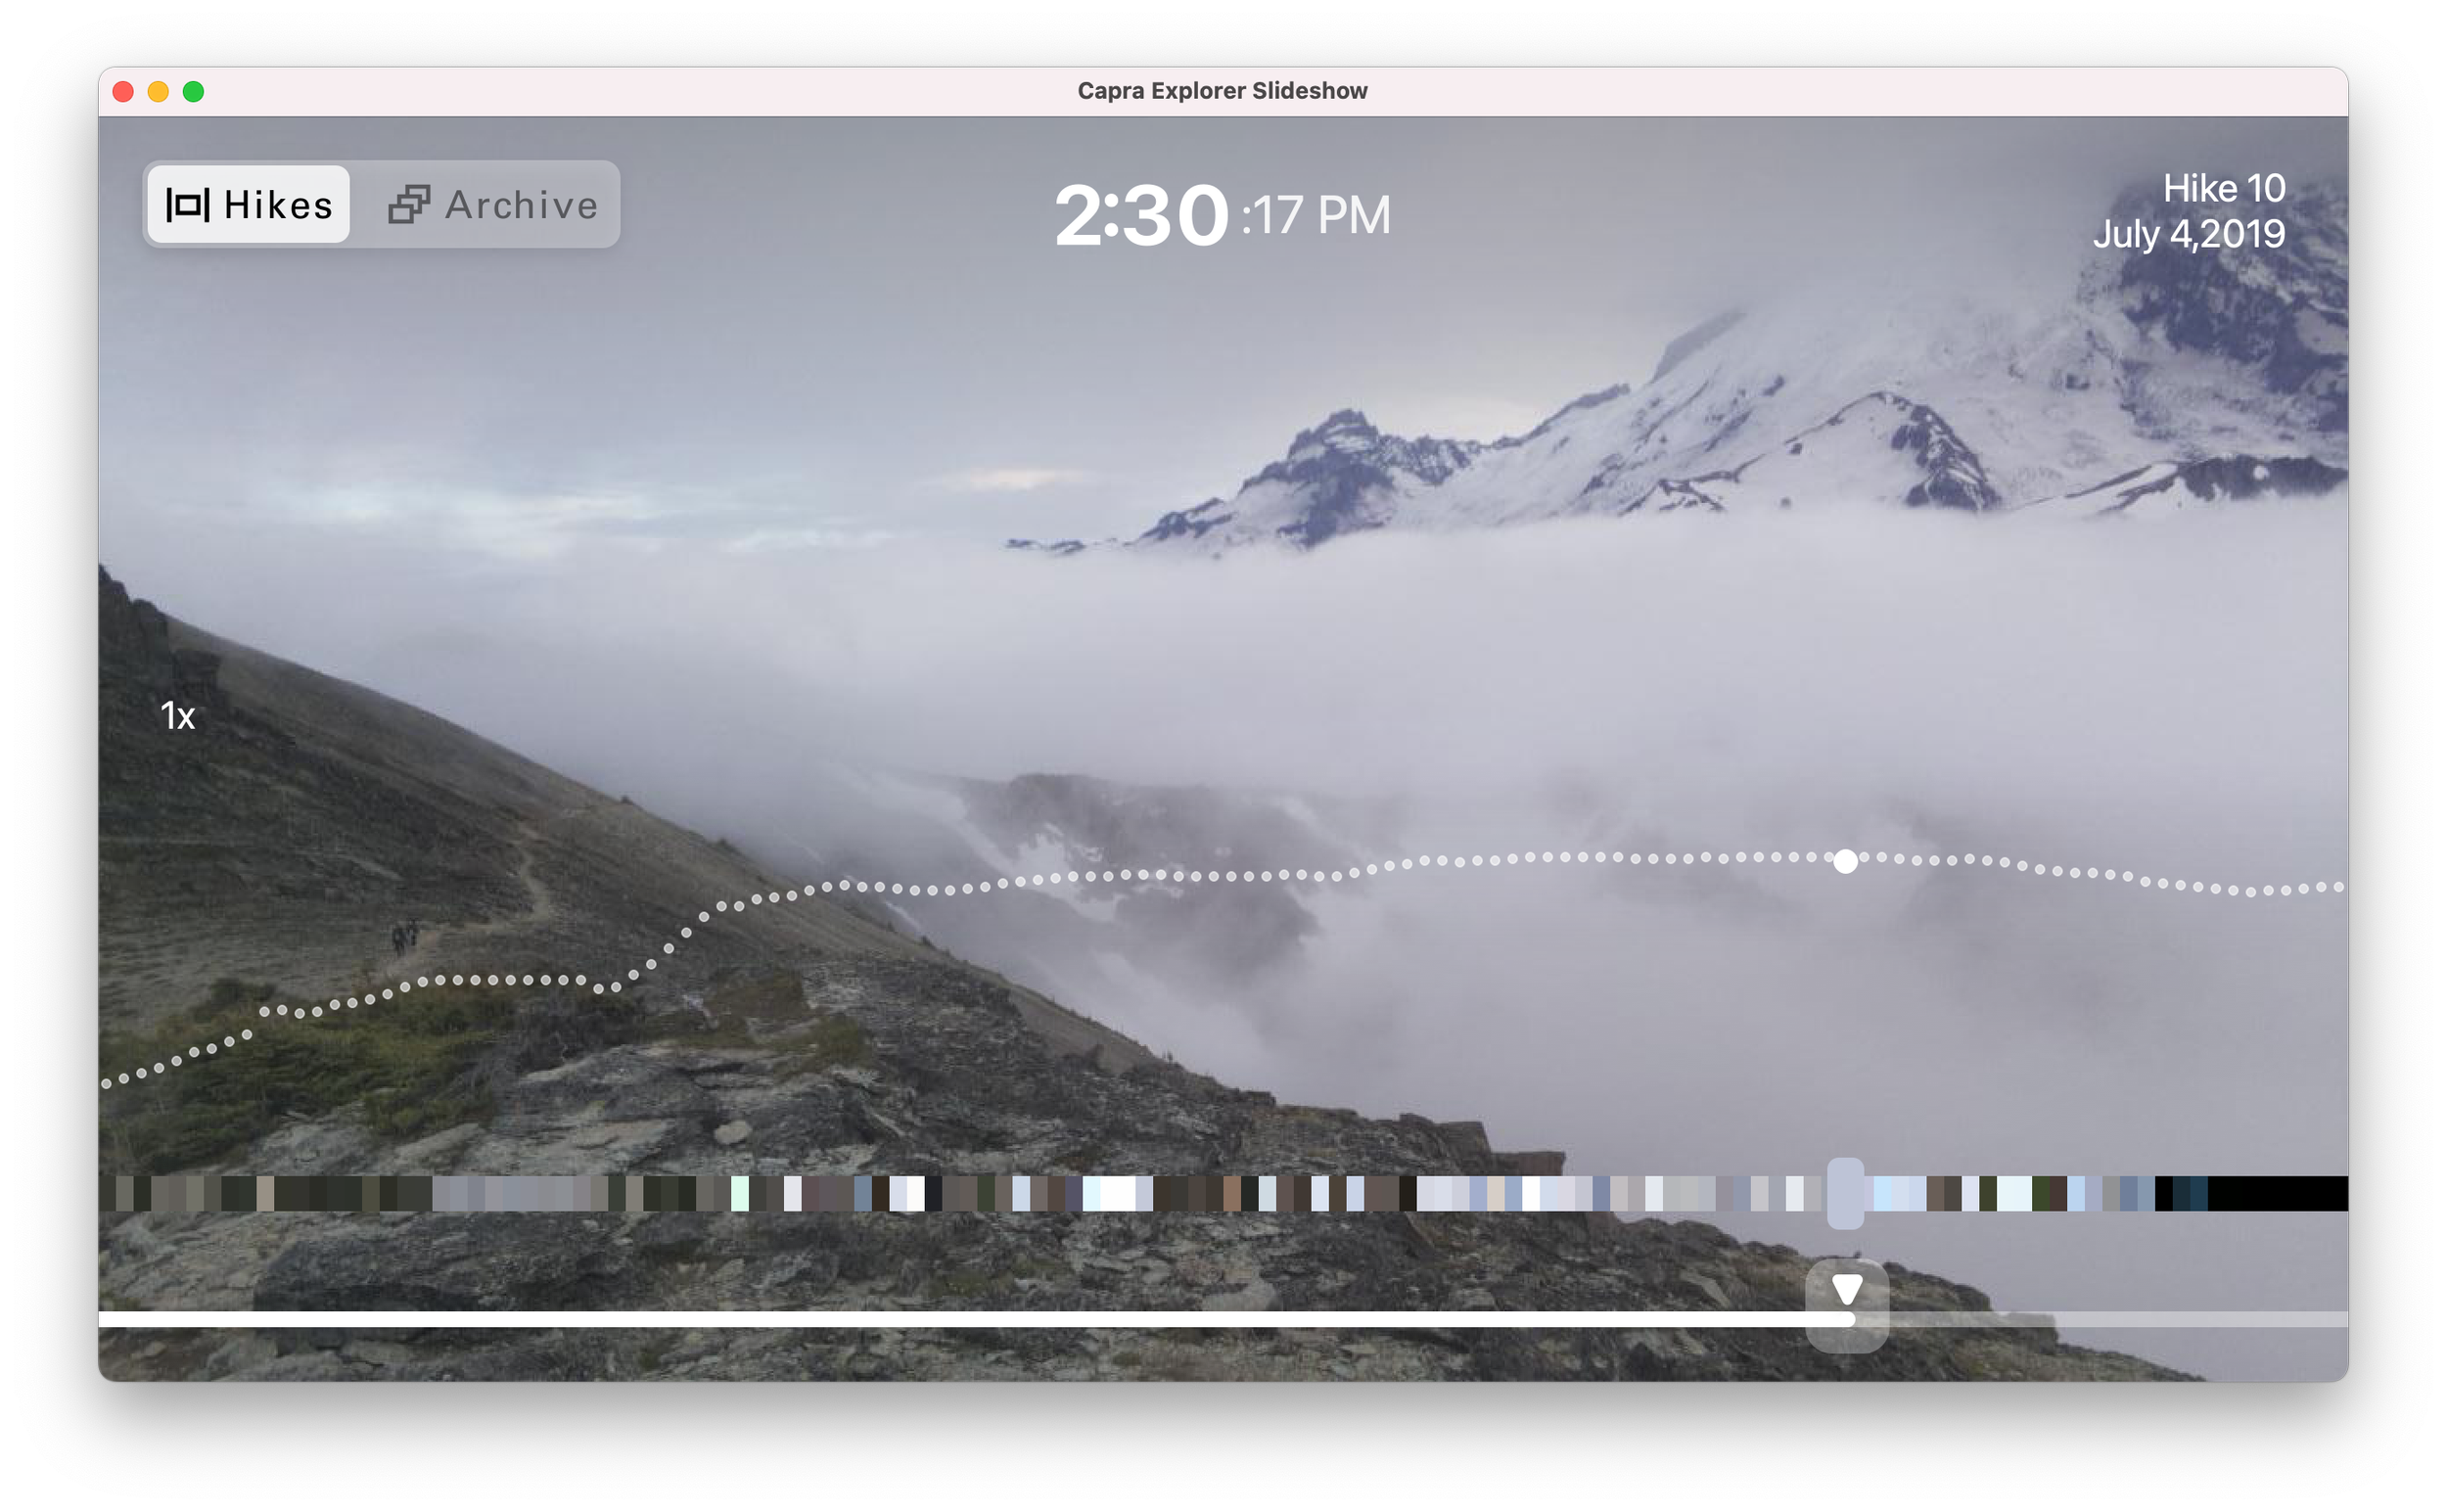
macOS App
I packaged the PyQt program as a macOS app so the team could test the user experience and live with our data while the hardware was being finished.

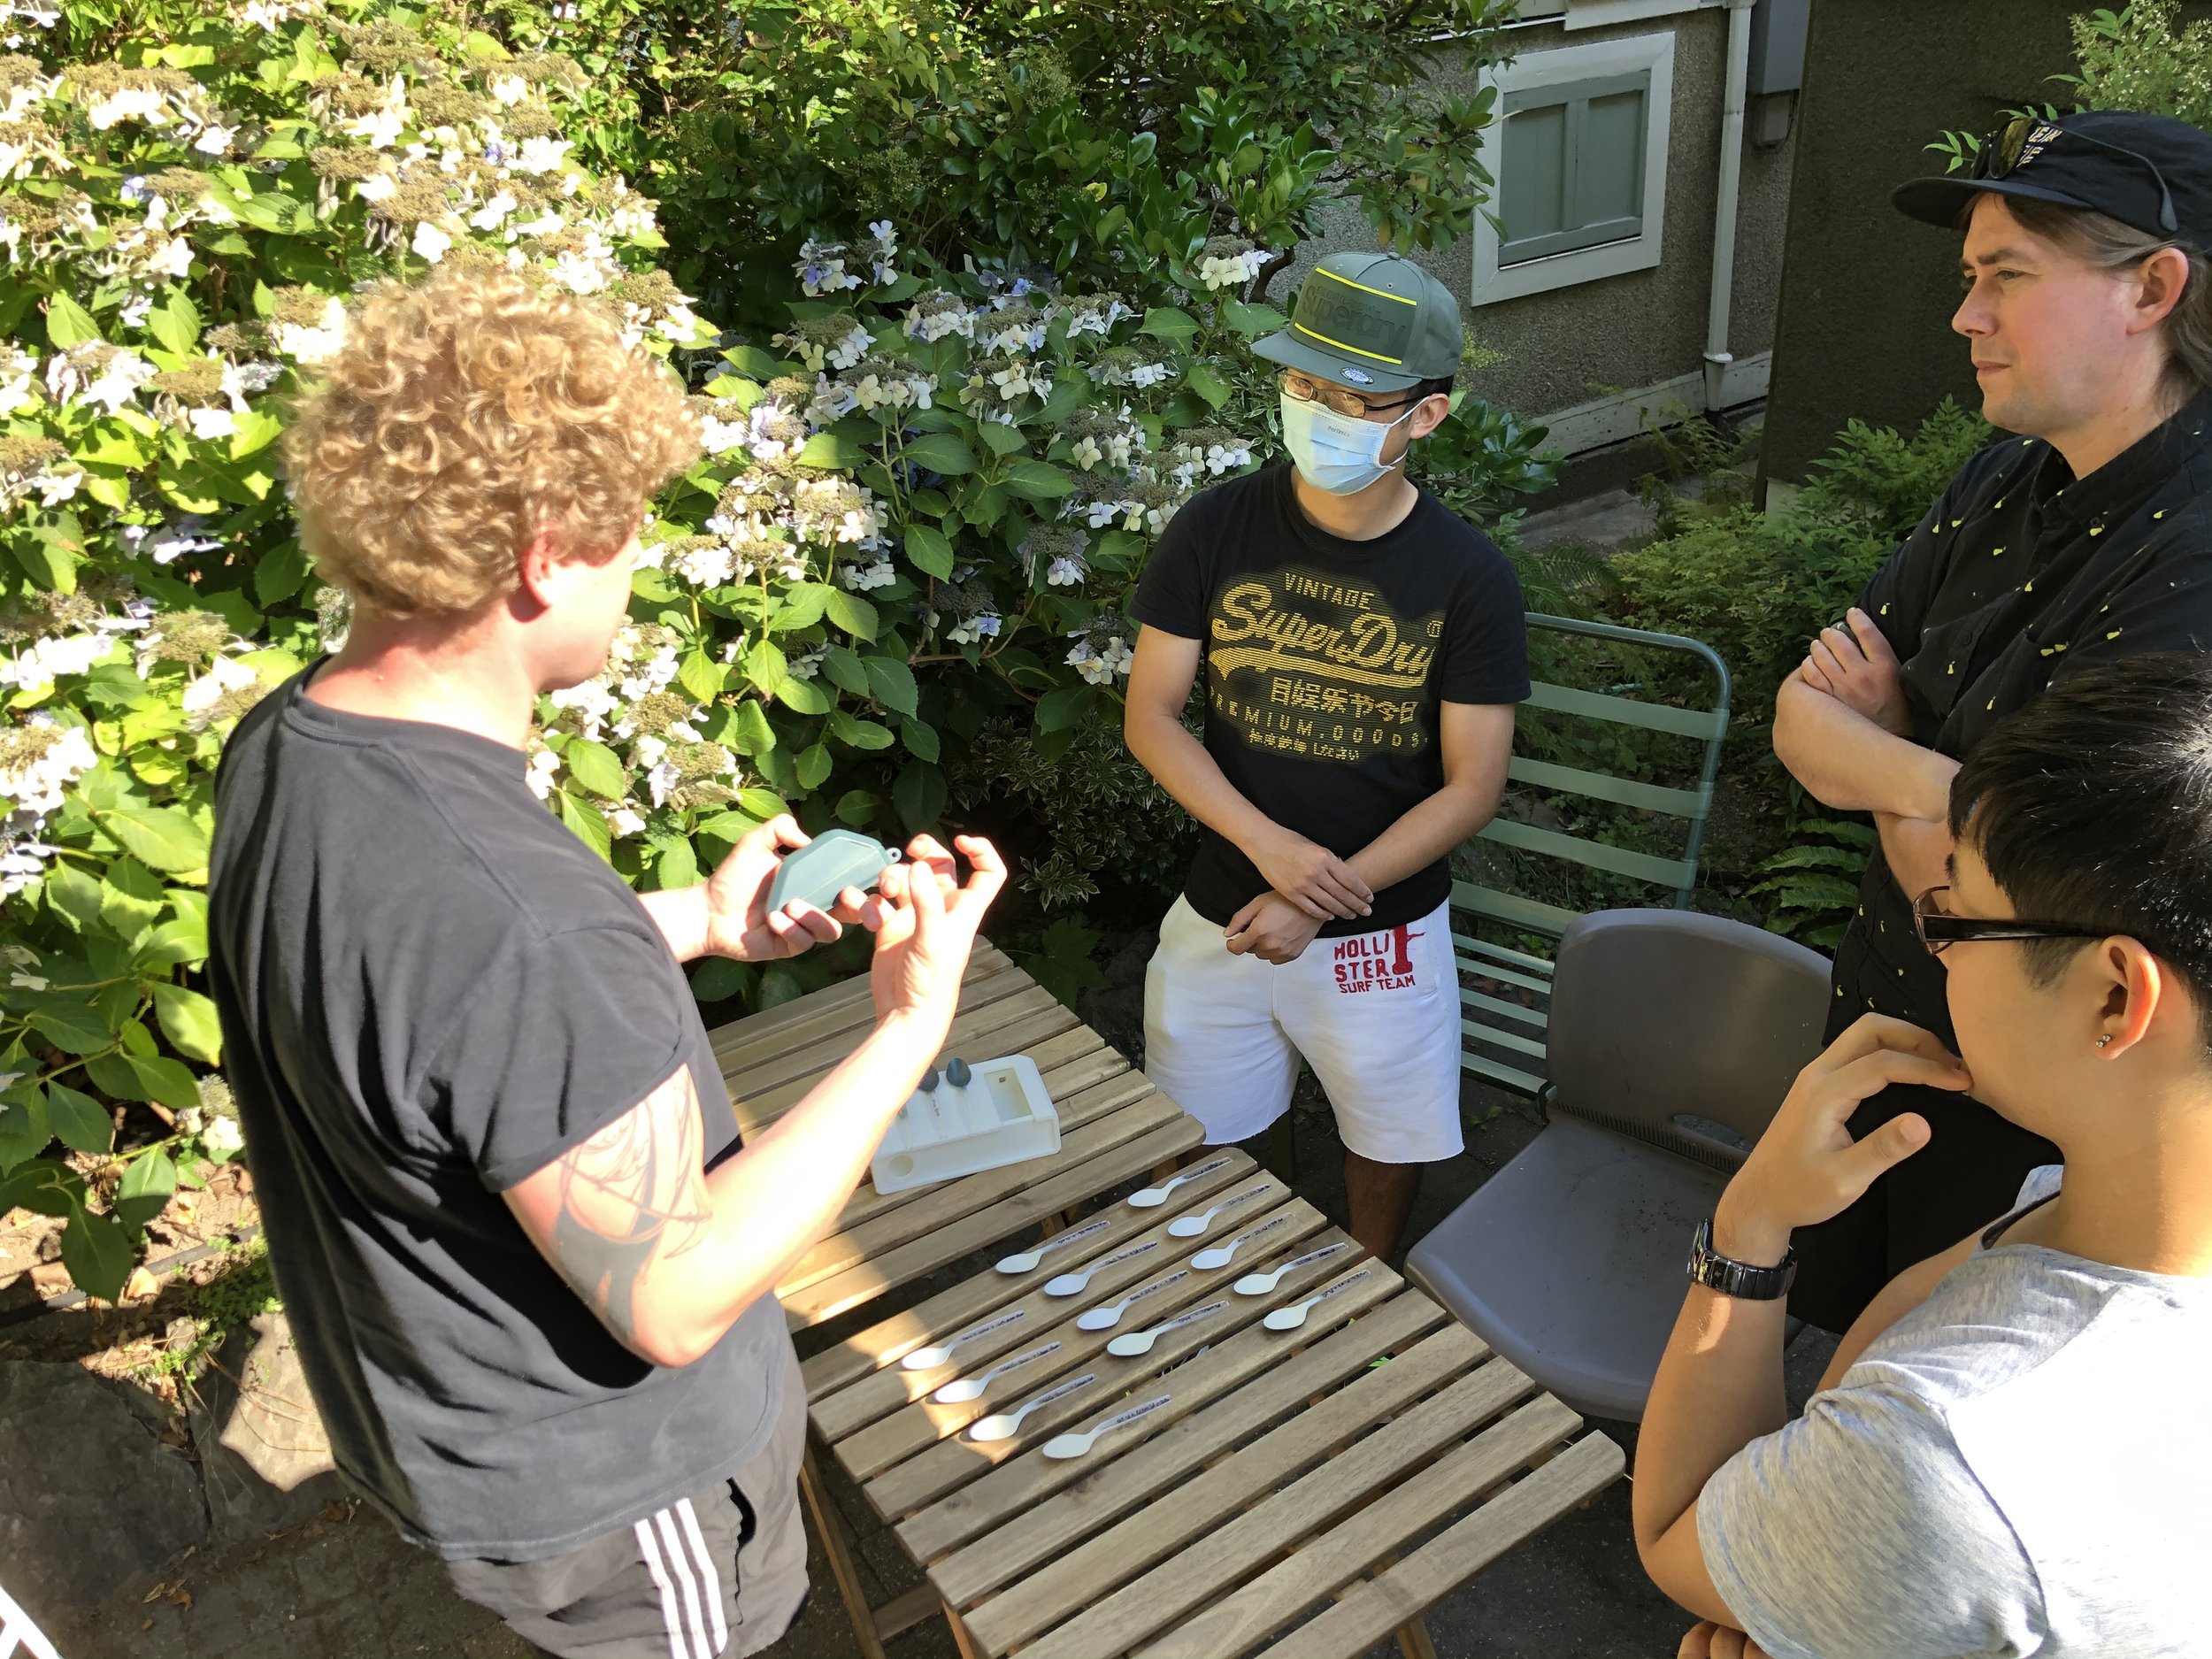
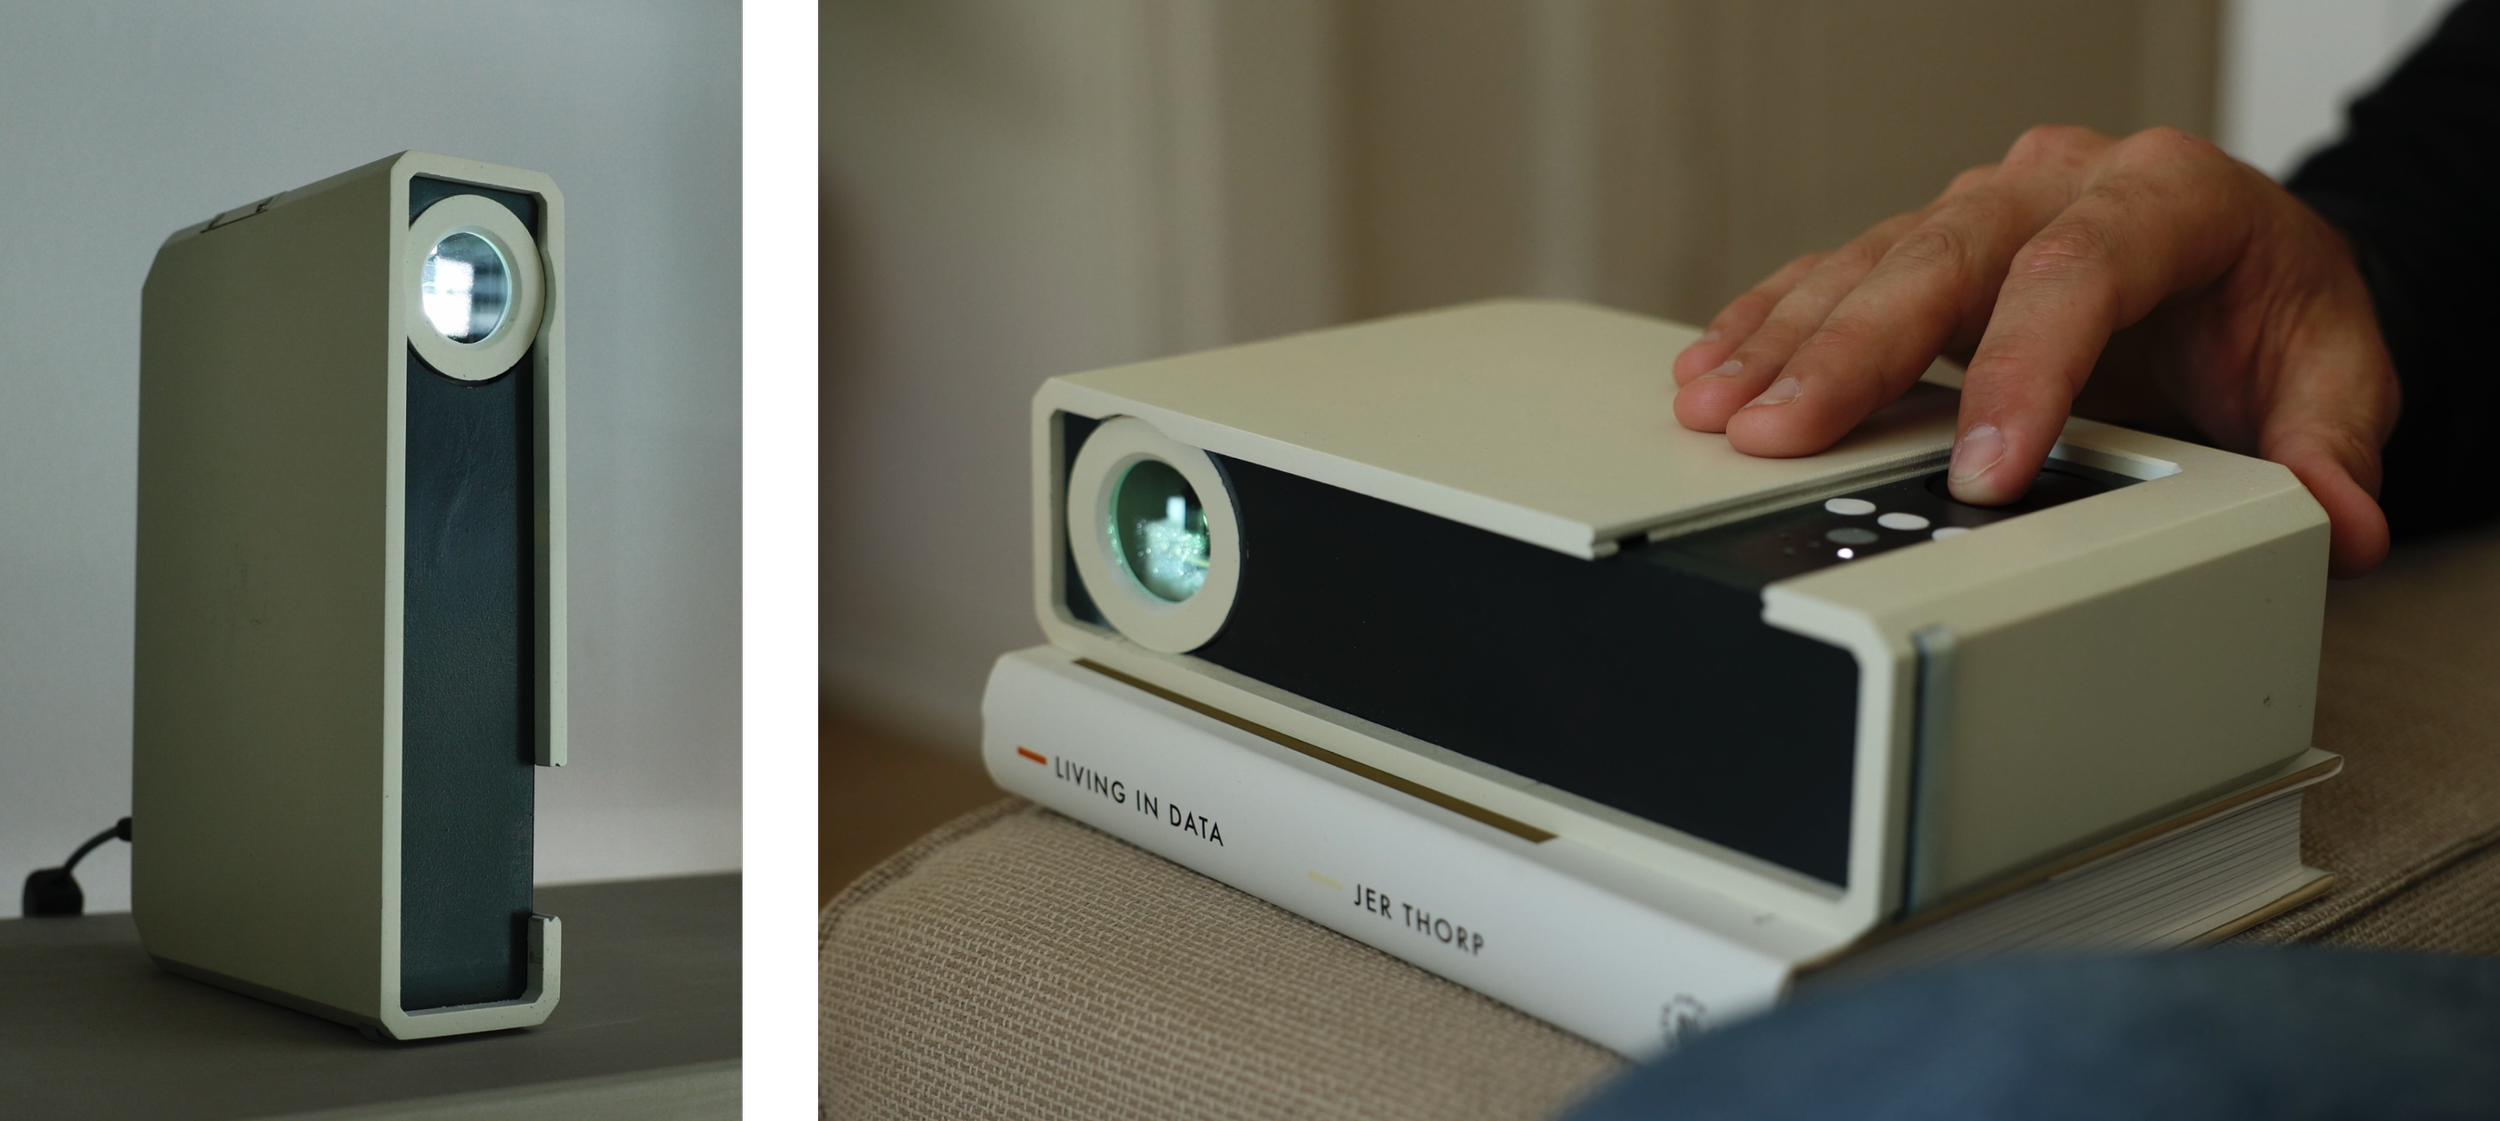
Demoing the Finished Hardware & Software to the Team
It was such a great feeling seeing the software and hardware finally come together!
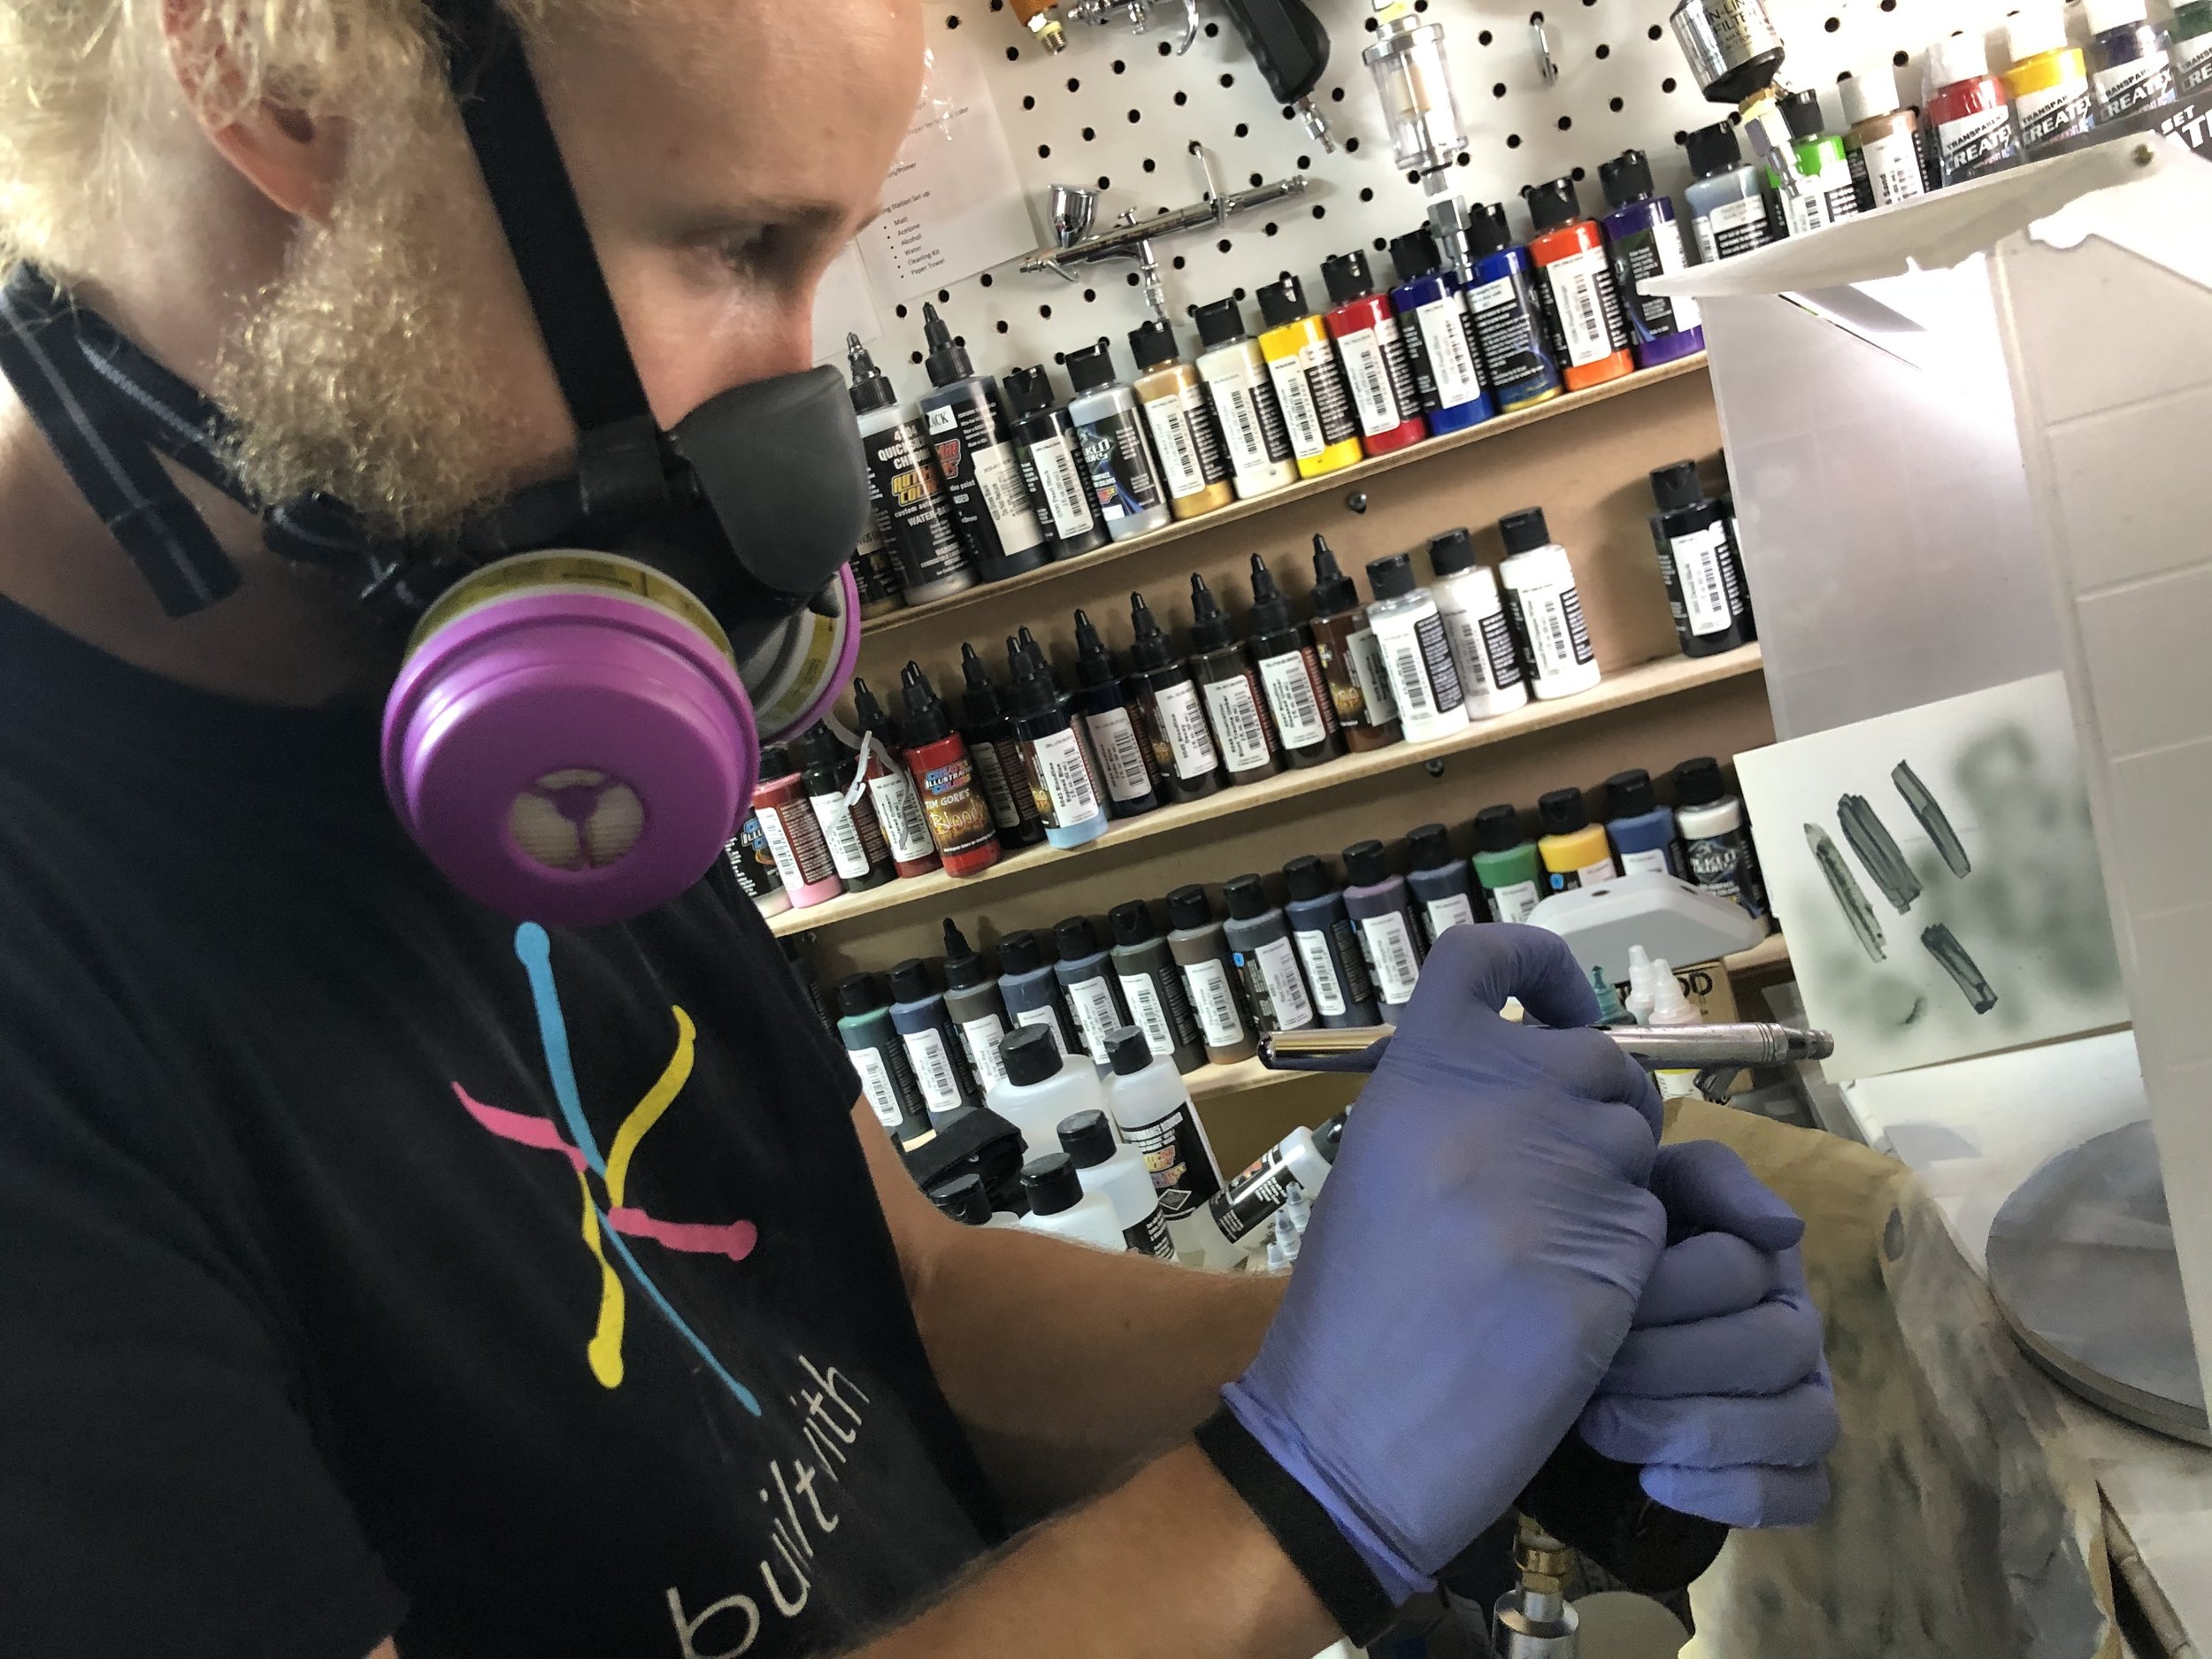
Finishing